Step 1: Access the Console
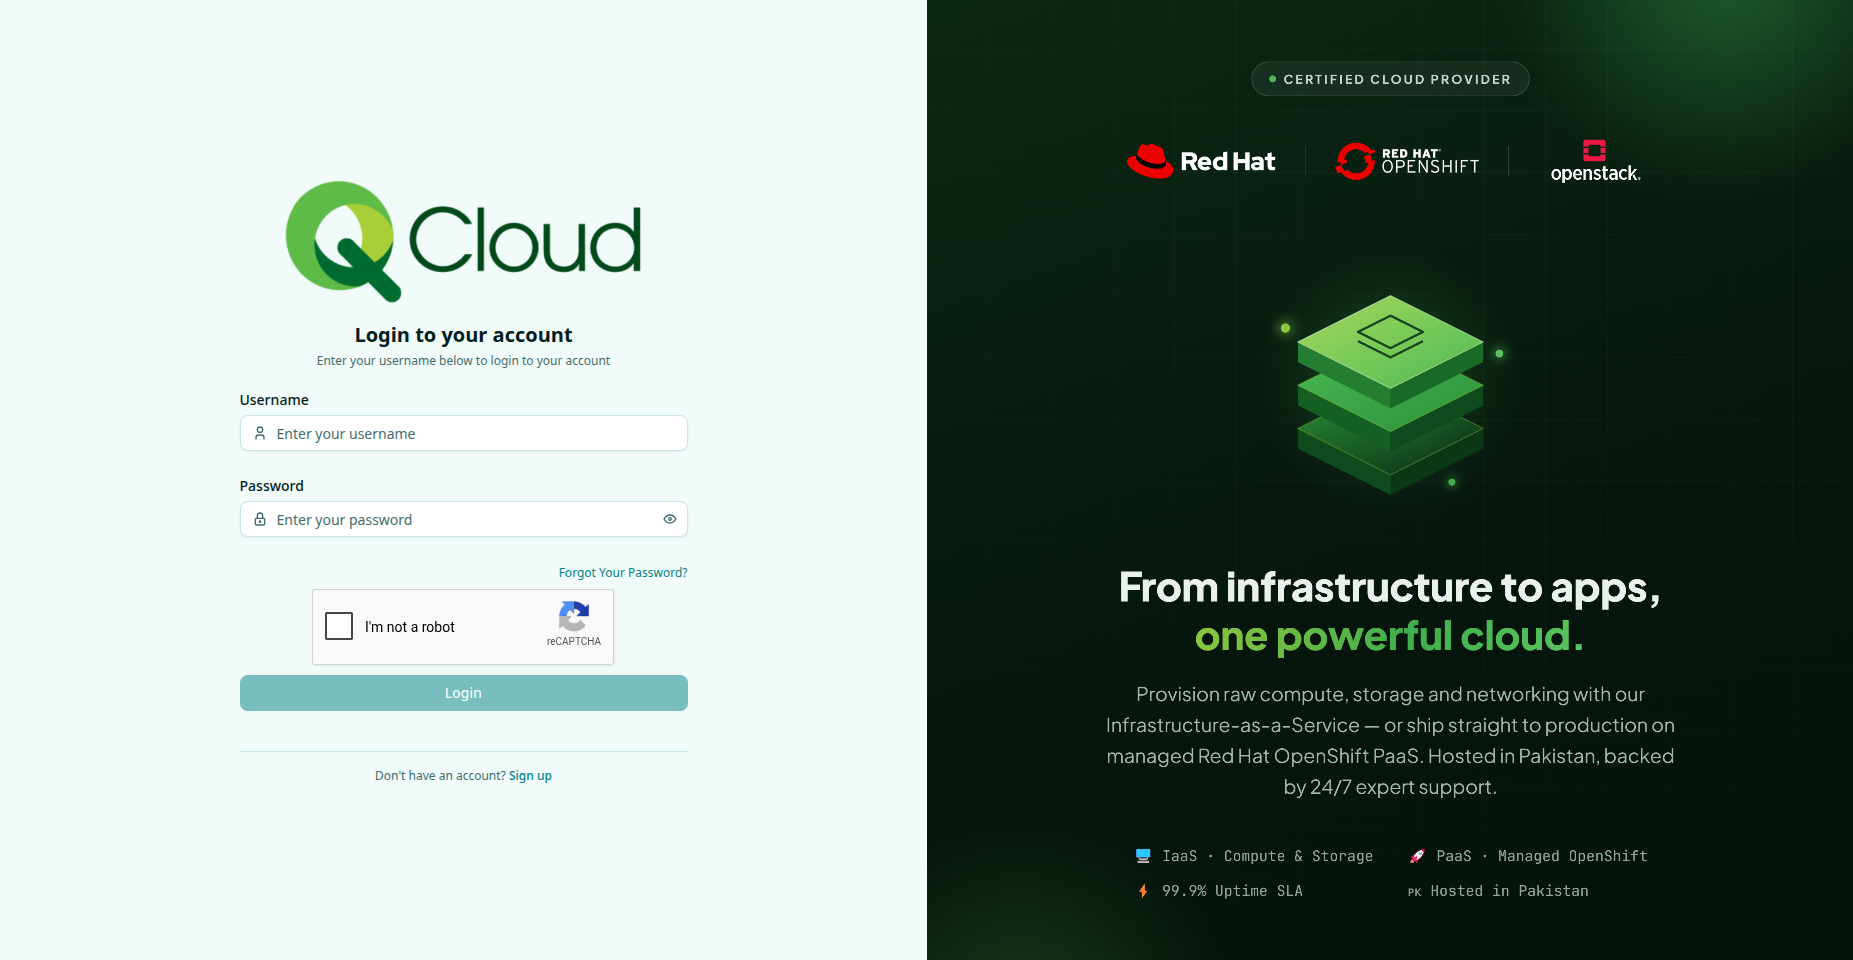
Access the QCloud Console at https://console.qcloud.pk through your web browser.
Step 2: Agree to Proceed
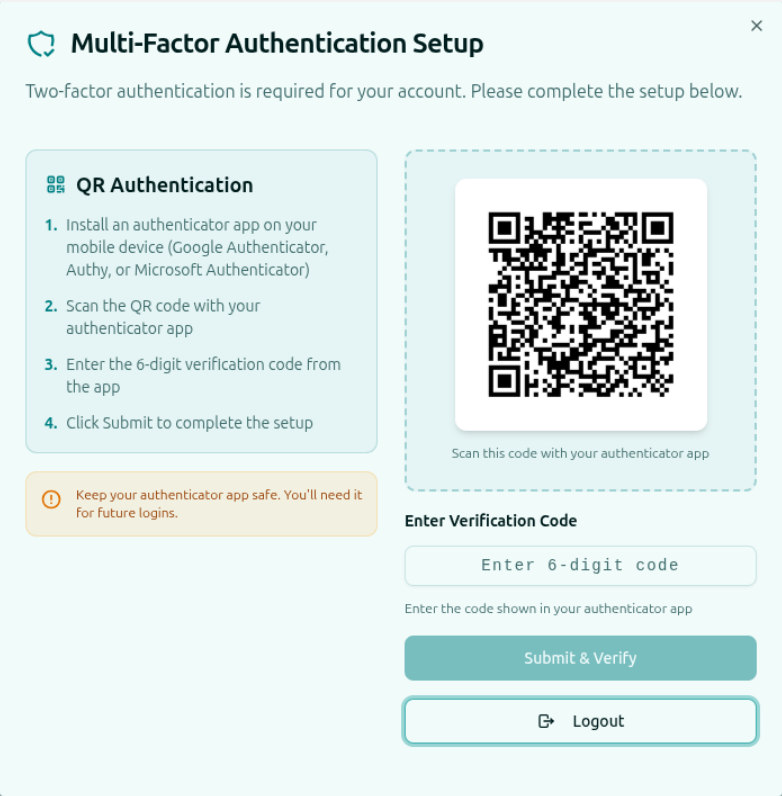
Do Scan the QR code from Google Authentication app and enter 6-digit code then submit it.
Step 3: Open Networking → Routers
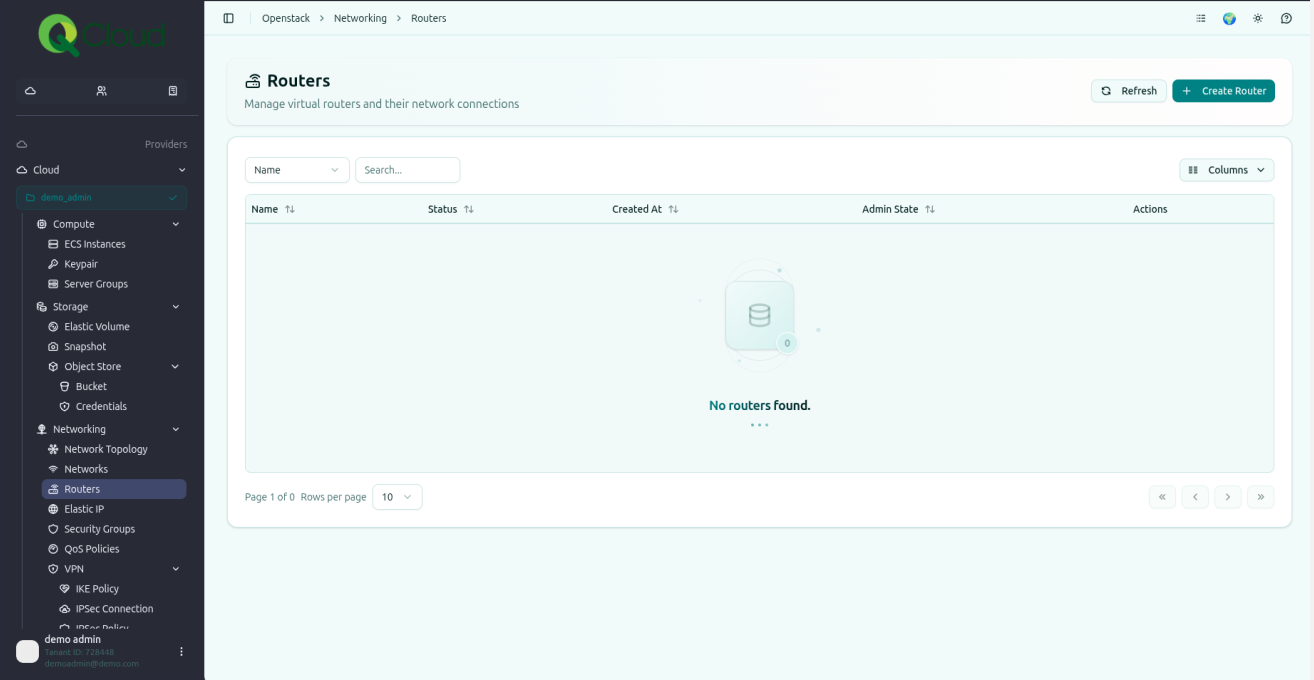
- Expand the Networking tab from the left-hand menu.
- Navigate to the Routers section.
- Click the Create icon located in the upper-right corner of the screen.
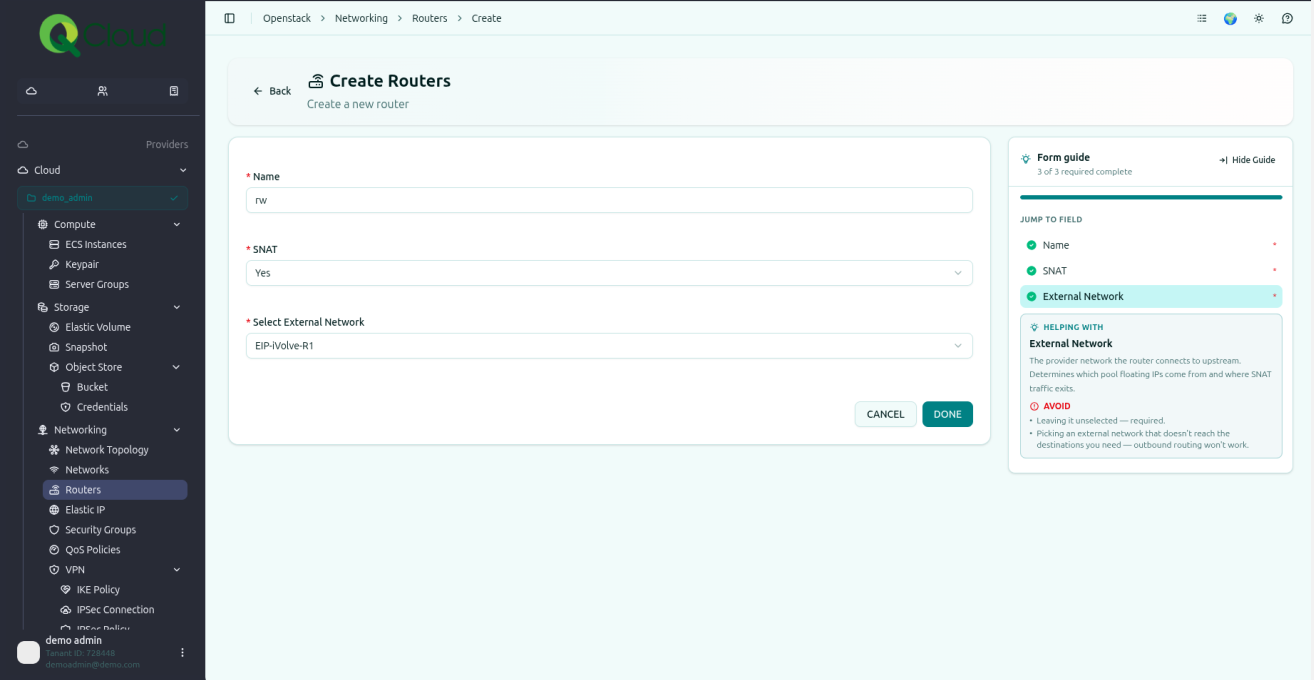
Step 4: Configure the Router
- Select EIP-iVolve-R1 as the External Network.
- Click Done to complete the process.
Step 5: Router Creation Confirmed
The router will be listed here once it is created.
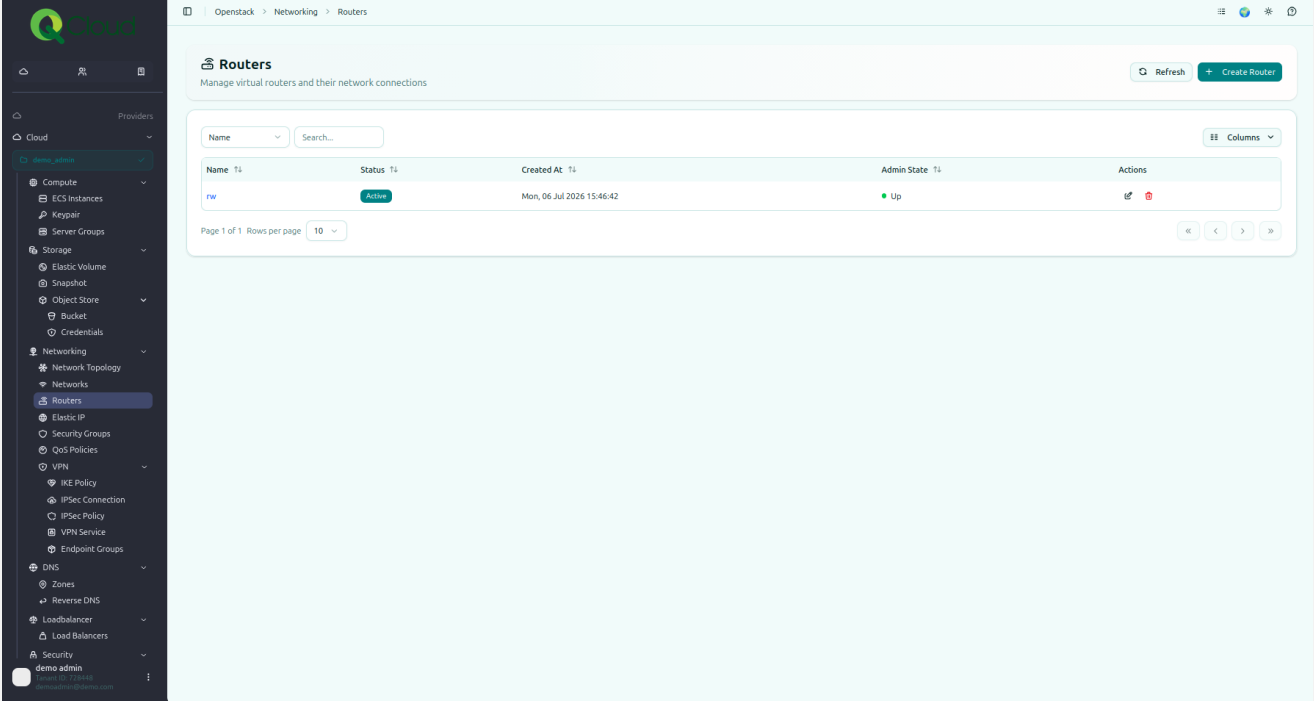
Step 6: Generate an Elastic IP:
Navigate to the Providers → Networking → Elastic IP.
After select Elastic IP from the menu. Click Create Elastic IP in the upper-right corner to generate the Elastic IP.
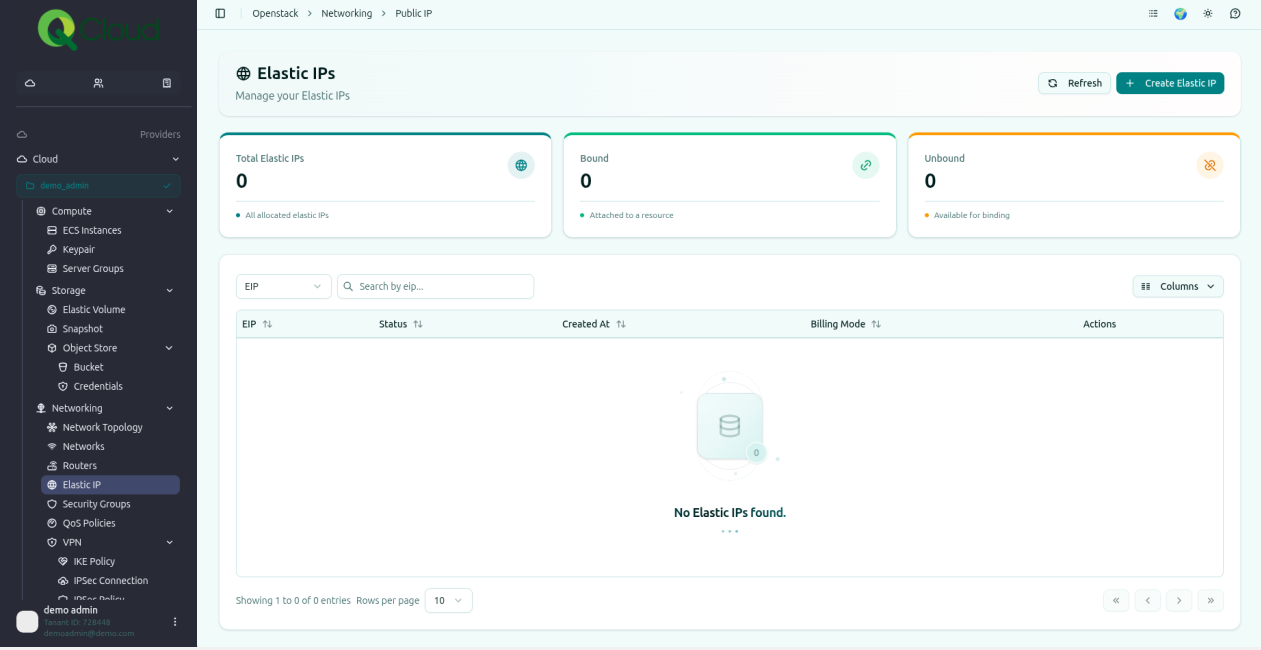
Fill the required details.
Select EIP-iVolve-R1 in the select External Network.
Click on the icon/button Done.
Step 7: Create a Network
Open the Networking tab dropdown, then click on ‘Create Network’.
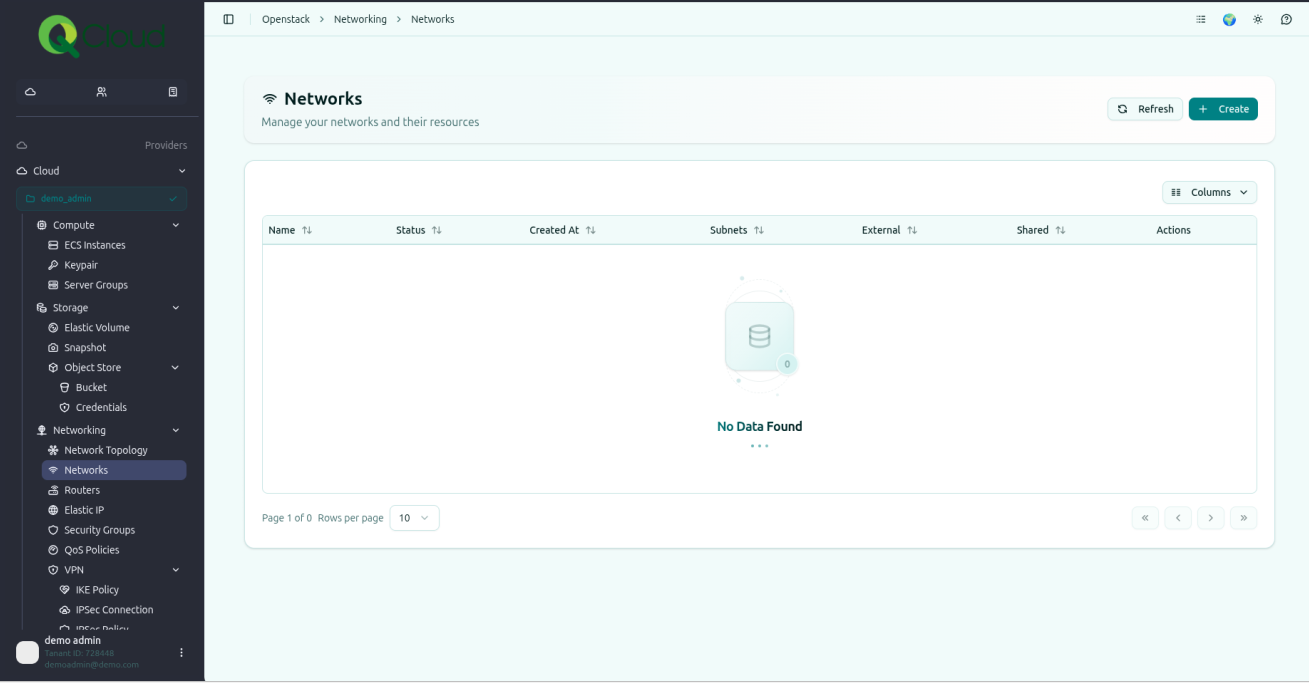
Step 8: Establish WAN Network
Establish a WAN network.
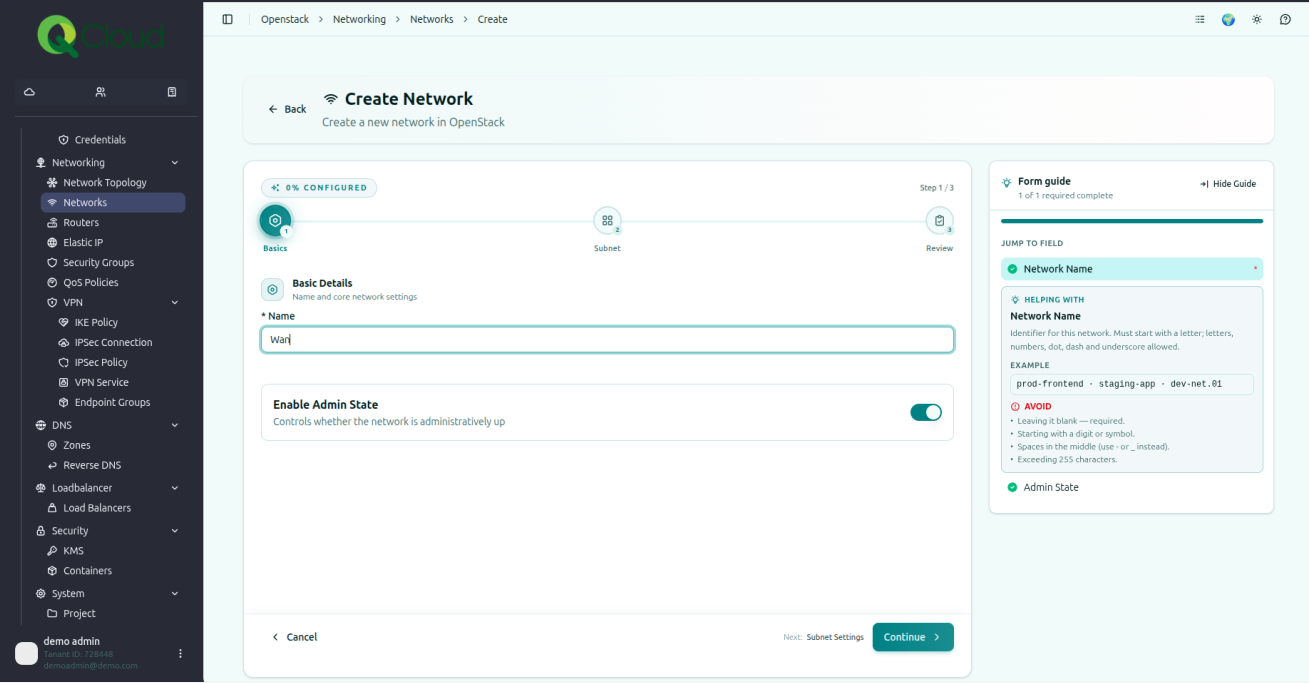
Step 9: Assign IP to CIDR Block
Assign an IP address to the CIDR block (e.g., 10.10.0.0/24).
- Enable the Gateway option by checking the corresponding box.
- Enable DHCP to allow automatic IP assignment.
- Click ‘Next’ at the bottom right corner of the page.
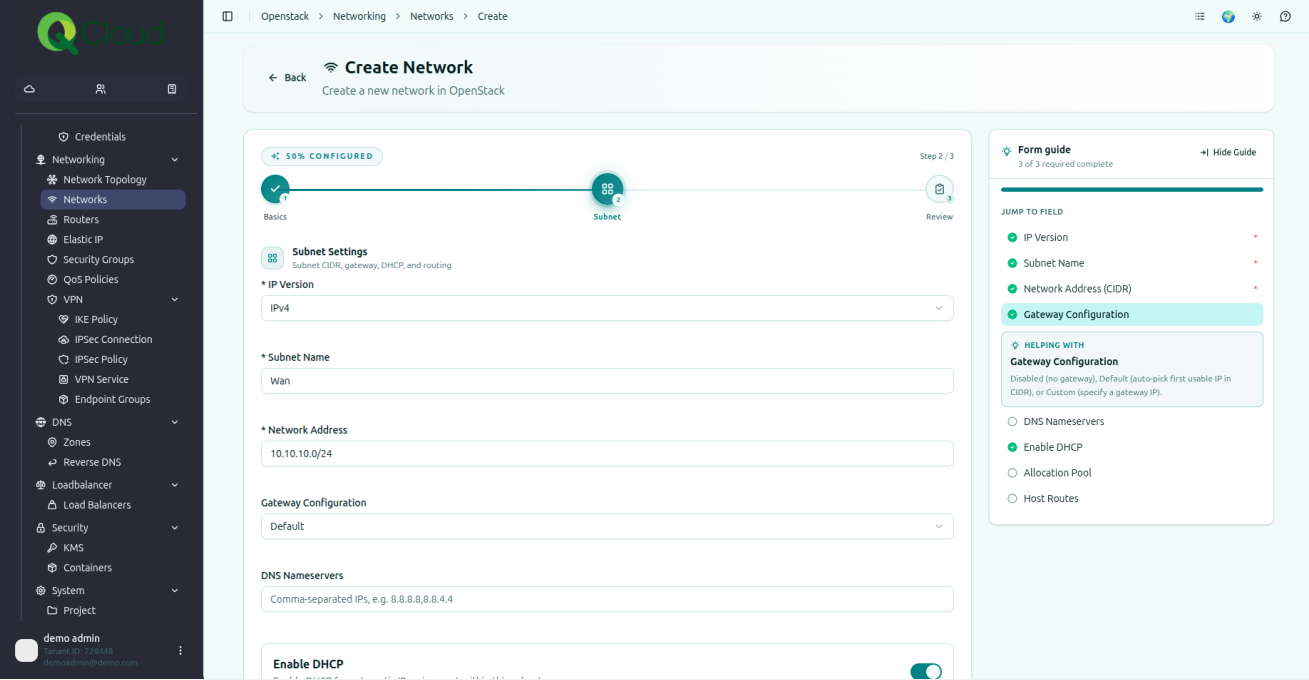
Step 10: Review WAN Summary
- Review the summary of the WAN settings displayed on the screen.
- Click ‘Done’ at the bottom right corner to complete the configuration.
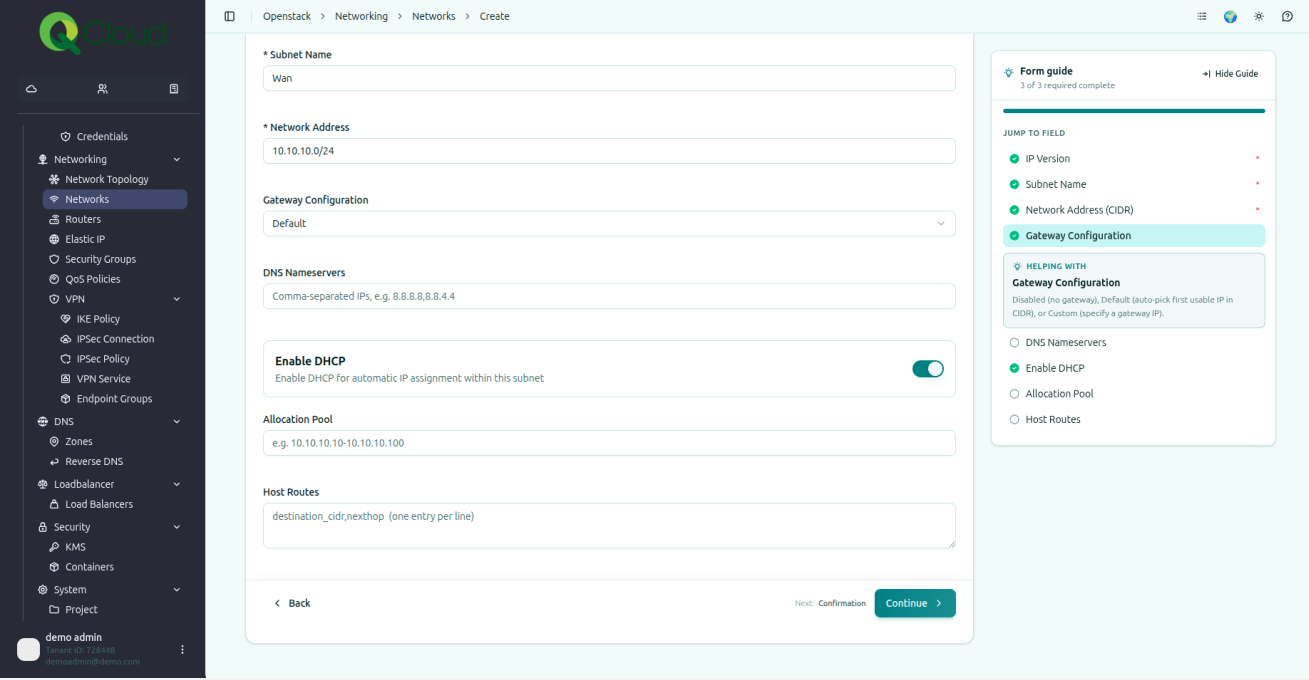
Step 11: Confirmation Message
A confirmation message will appear. It may take a few minutes for the changes to propagate.
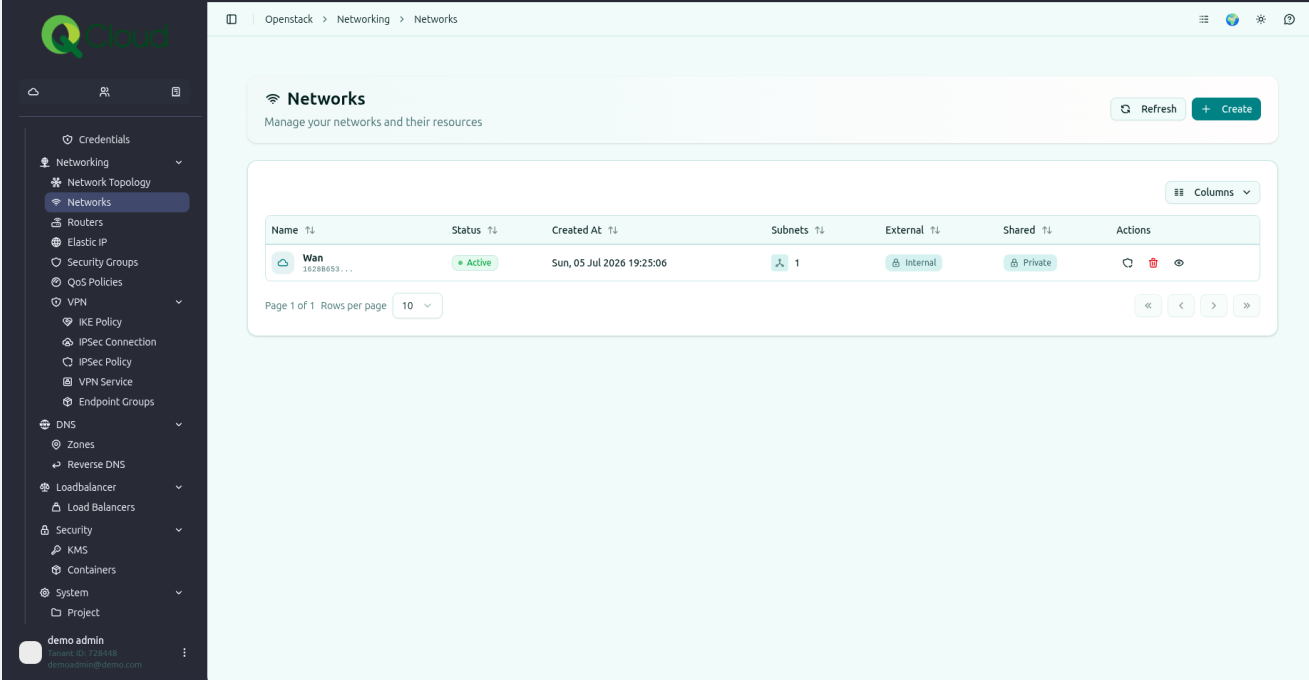
Step 12: Create LAN Network
Go to the Networking tab and click on ‘Networks’.
- Click on ‘Create Network’ if required.
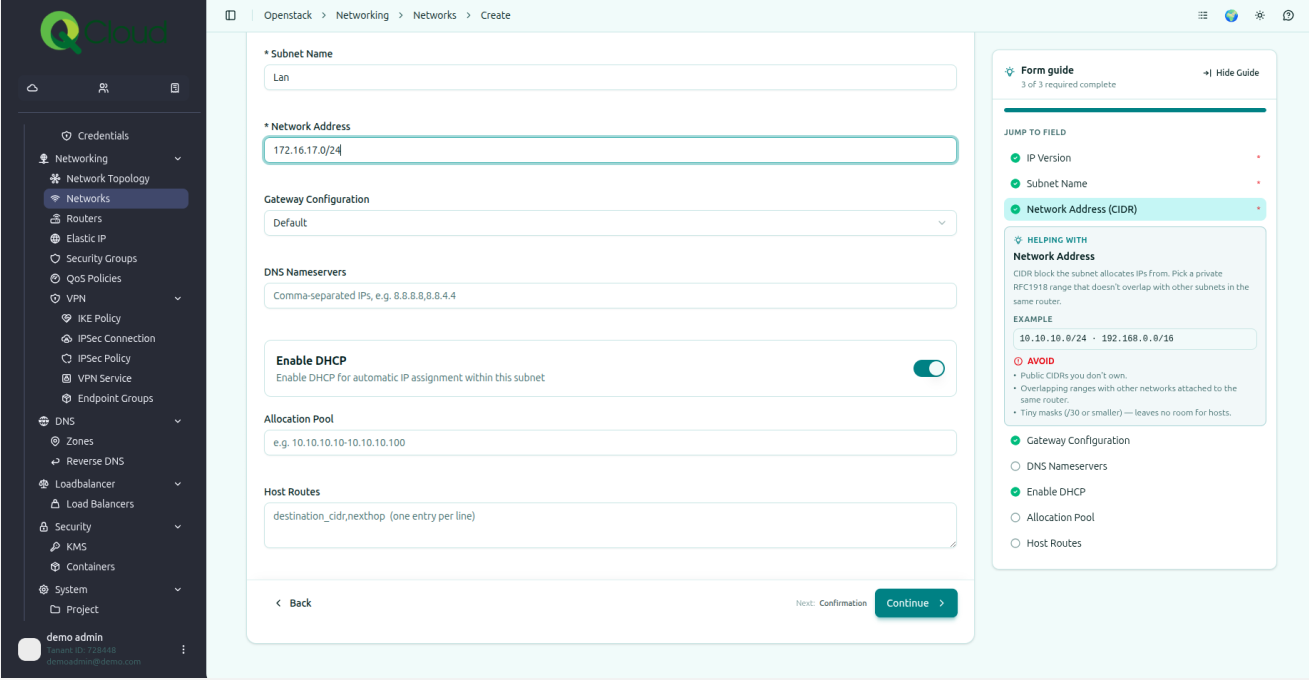
- Enter the Subnet Name (e.g., LAN-Subnet).
- Enter the CIDR block (e.g., 192.168.10.0/24).
- Enable the Gateway option by checking the box.
- Click ‘Next’ at the bottom right corner to proceed.
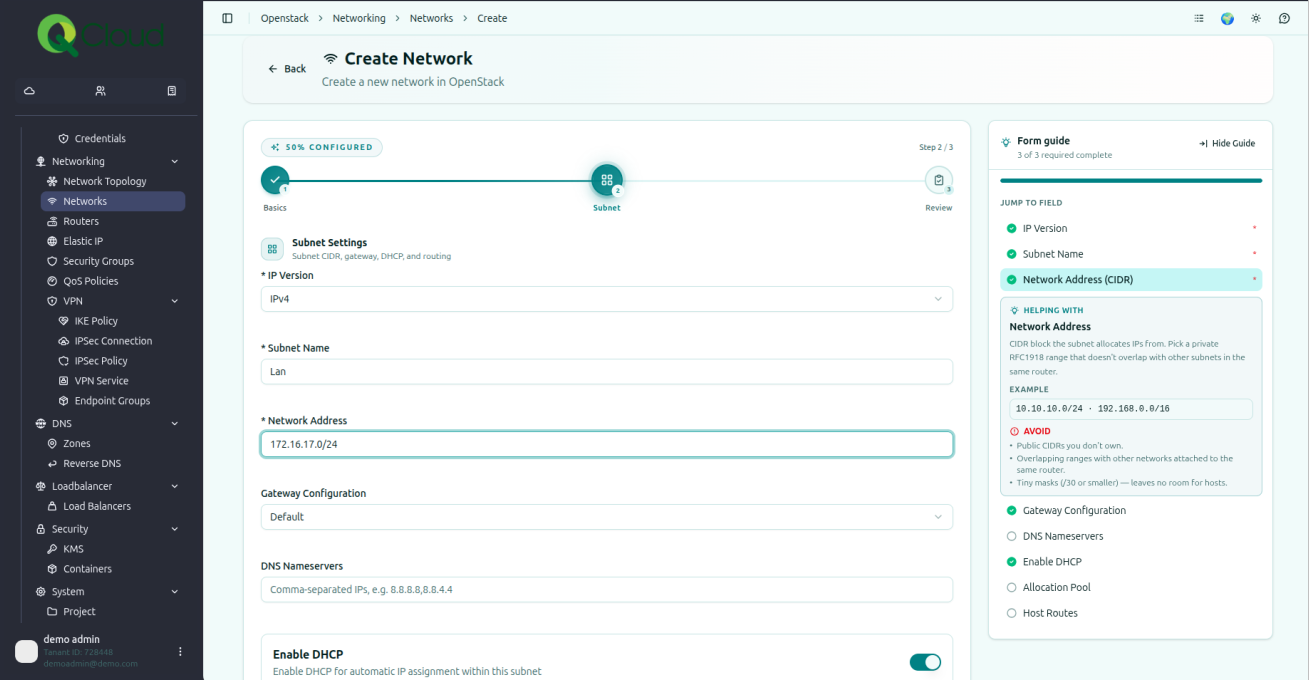
Step 13: Review LAN Summary
- Review the LAN summary displayed on the screen.
- Click ‘Done’ at the bottom right corner to continue.
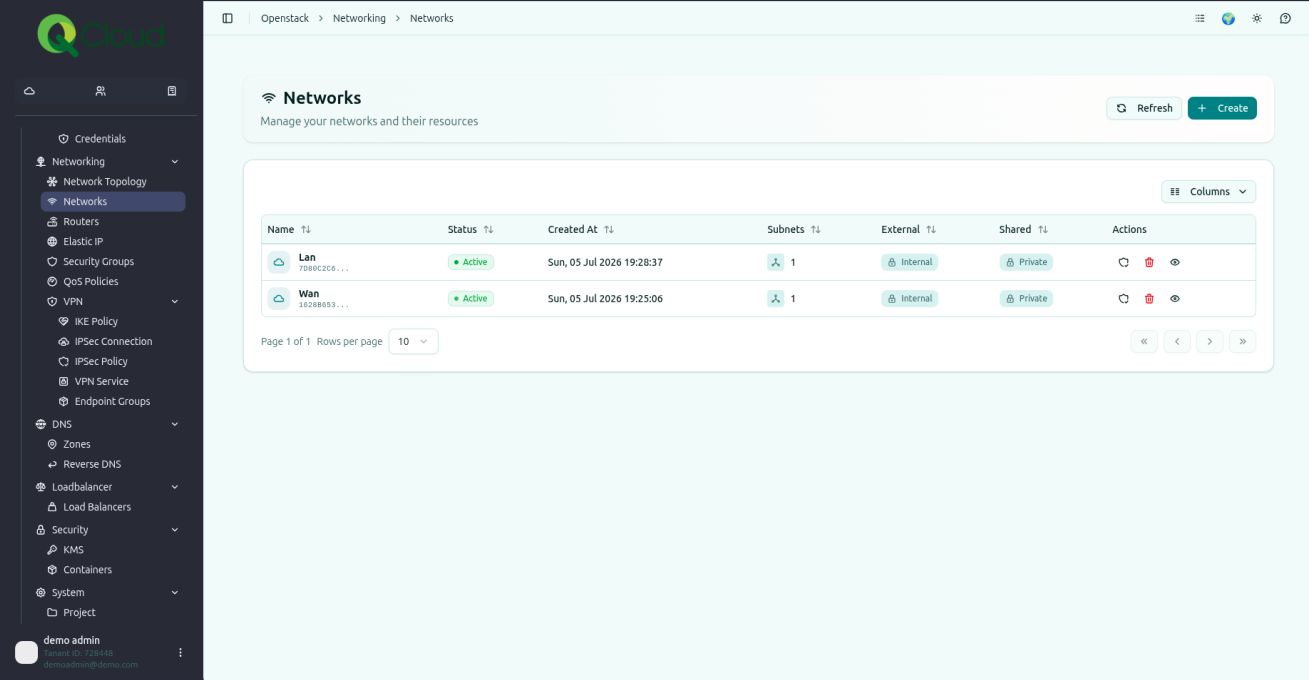
Step 14: View Network Interfaces
Go to the Networking tab and click on ‘Networks’. View the list of network interfaces created earlier.
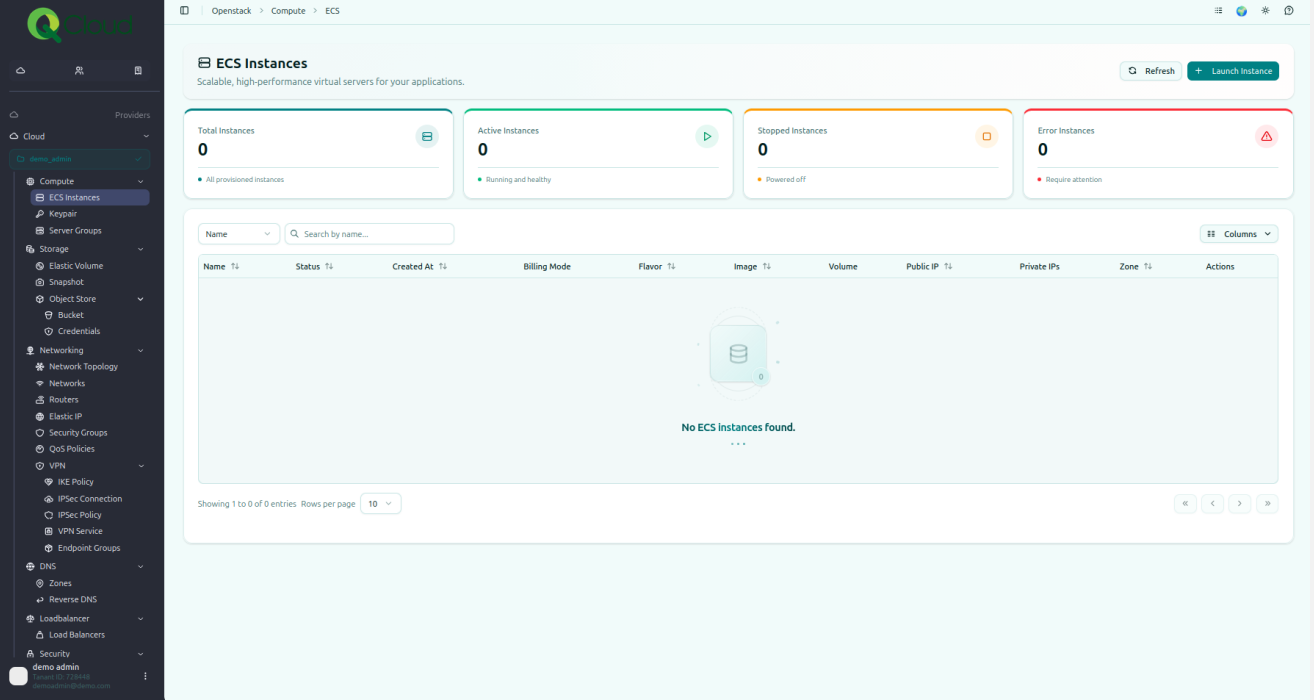
Step 15: Create a ECS Instance
Navigate to the Compute tab.
- Click on ‘ECS Instance’.
- Click on the ‘+Create’ button located at the top right corner.
Step 16: Configure the Instance
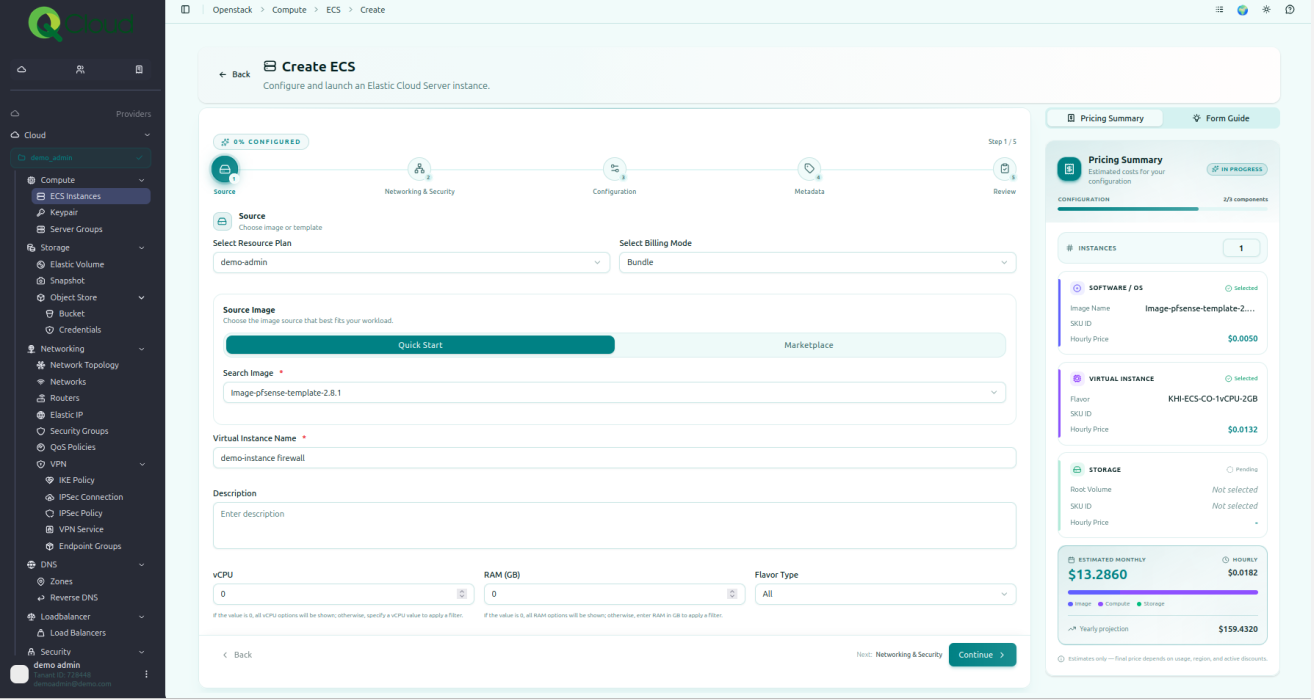
Select the Contract from the dropdown list:
- Set the Billing Mode to ‘Bundle’.
- Choose the Firewall image from the available options.
- Enter the Instance Name (e.g., Firewall-Instance).
- Select the Flavor based on resource requirements (CPU/RAM).
- Choose the Volume Type (e.g., SSD or HDD).
- Enter the Root Volume Size (e.g., 20 GB).
- Click ‘Next’ at the bottom right corner to proceed.
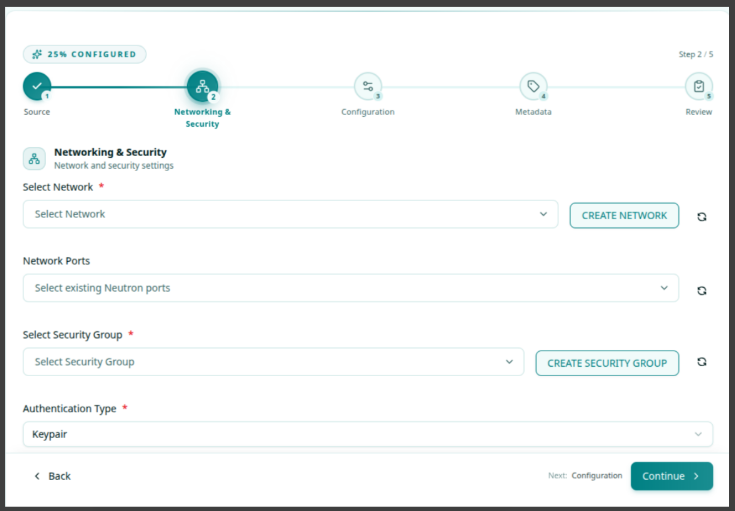
Step 17: Select the Network
Select the WAN, LAN network which already created.
Step 18: Access the Console Output
The console output looks like the screenshot below.
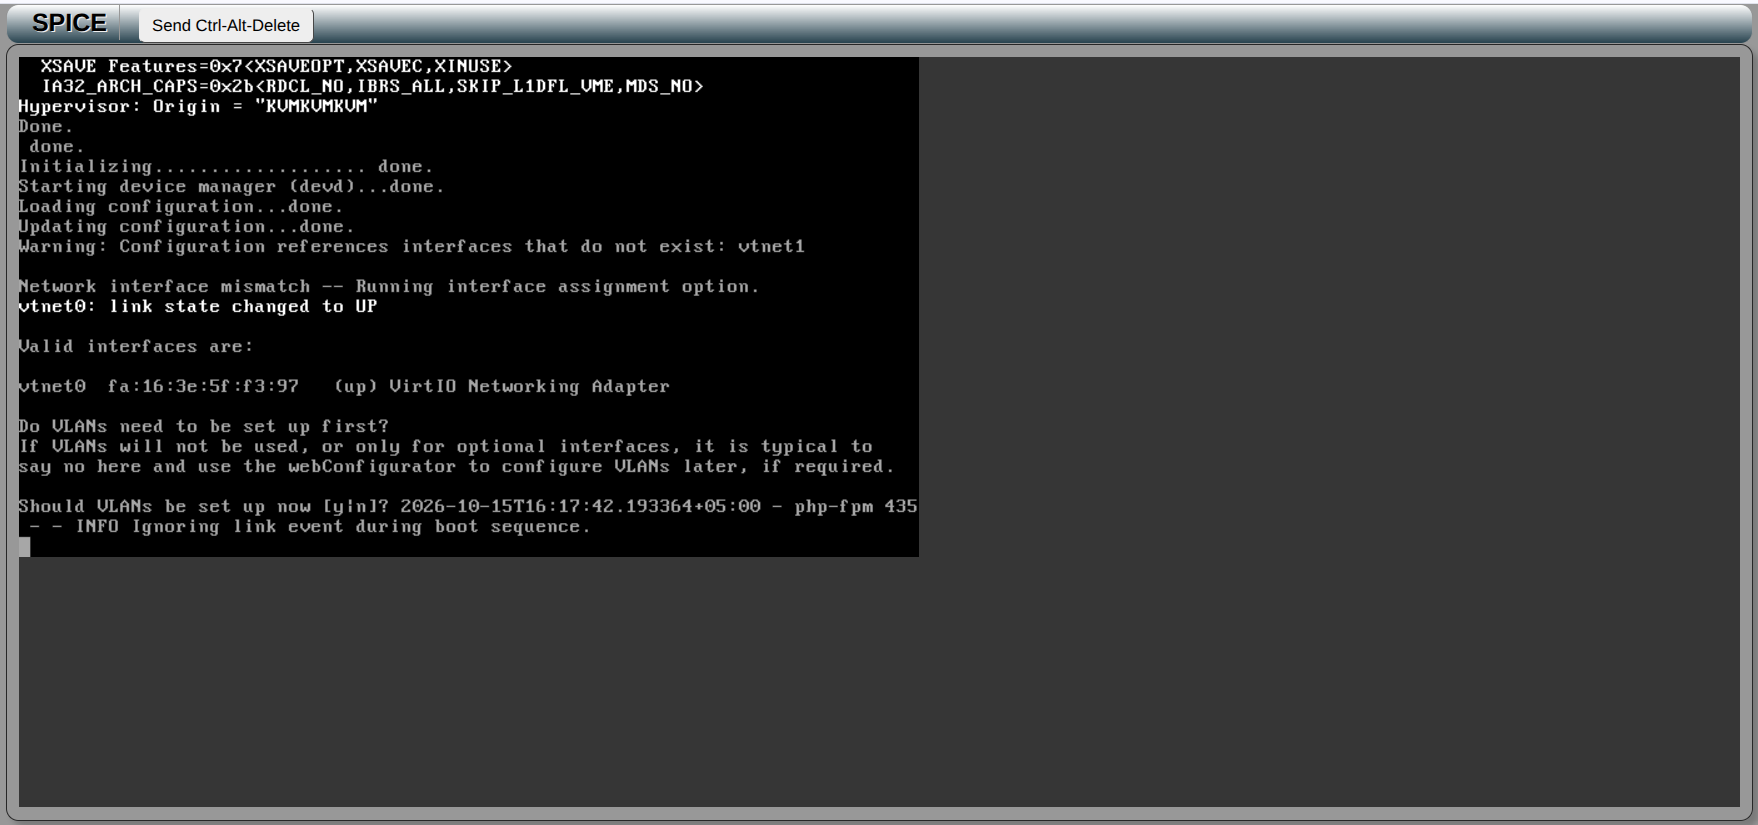
Step 19: Press ‘Enter’
Press the ‘Enter’ key when prompted.
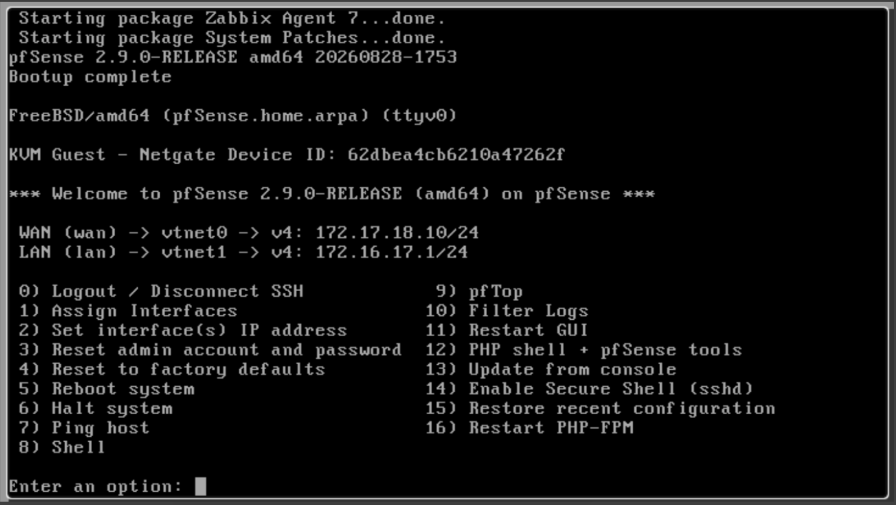
Step 20: Press ‘n’
Asking to configure VLAN.
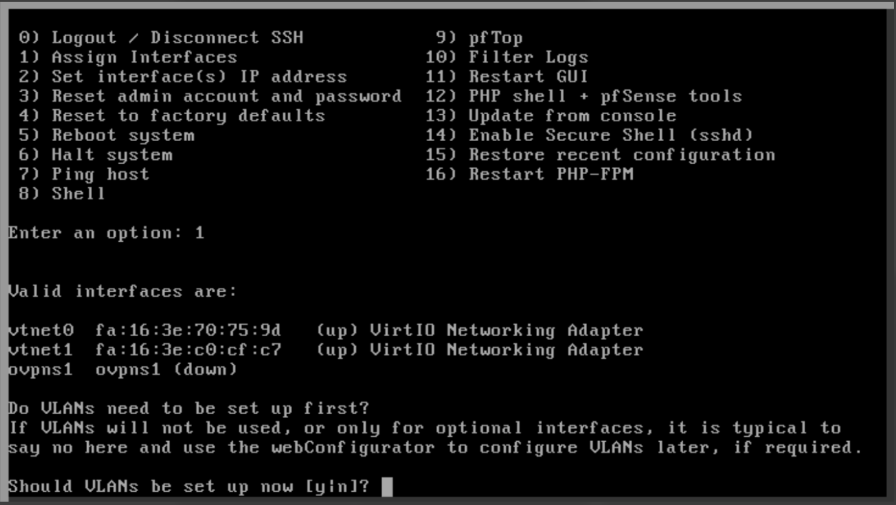
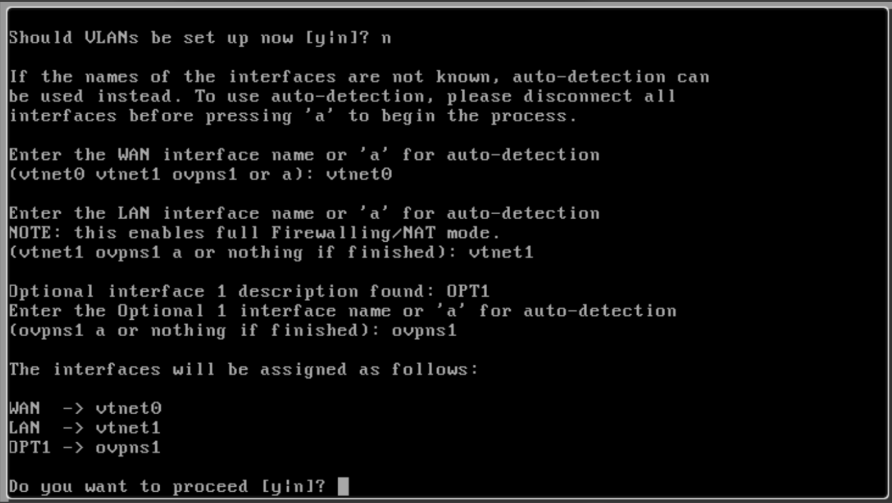
Step 21: Press ‘y’
Confirm the action by pressing ‘y’.
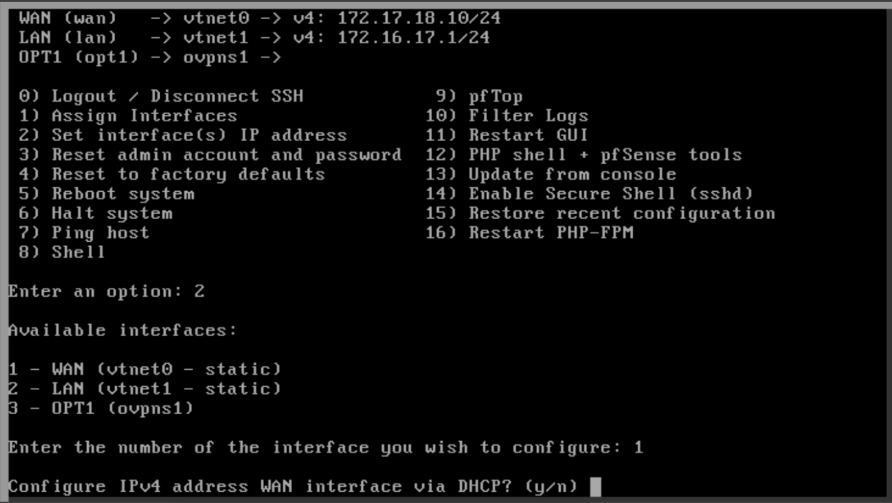
Step 22: Configuration Options Displayed
After pressing ‘y’, the system will display all configuration options.
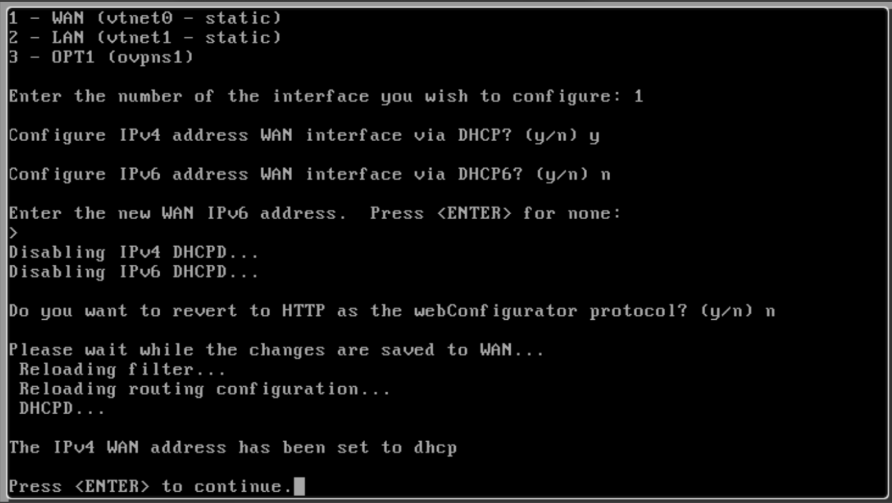
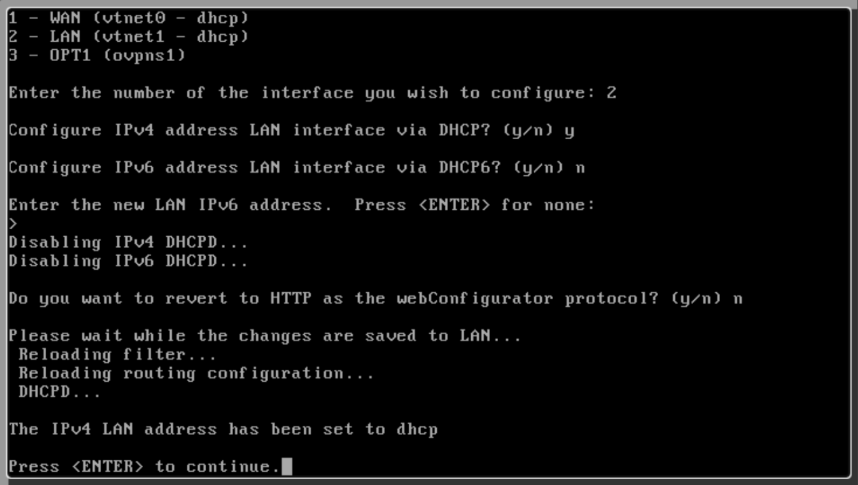
Step 23: Select Interface IP Configuration
Press 2 to begin configuring the interface IP address. Then press ‘y’, the system will display all configuration options.
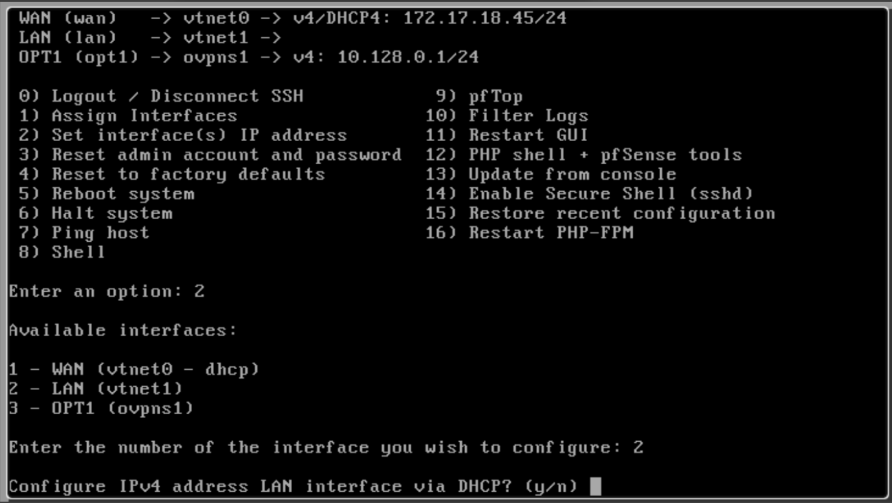
Step 24: Web Configurator Protocol
Press ‘n’ to revert to HTTP for the Web Configurator protocol.
Step 25: Assign Elastic IP to Instance
From the Compute dropdown menu, select Virtual Instance.
- Choose the desired instance from the list.
- Navigate to the Elastic IP section and click Add.
- When prompted, select the appropriate network interface.
- Click Submit to finalize the configuration.
Step 26: Remove Security Group Association
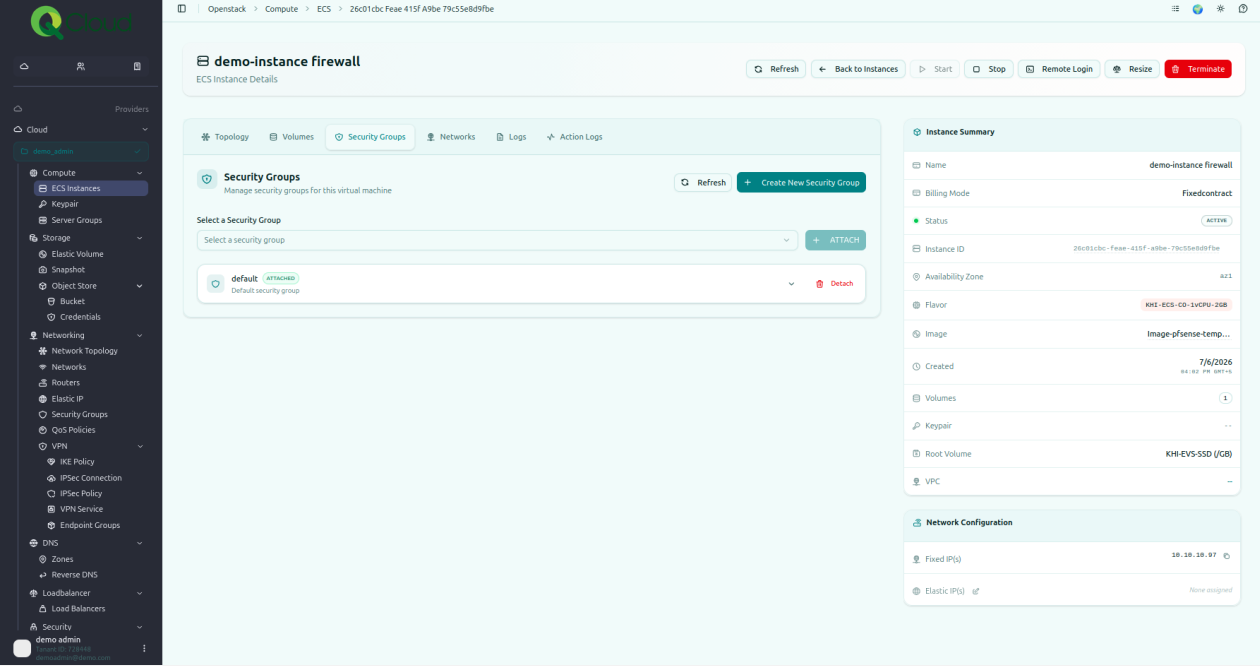
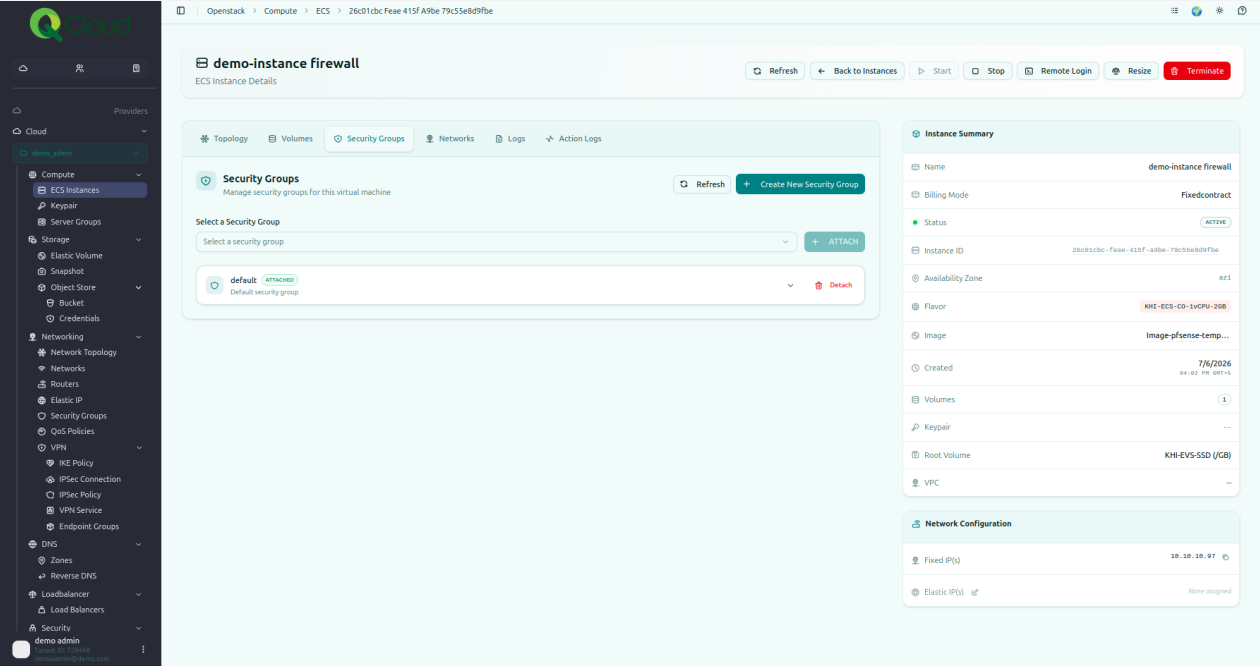
Remove the security group association from the instance.
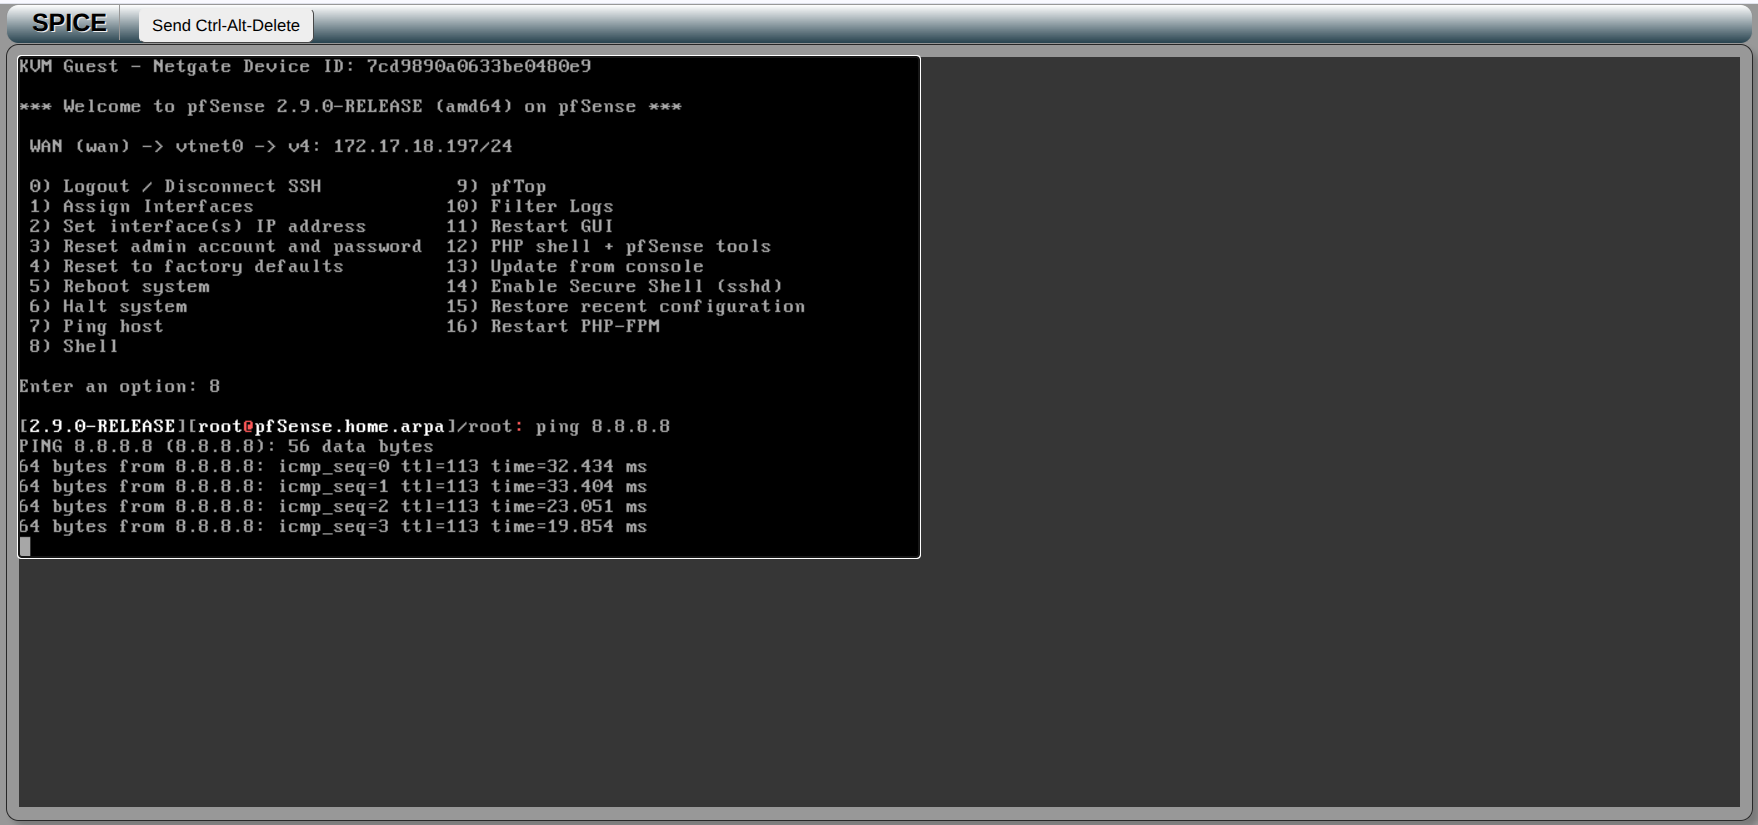
Step 27: Access the Shell
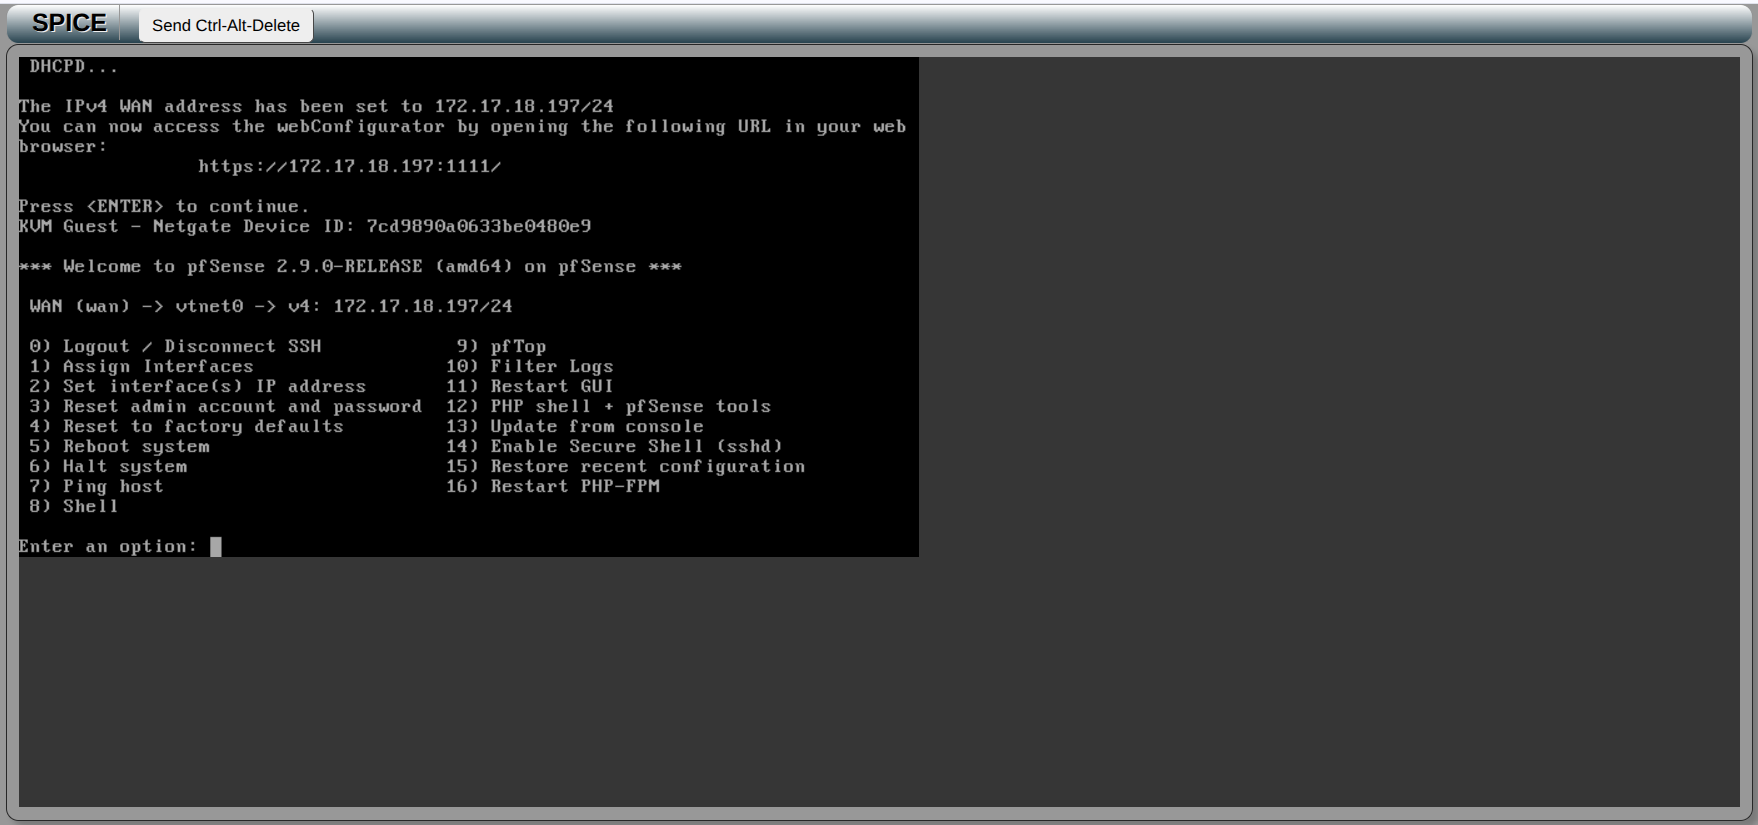
Press 8 to access the shell.
Step 28: Test Connectivity
Ping a public DNS server such as 8.8.8.8 (Google) or 4.4.4.4 to test connectivity.
Step 29: Sign in to pfSense
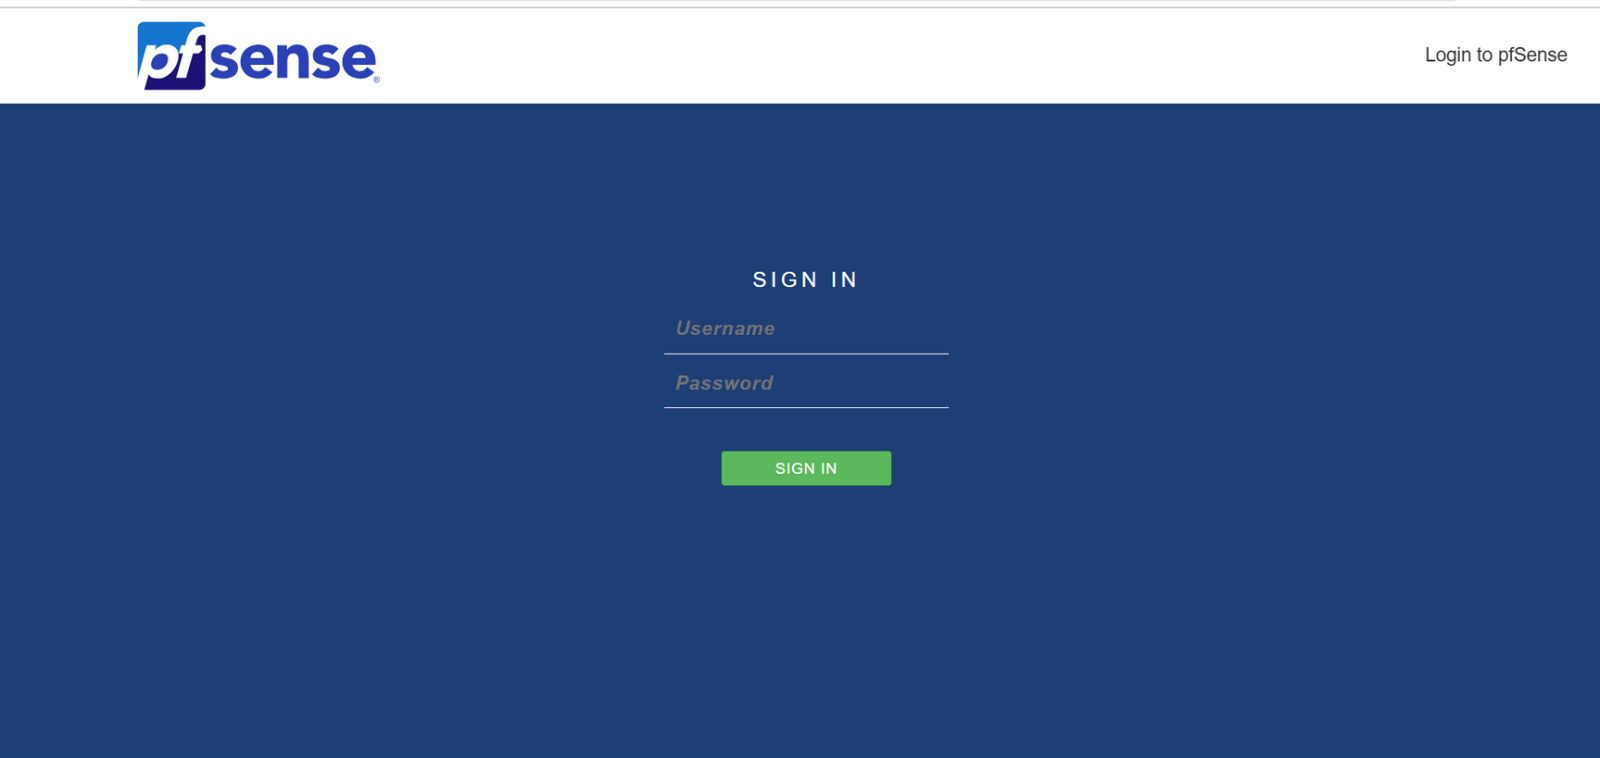
Upon completion, Use LAN IP to open the pfsense. With username ‘***’ and password ‘****’ provided.
Disclaimer: For security reasons, the password must be changed immediately after the first login. We strongly recommend updating it to a strong, unique password and keeping it confidential.
For detailed steps on pfSense deployment and configuration, please refer to the following documentation: