Creating a New VPN User and Generating OpenVPN Client File #
Follow the steps below to create a new VPN user and generate their OpenVPN client file:
Step 1: Create a New VPN User
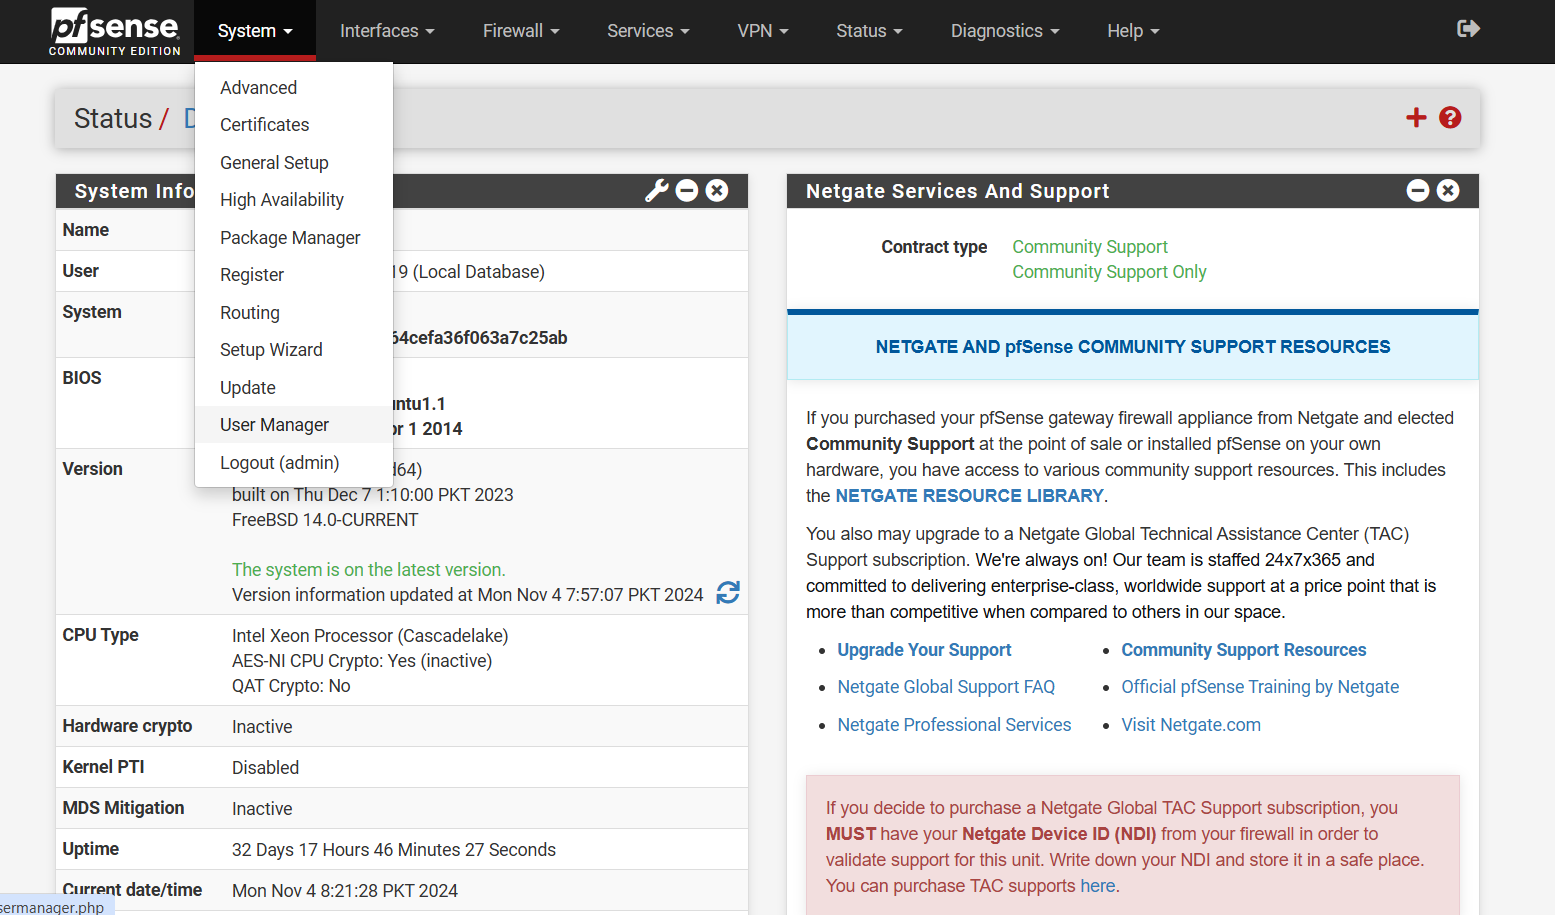
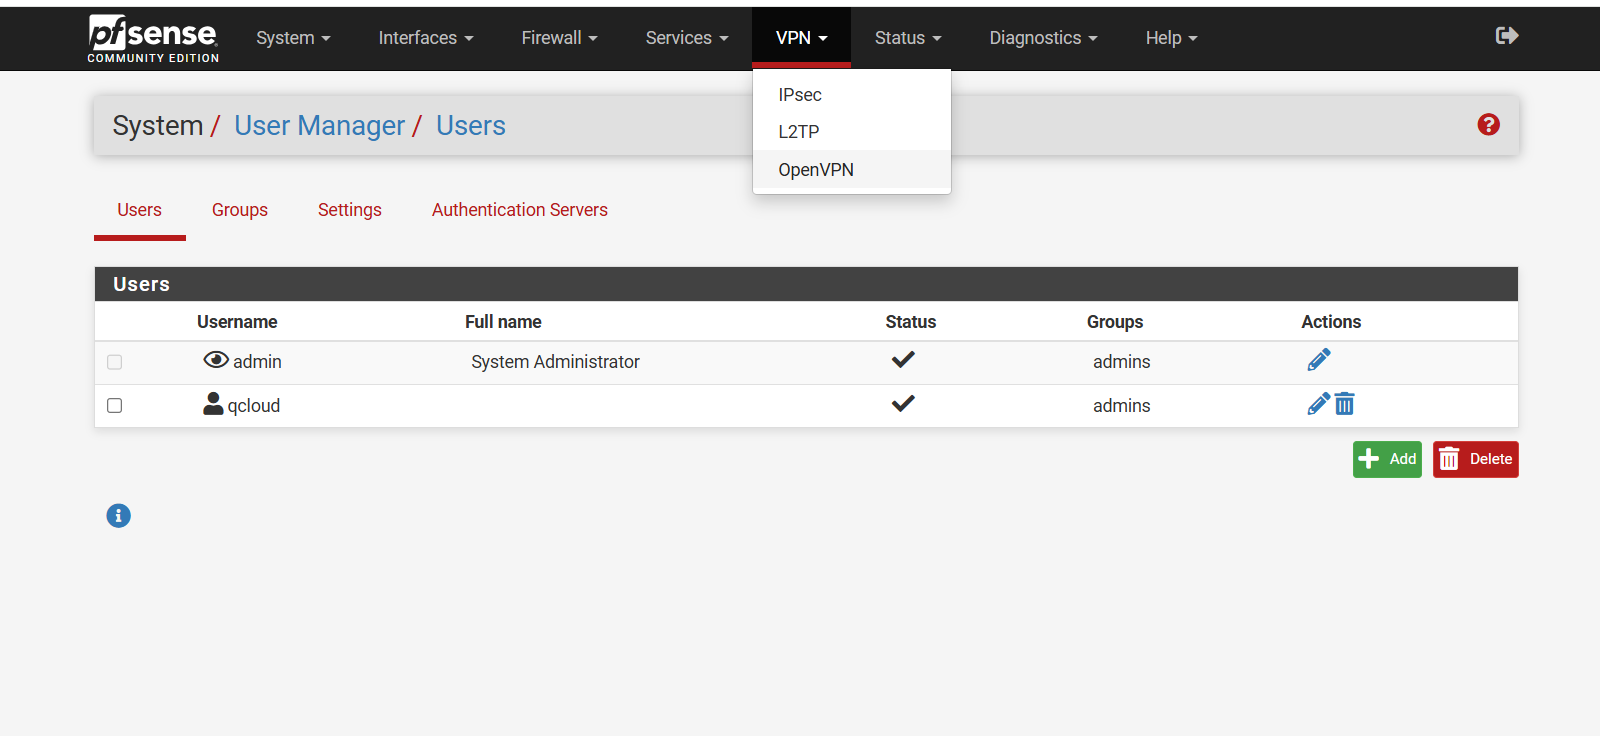
From the pfSense main dashboard, go to the top menu and click: System > User Manager.
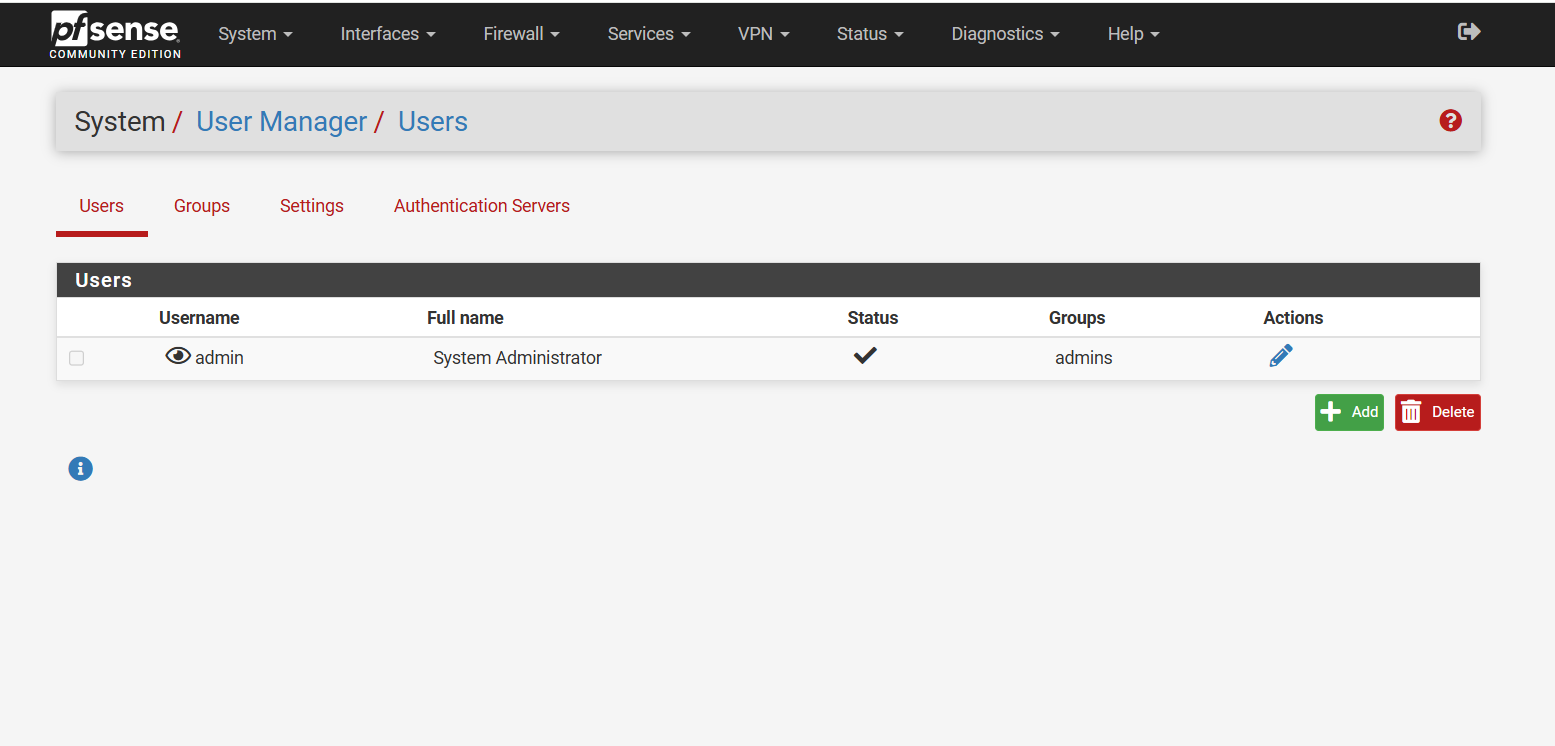
- On the User Manager page, click the Add button to create a new user.
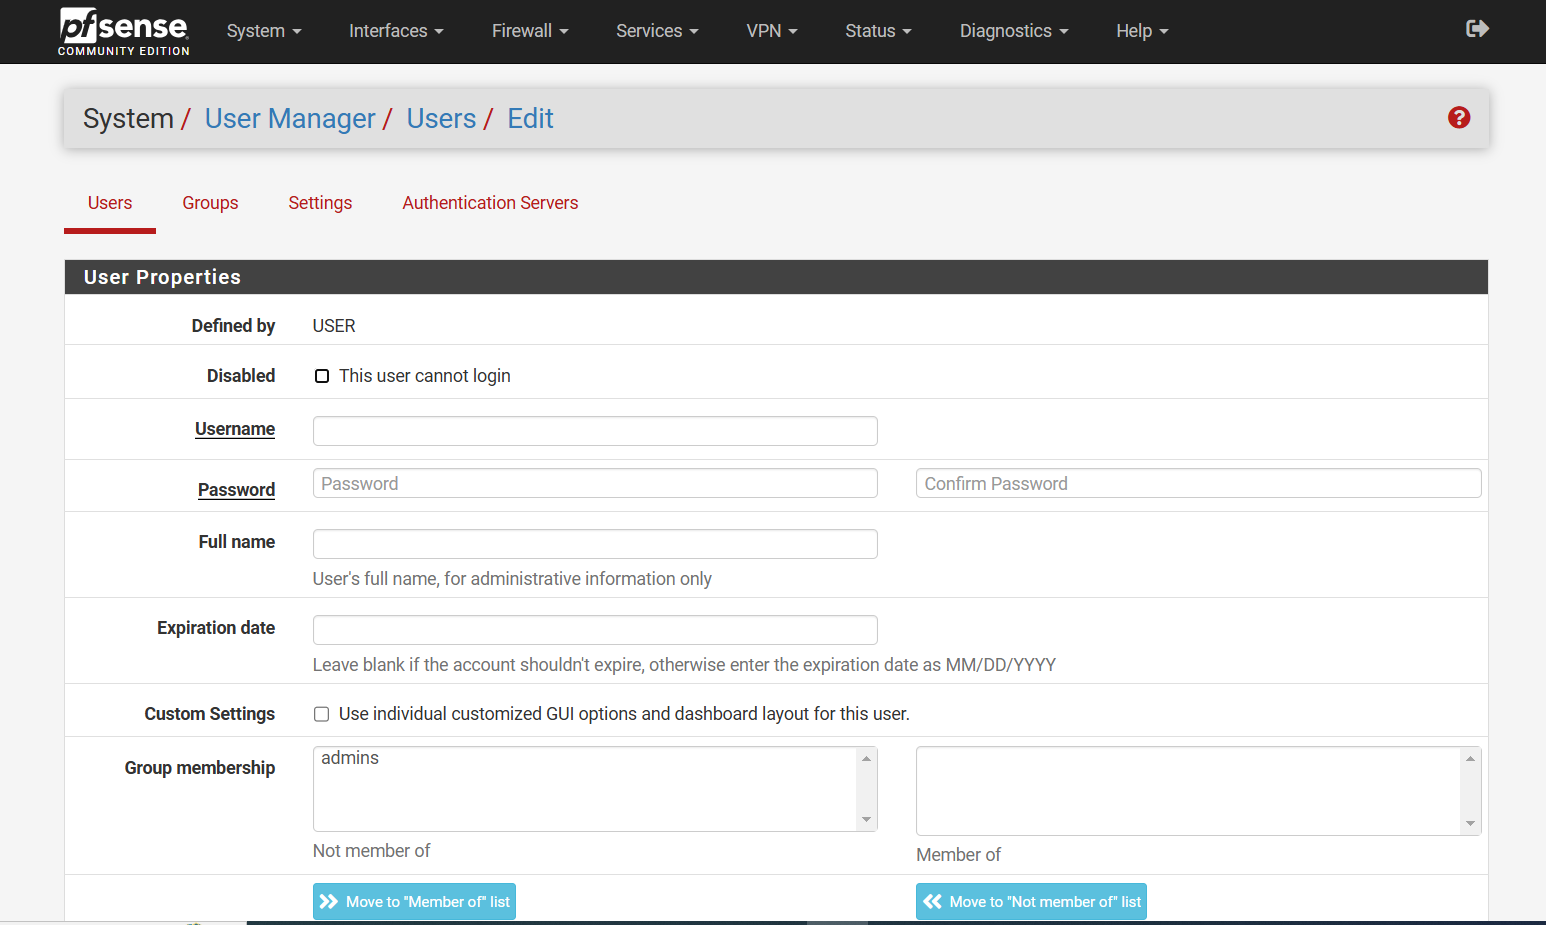
Step 2: Configure User Details
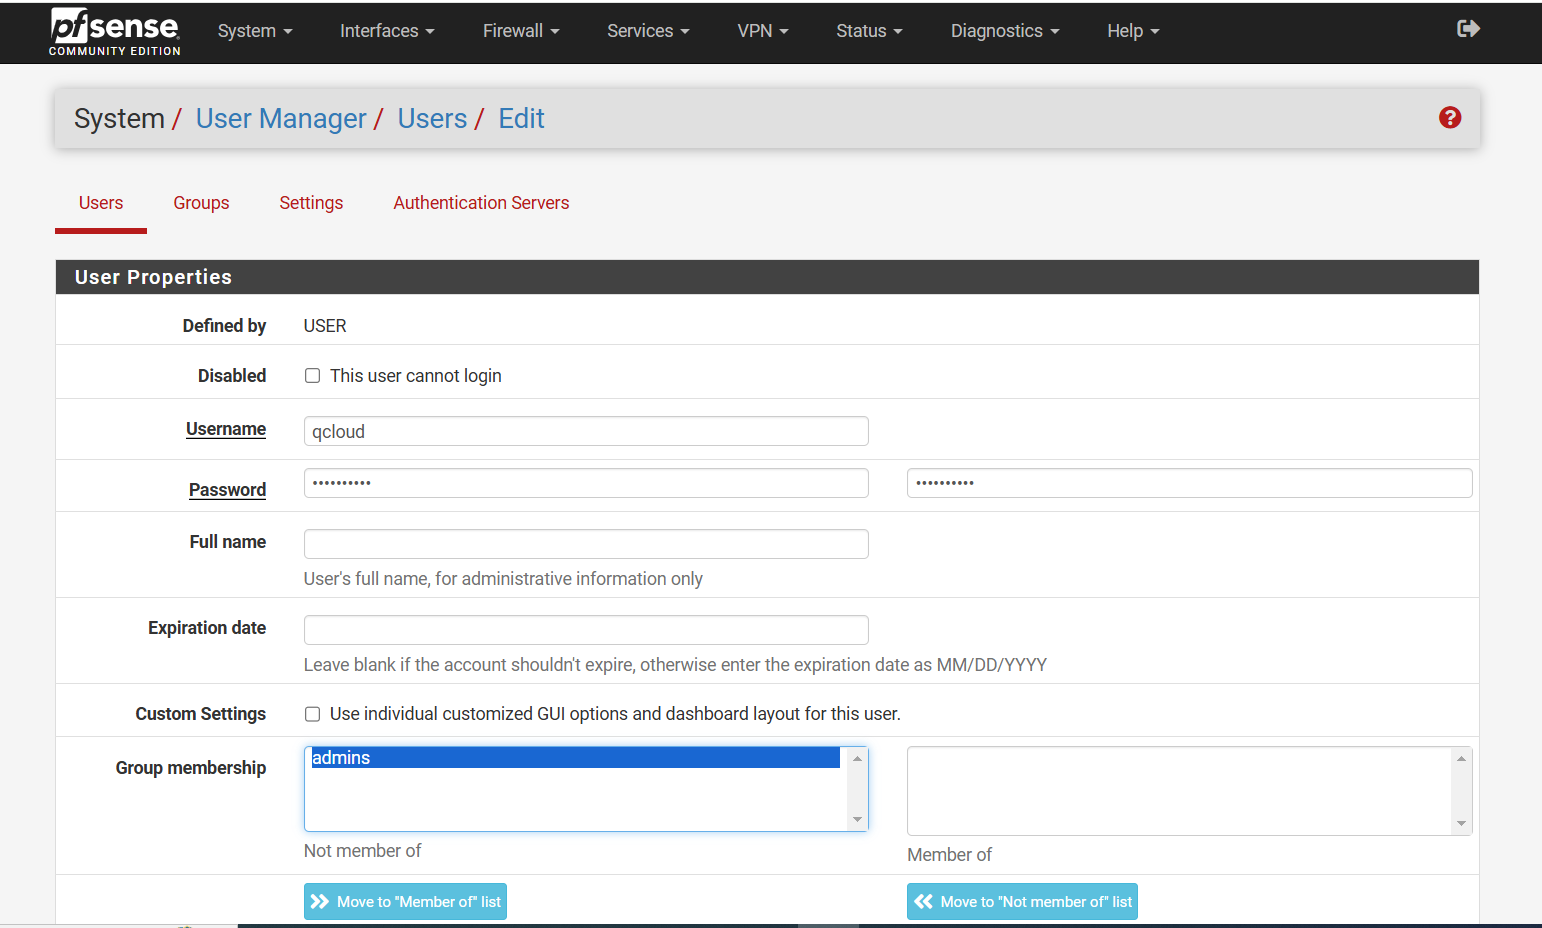
Enter a Username and Password for the new user.
Step 3: Optional (Based on Access Requirements)
- If you want the user to have access to the firewall’s dashboard, add them to the Administrators group.
- In Group Membership, select admin.
- Click the Move to “Member of” button.
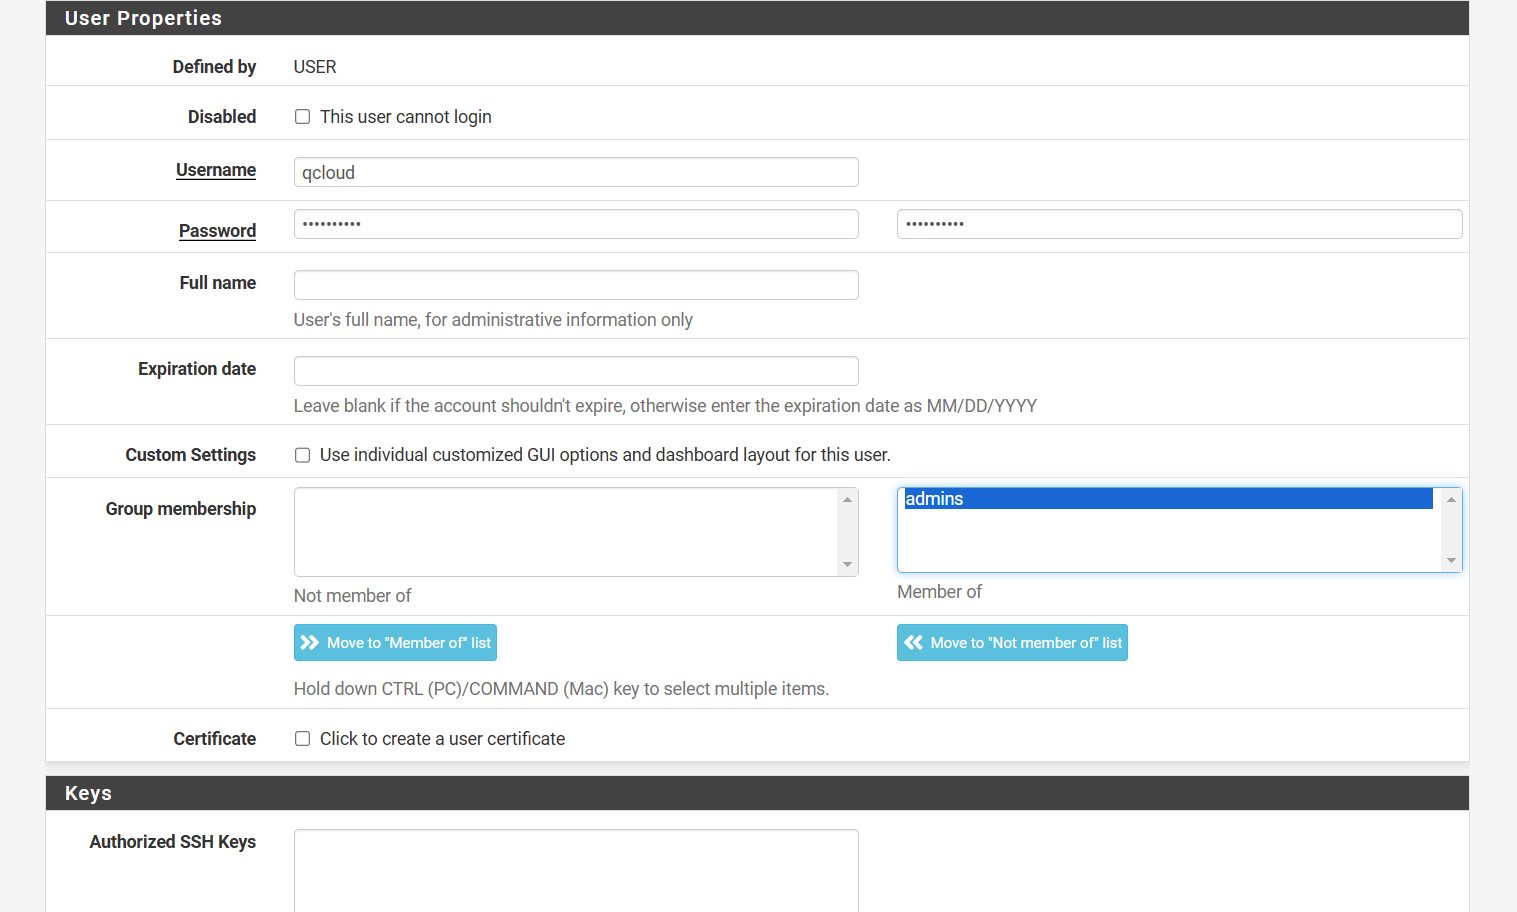
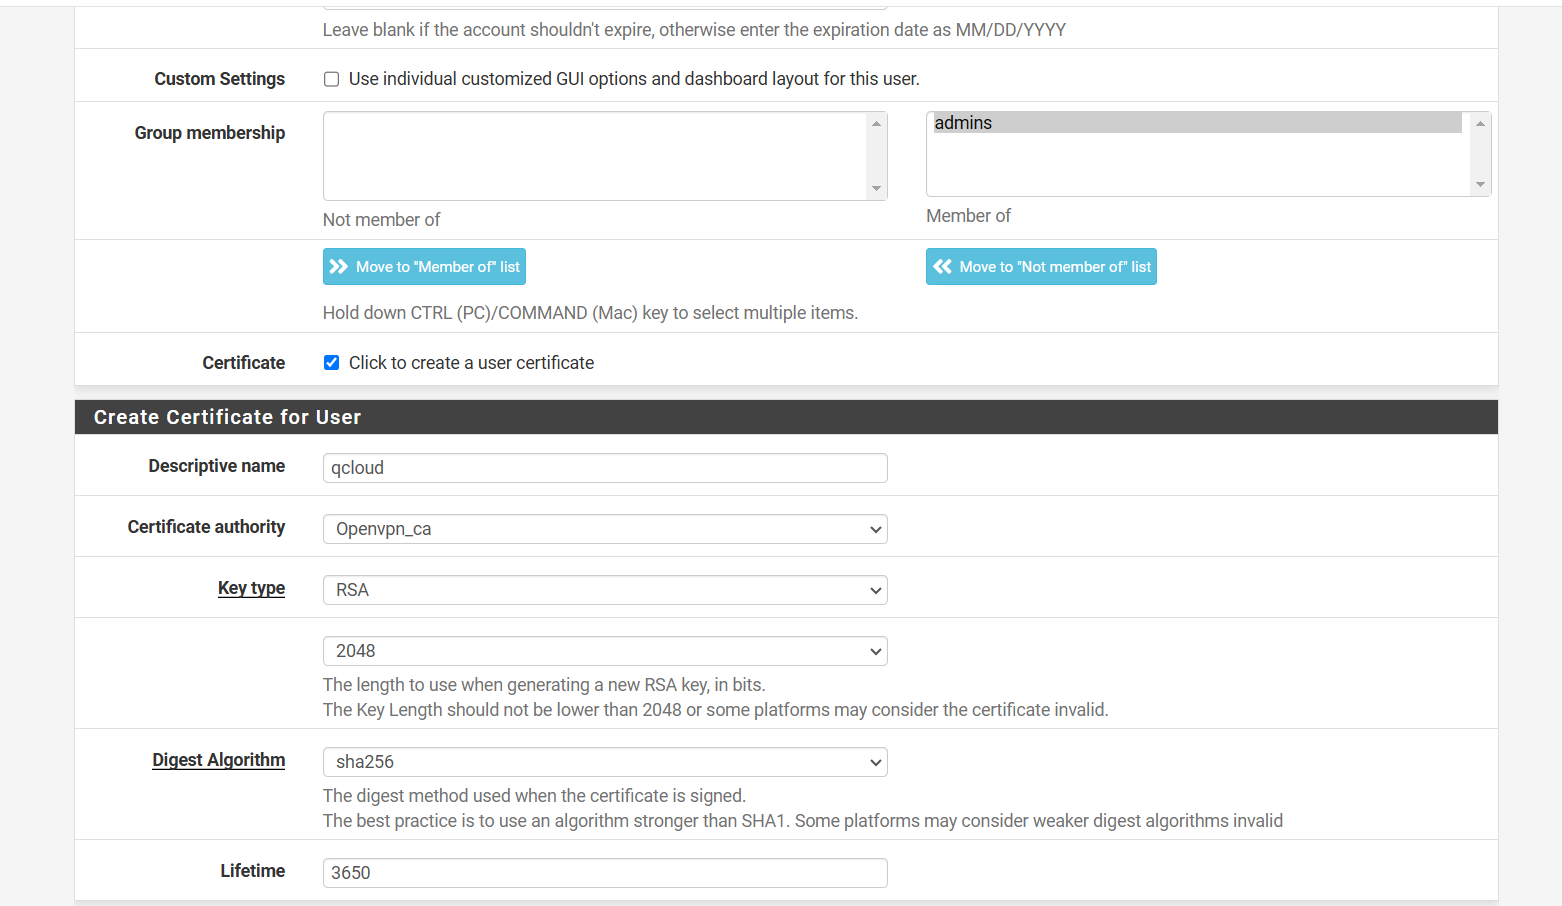
- If the user will connect to the VPN using their own certificate and OpenVPN client file.
- Check the box for Certificate.
- Select OpenVPN_CA under Certificate Authority (CA).
This CA is created by the QCloud team during OpenVPN server setup.
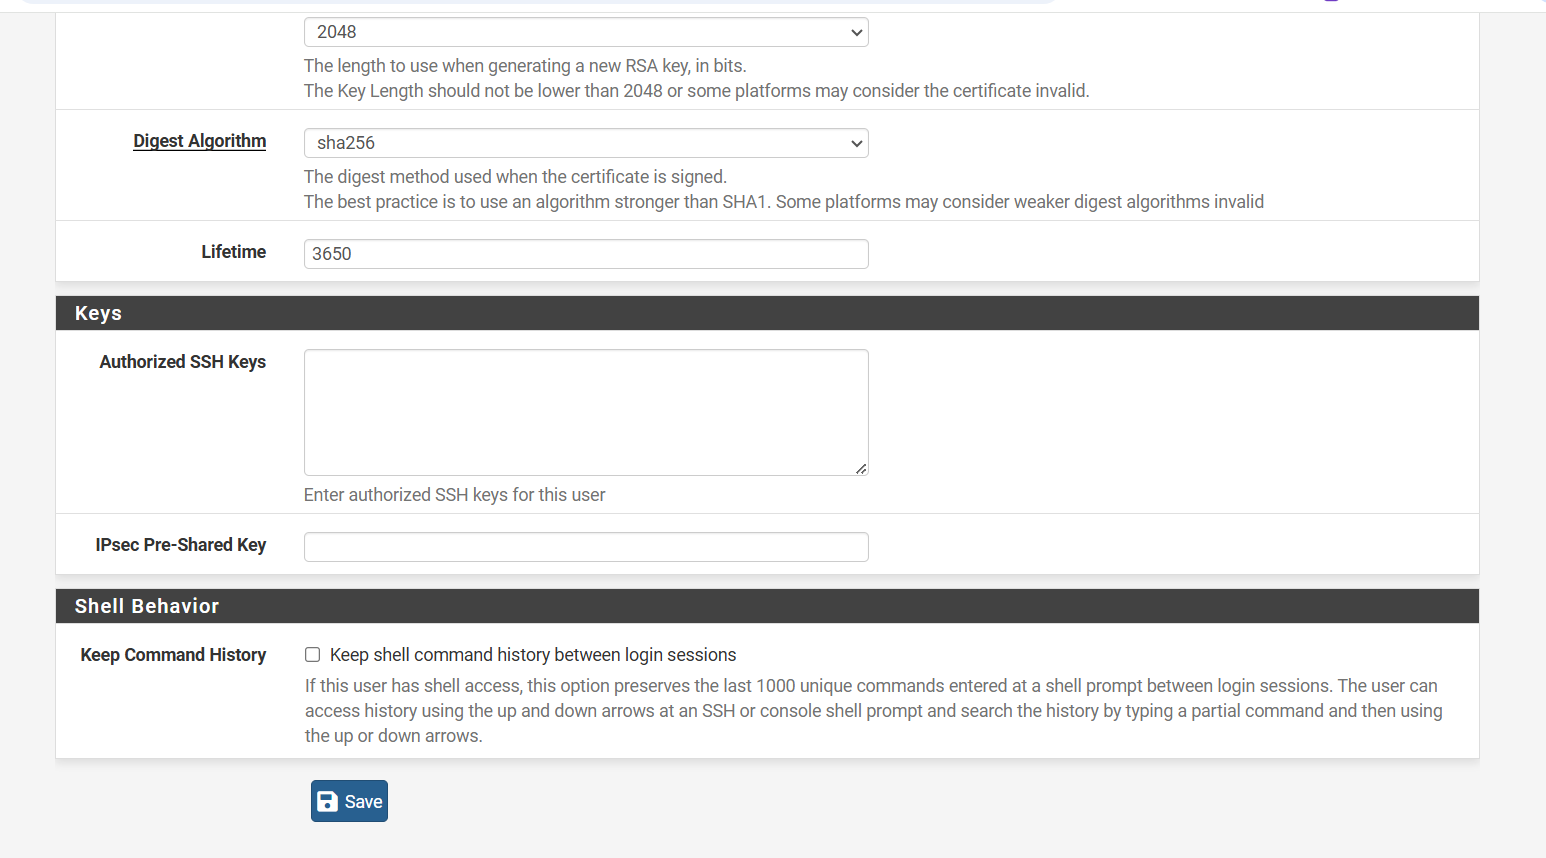
- Once complete, click Save.
- You will now see the newly created user listed on the Users page.

Step 4: Generate and Download the VPN Client File
- From the top menu, click VPN > OpenVPN
- Go to the Client Export tab
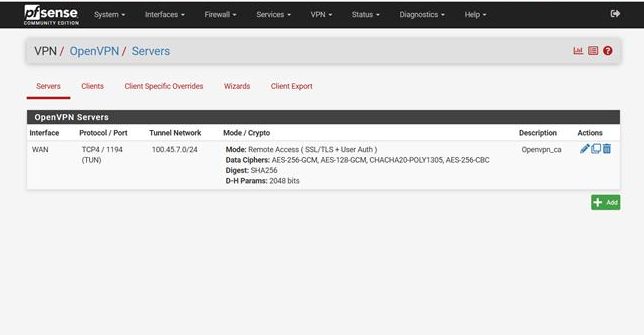
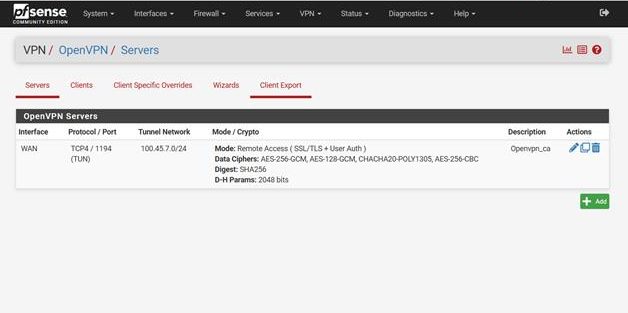
- Under Remote Access Server, select TCP.

QCloud’s OpenVPN setup uses a TCP-based connection.
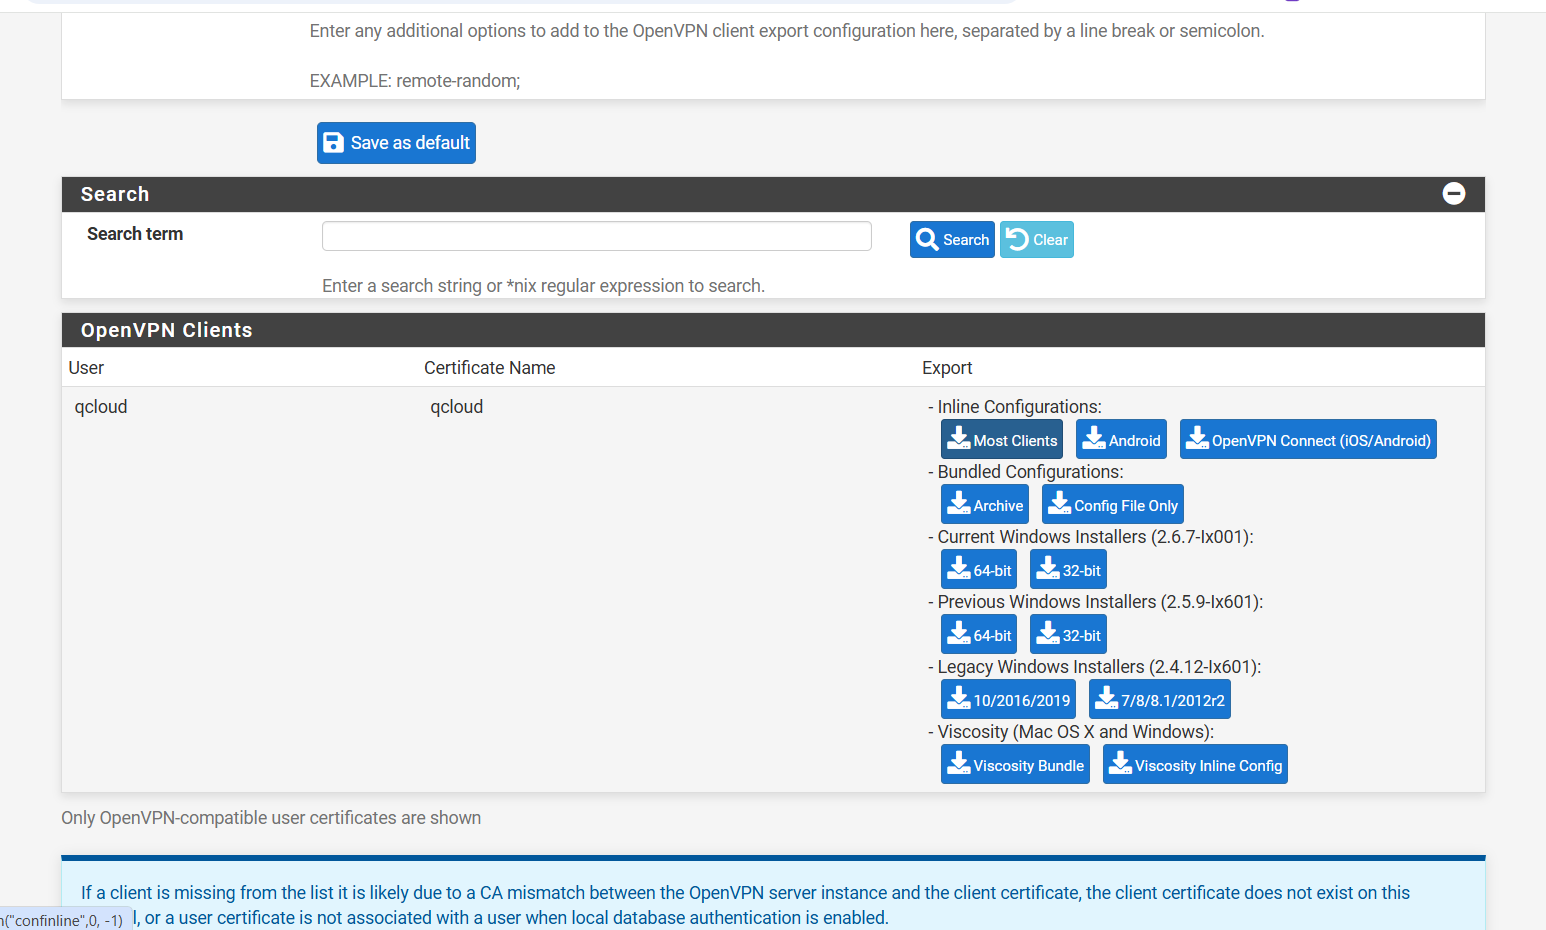
- Scroll down to see a list of users. Locate the newly created user.
- Click “Most Clients” next to the user’s name to download their OpenVPN client file (.ovpn file).
Step 5: Edit the VPN File (Replace Internal IP)
Open the downloaded .ovpn file using Notepad or any text editor.
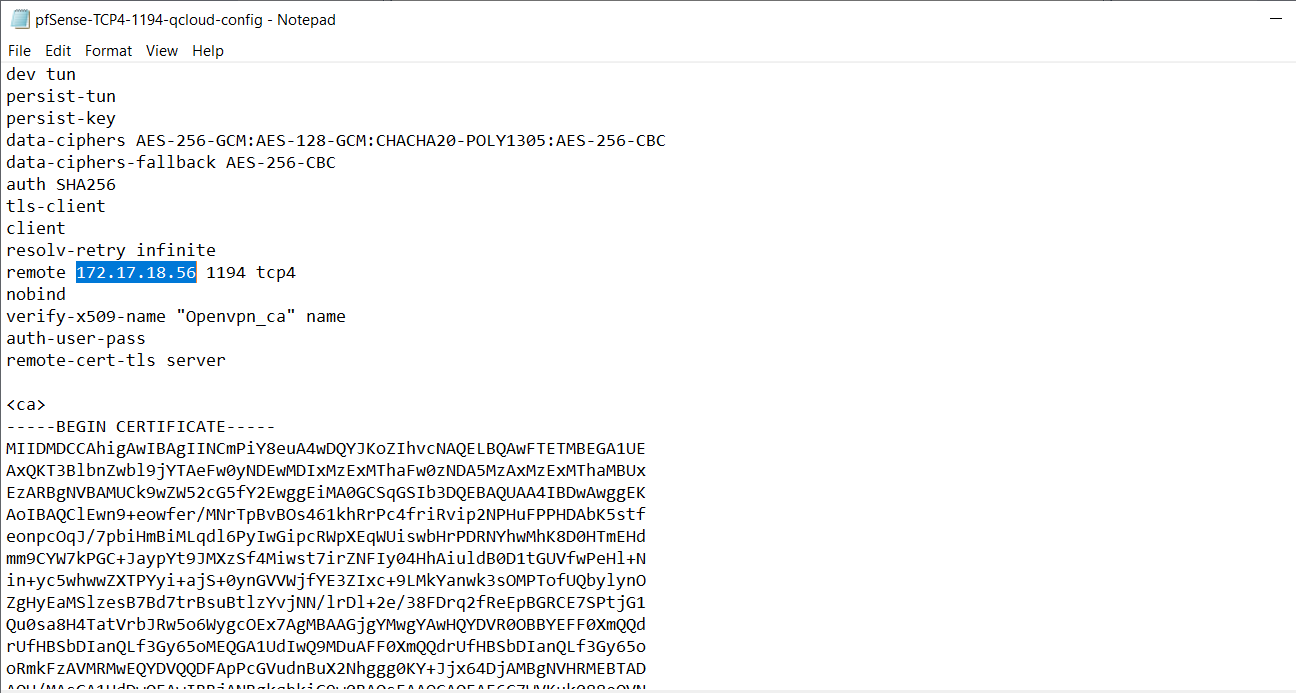
- Find and replace the private IP address (e.g., 10.x.x.x) with your public or elastic IP address.
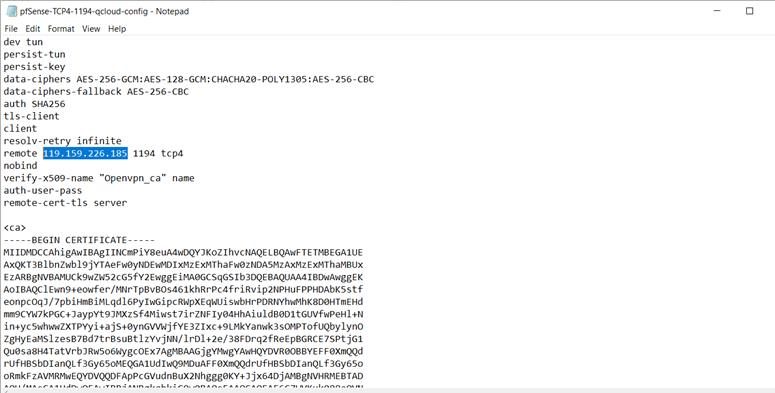
For example, replace the default private IP with:
129.169.286.5
(as provided in the Environment Details file by QCloud)
Save the file. It is now ready for use with any standard OpenVPN client.