Accessing Networks via the Console UI #
Step 1: Accessing the Console UI
From the pfsense console UI, navigate to the left sidebar and locate the Networking section. Click on Networks.
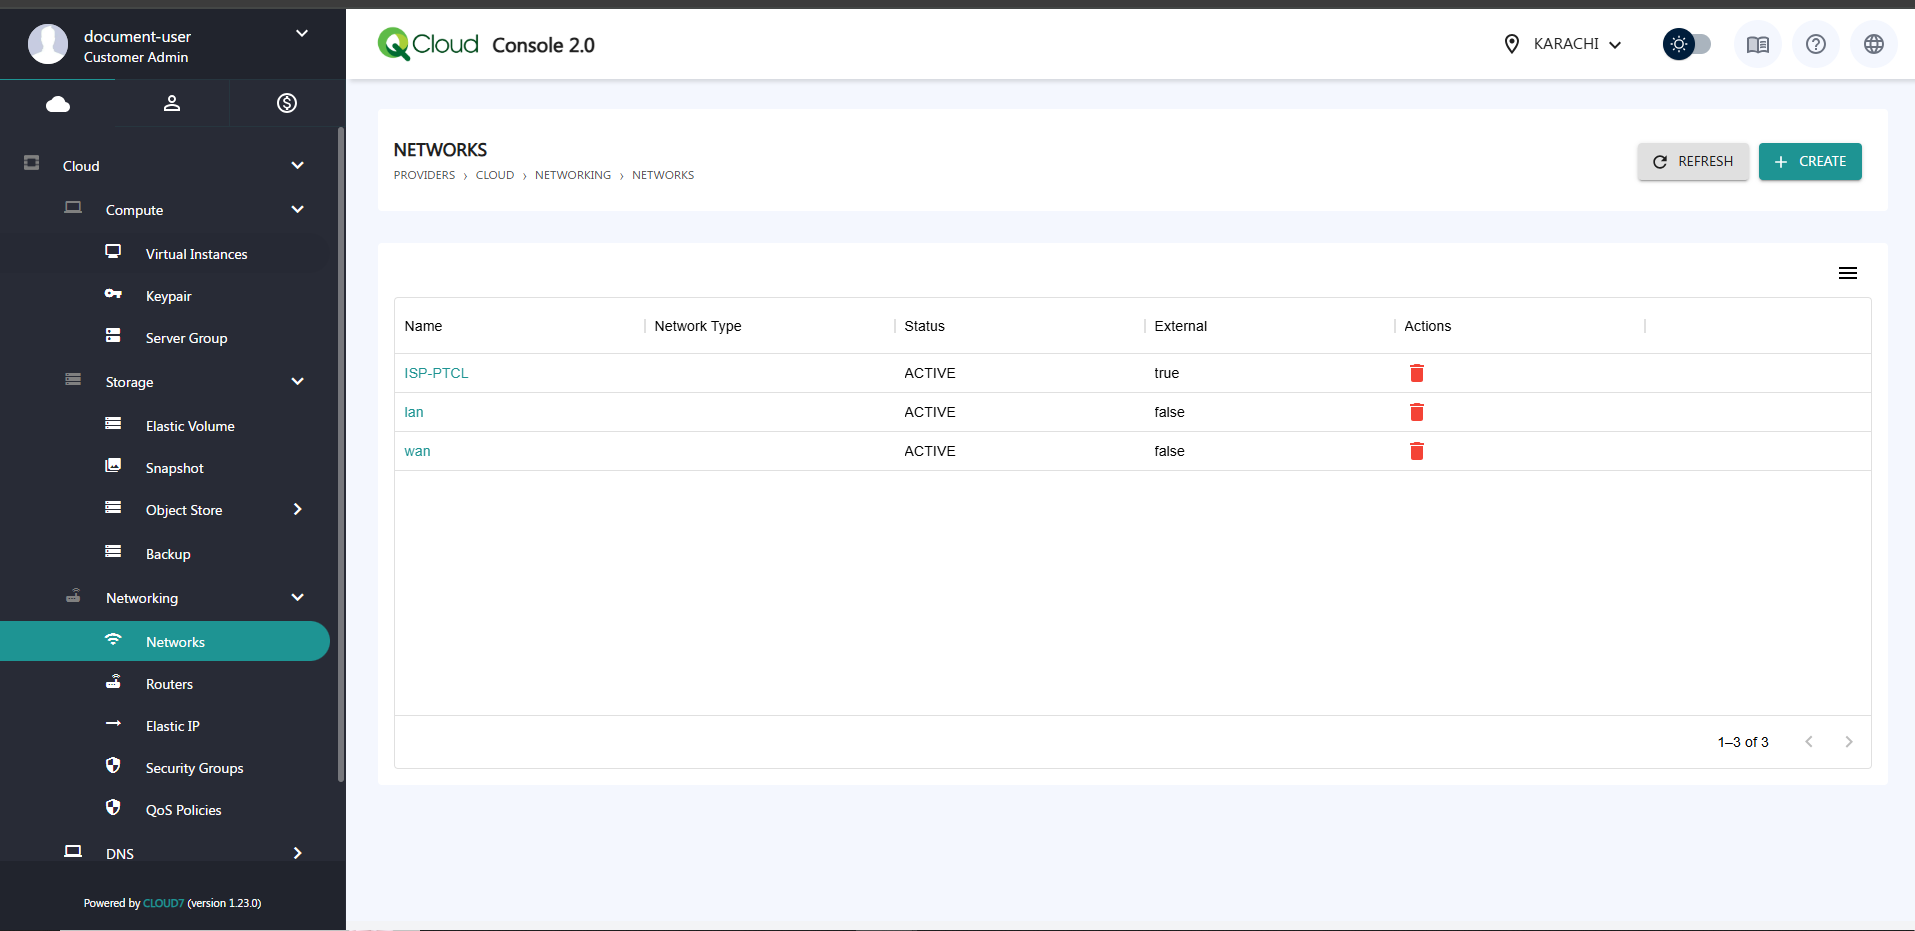
Step 2: Create a New Network
- Click on the Create button.
- Assign a Name to your new network and click Next.

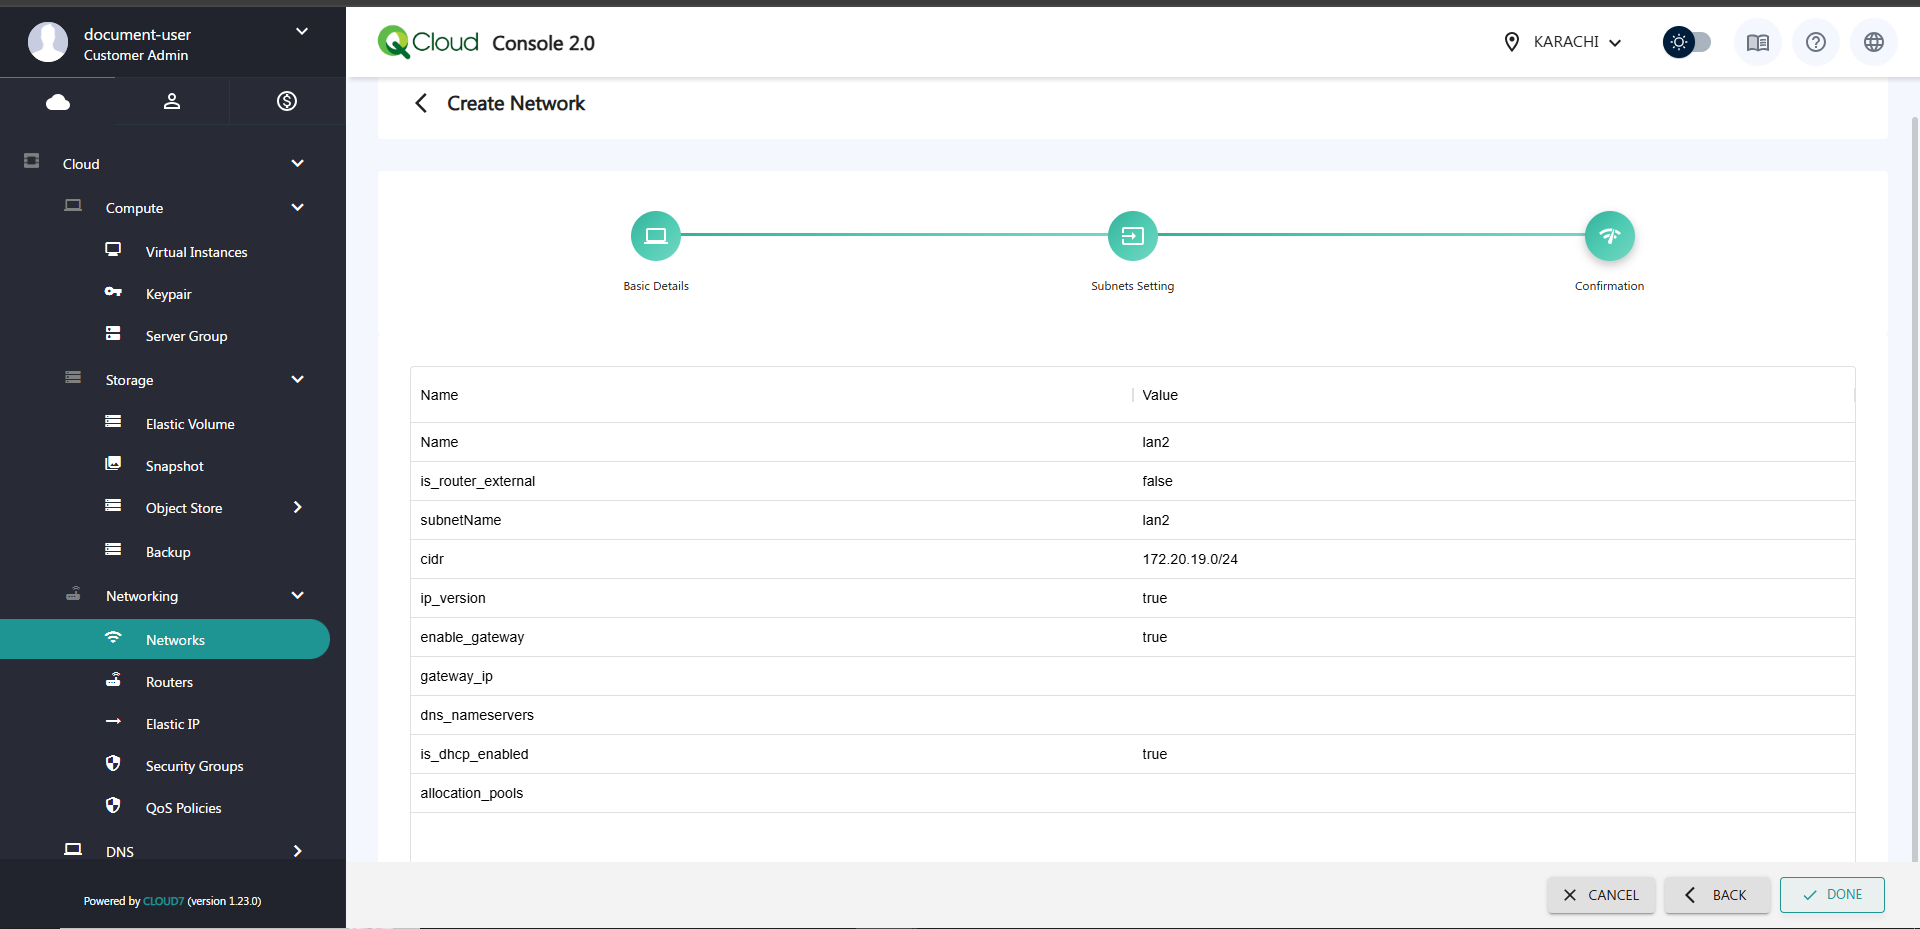
- Provide the Subnet name, assign the CIDR Block, and select the appropriate IP version.
- Ensure the following options are enabled:
- Enable Gateway
- Enable DHCP
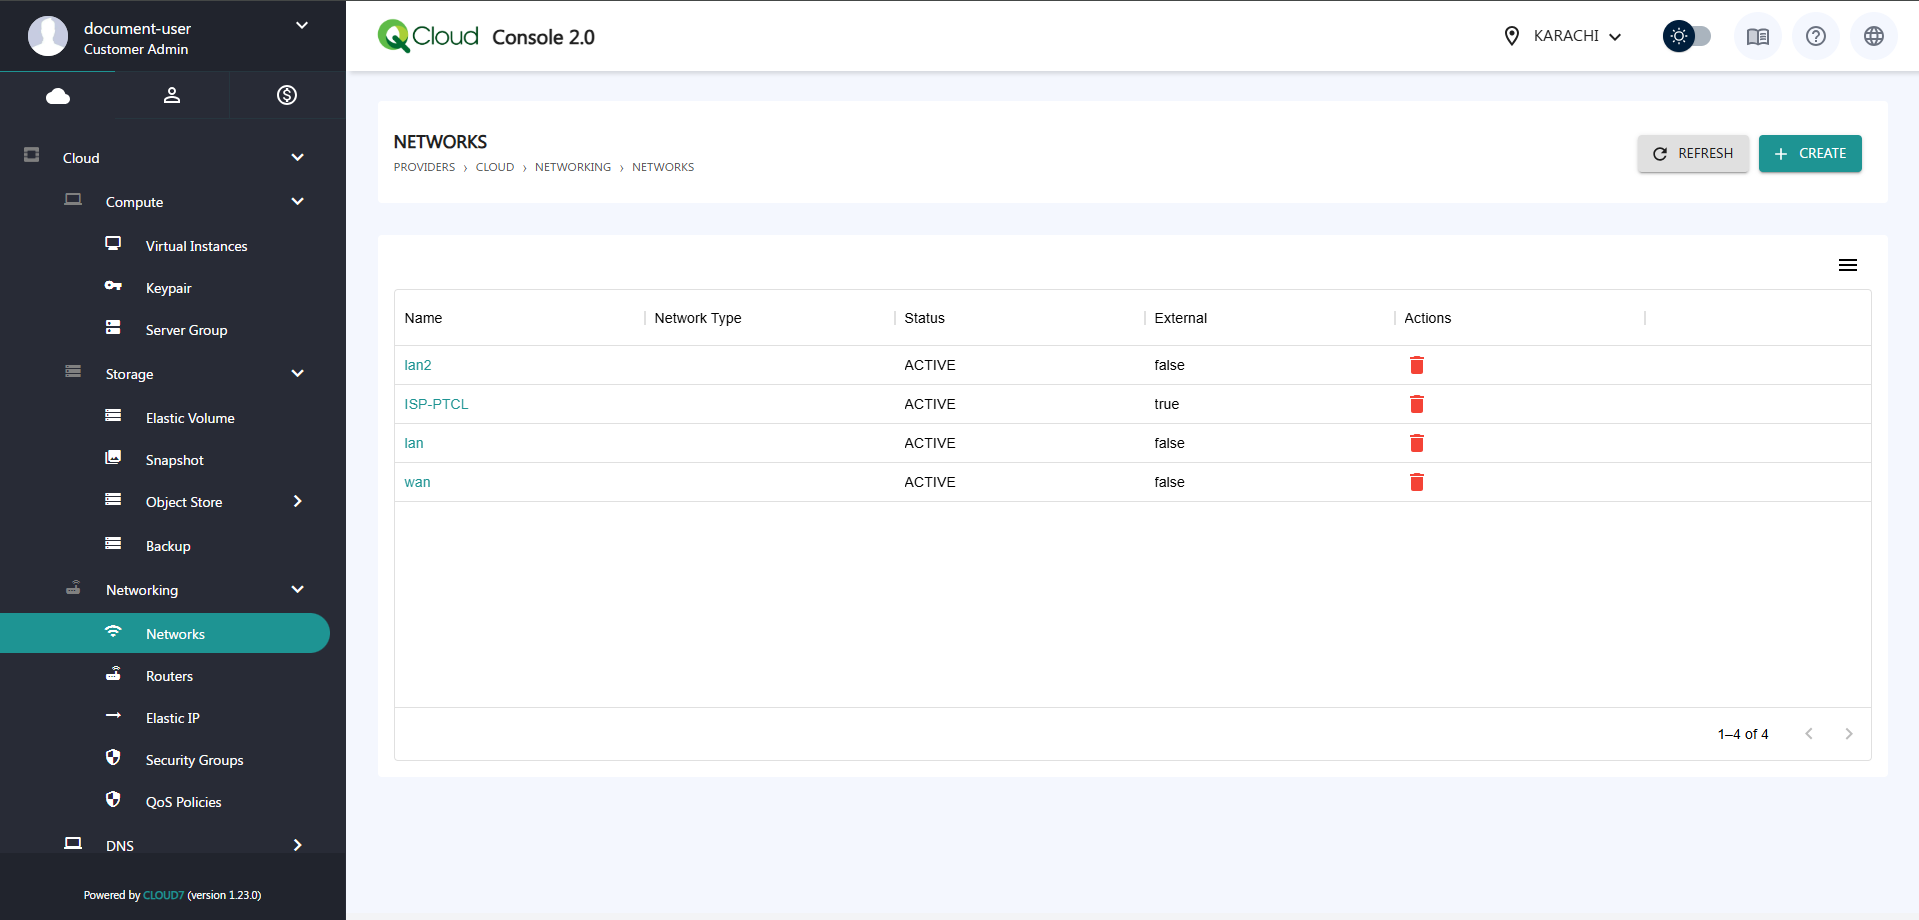
- Click Done. Your network will now be created.
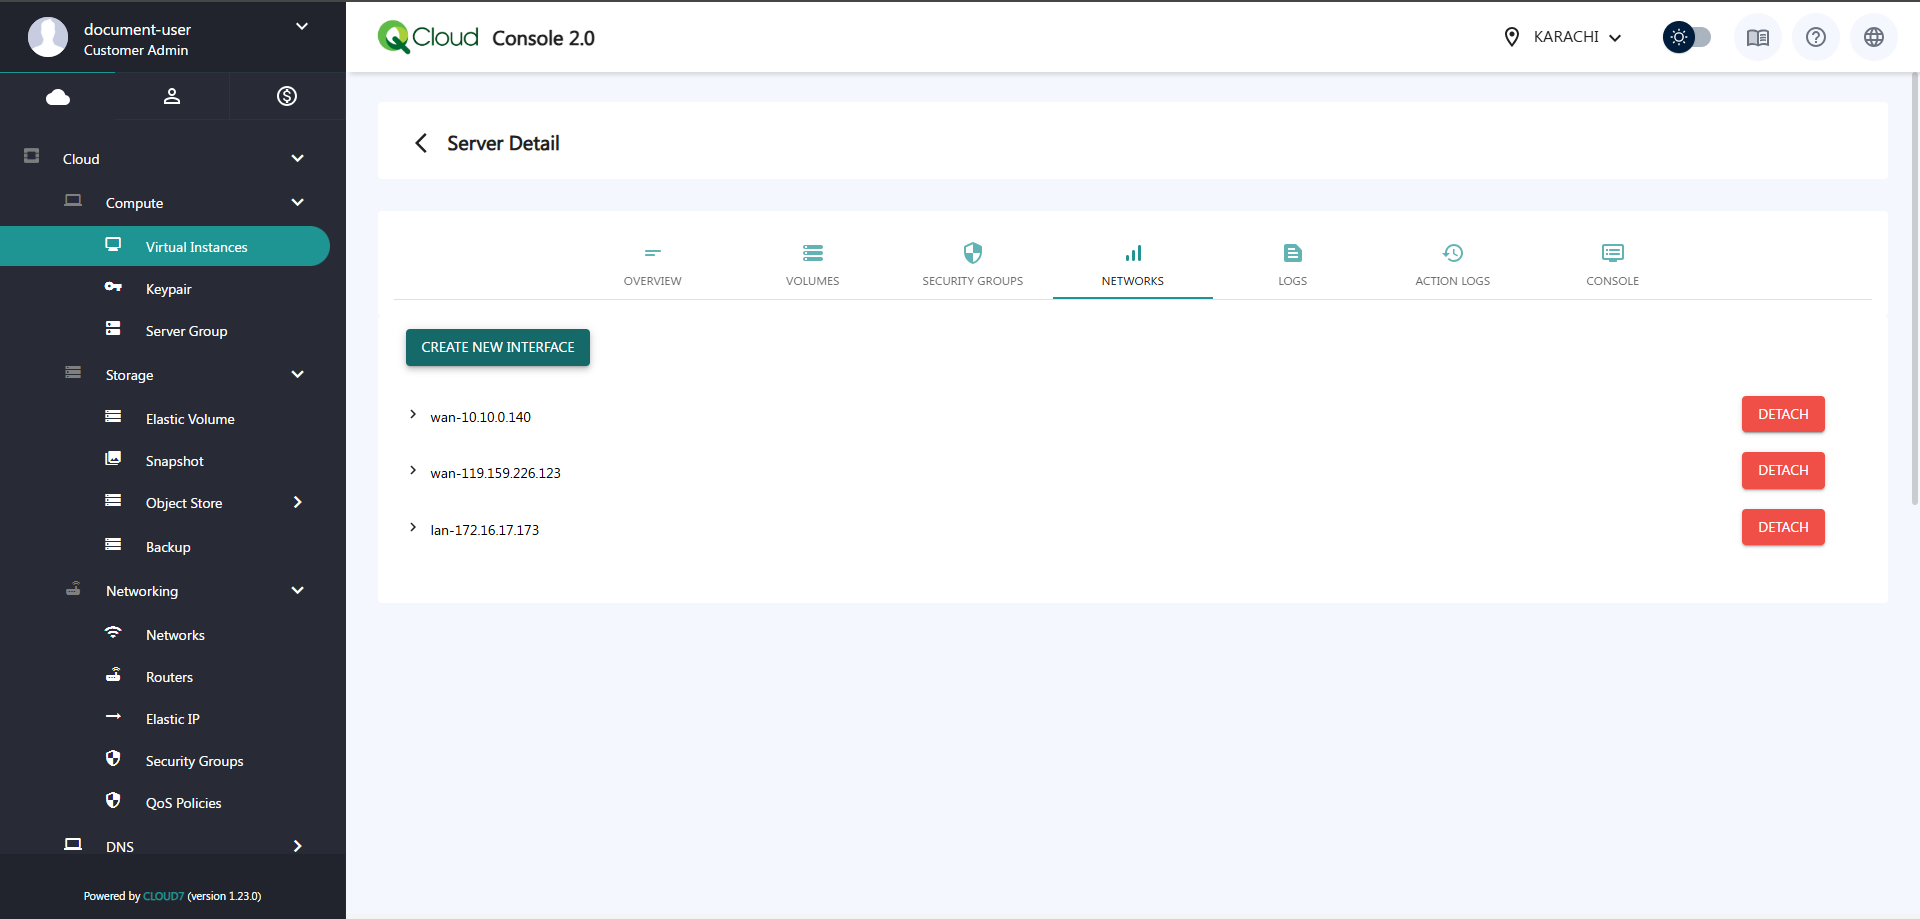
Step 3: Attach Network to Virtual Instance
- Go to Virtual Instances.

- Click on the instance to which you want to assign the network.
- Navigate to the Networks tab and click Create new interface.
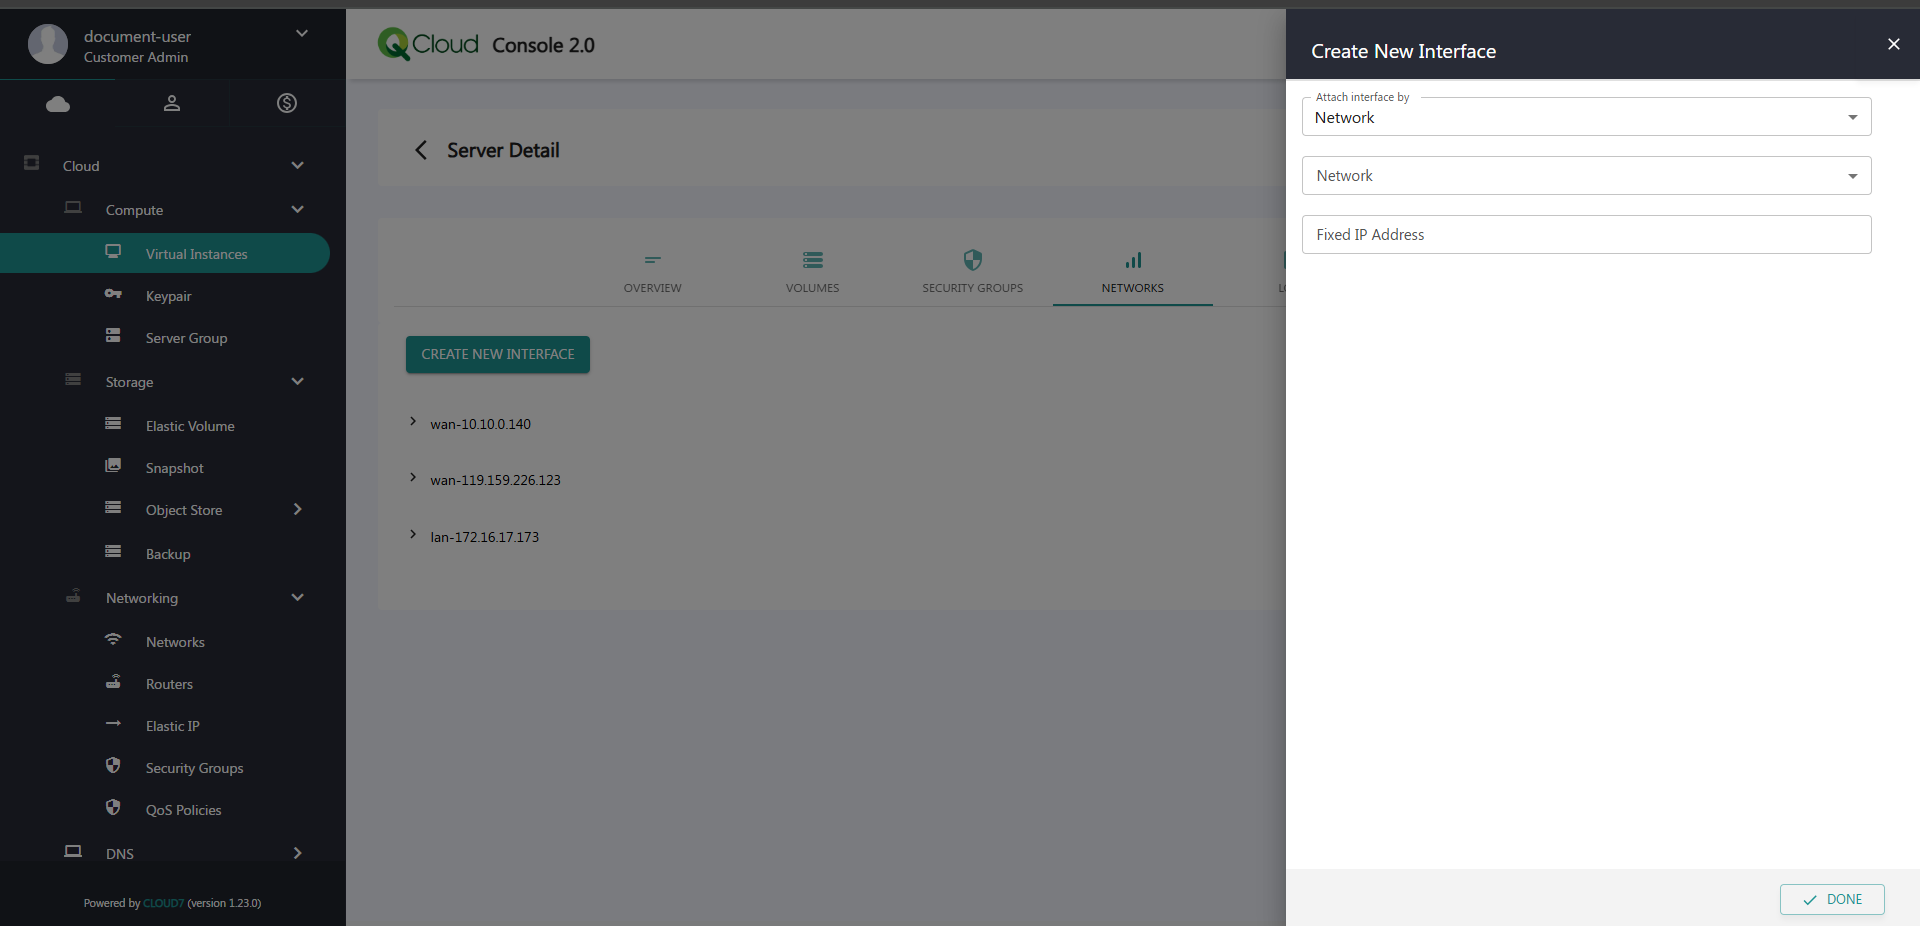
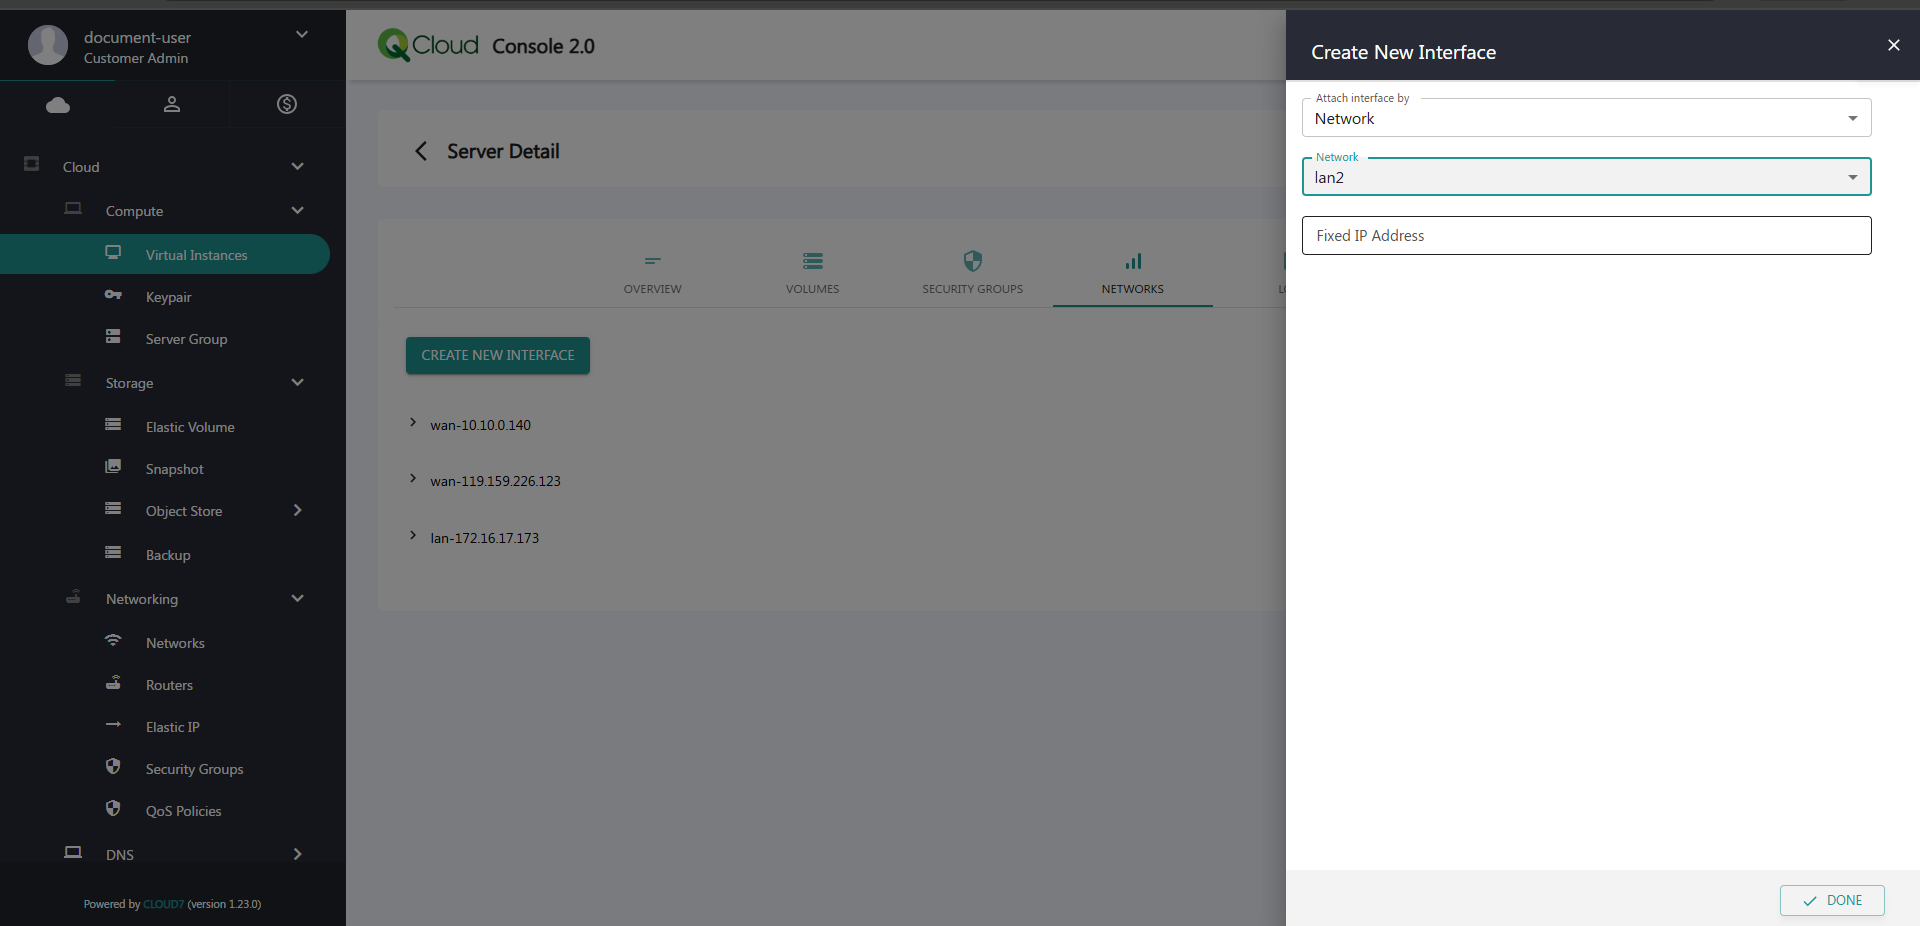
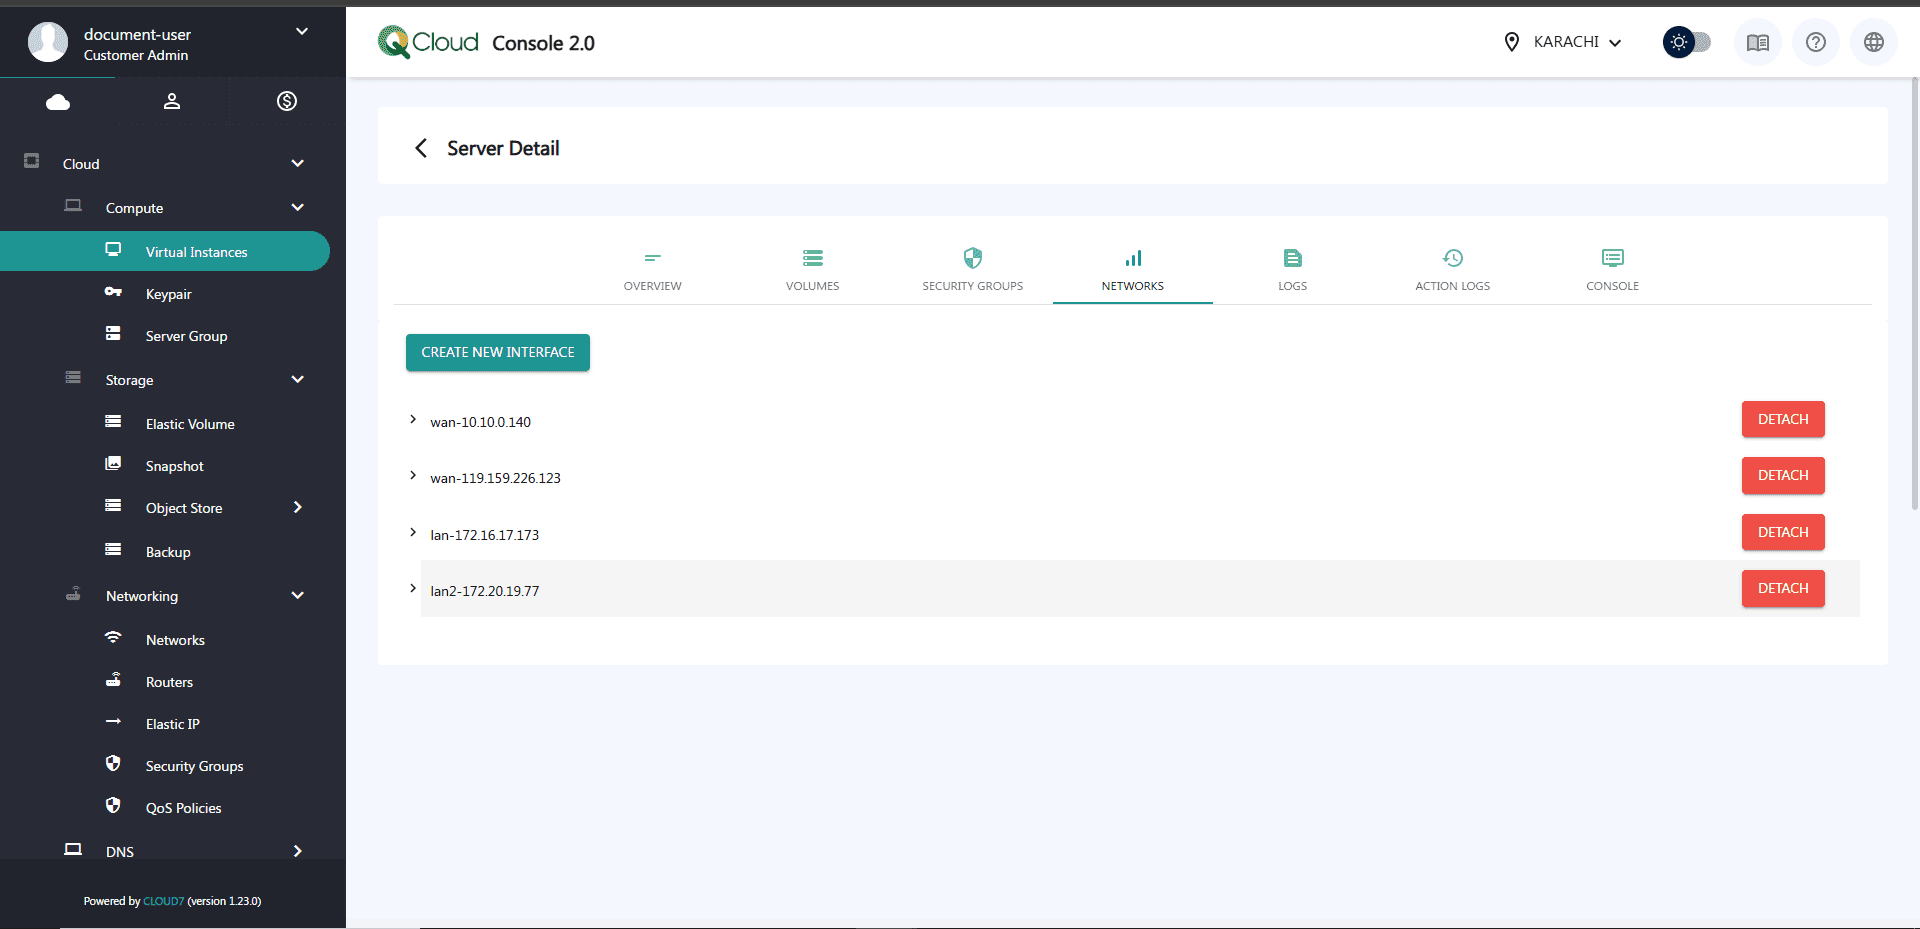
- Select the newly created network and click Done. The interface will now be attached to the instance.
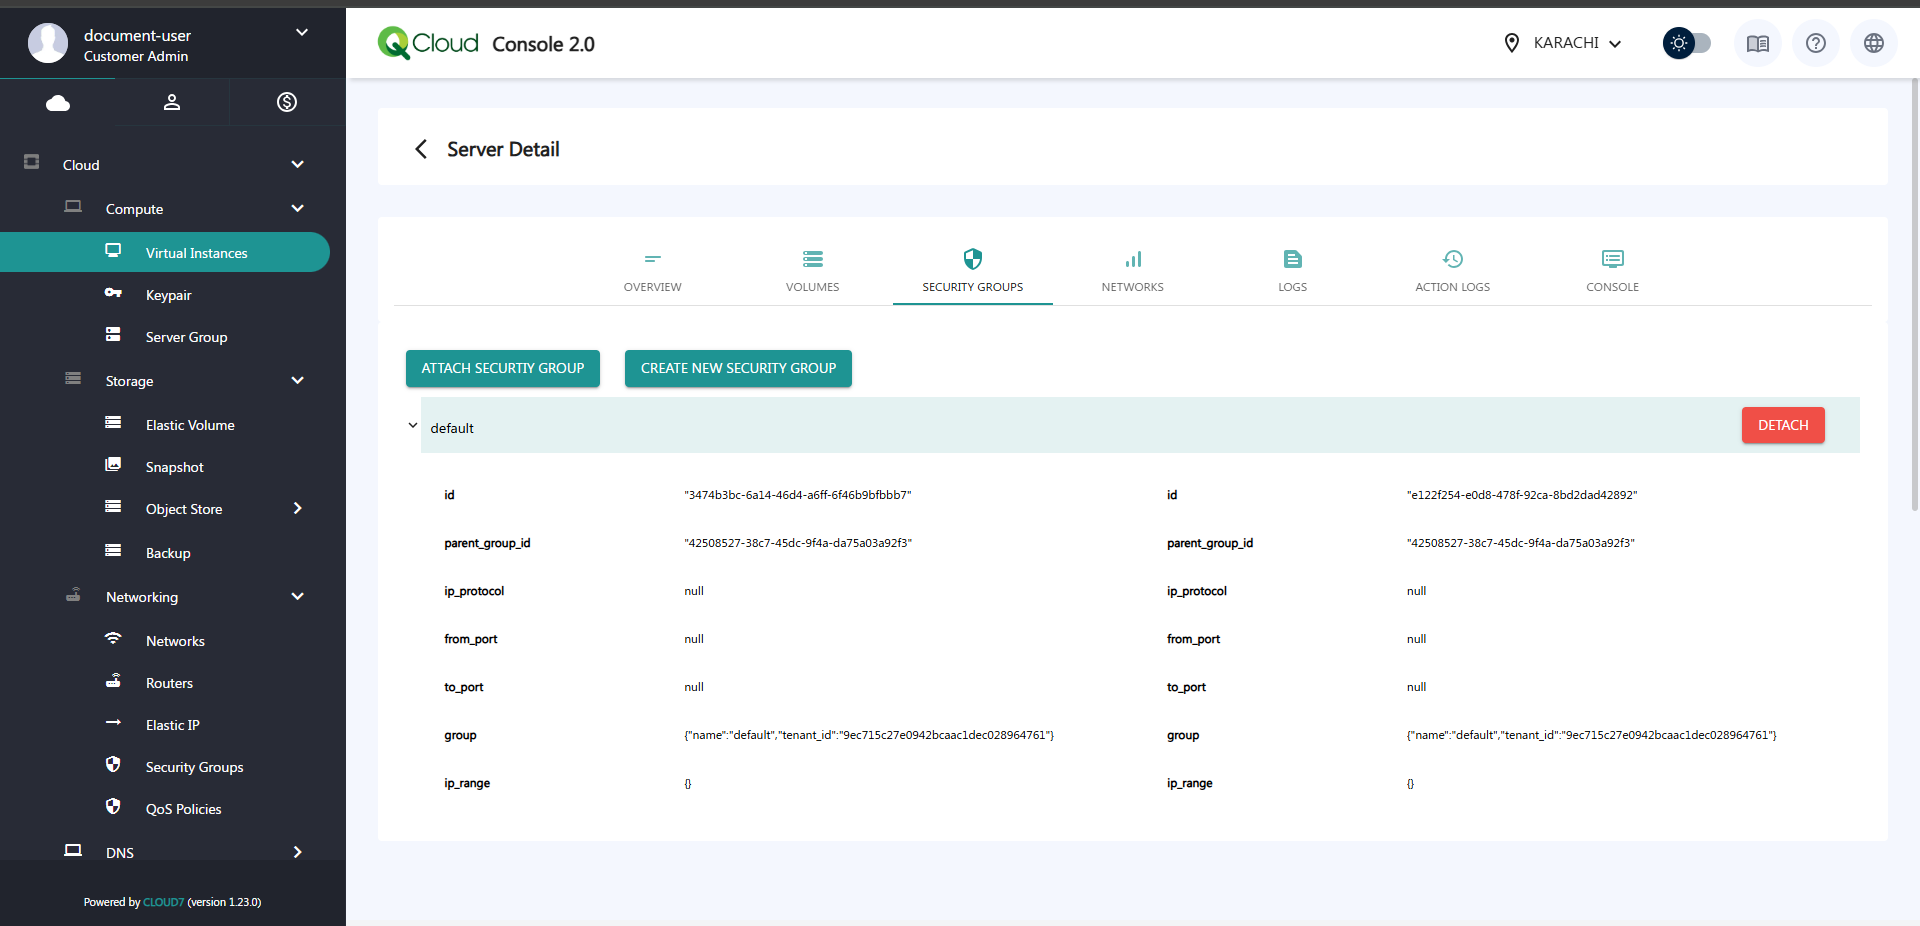
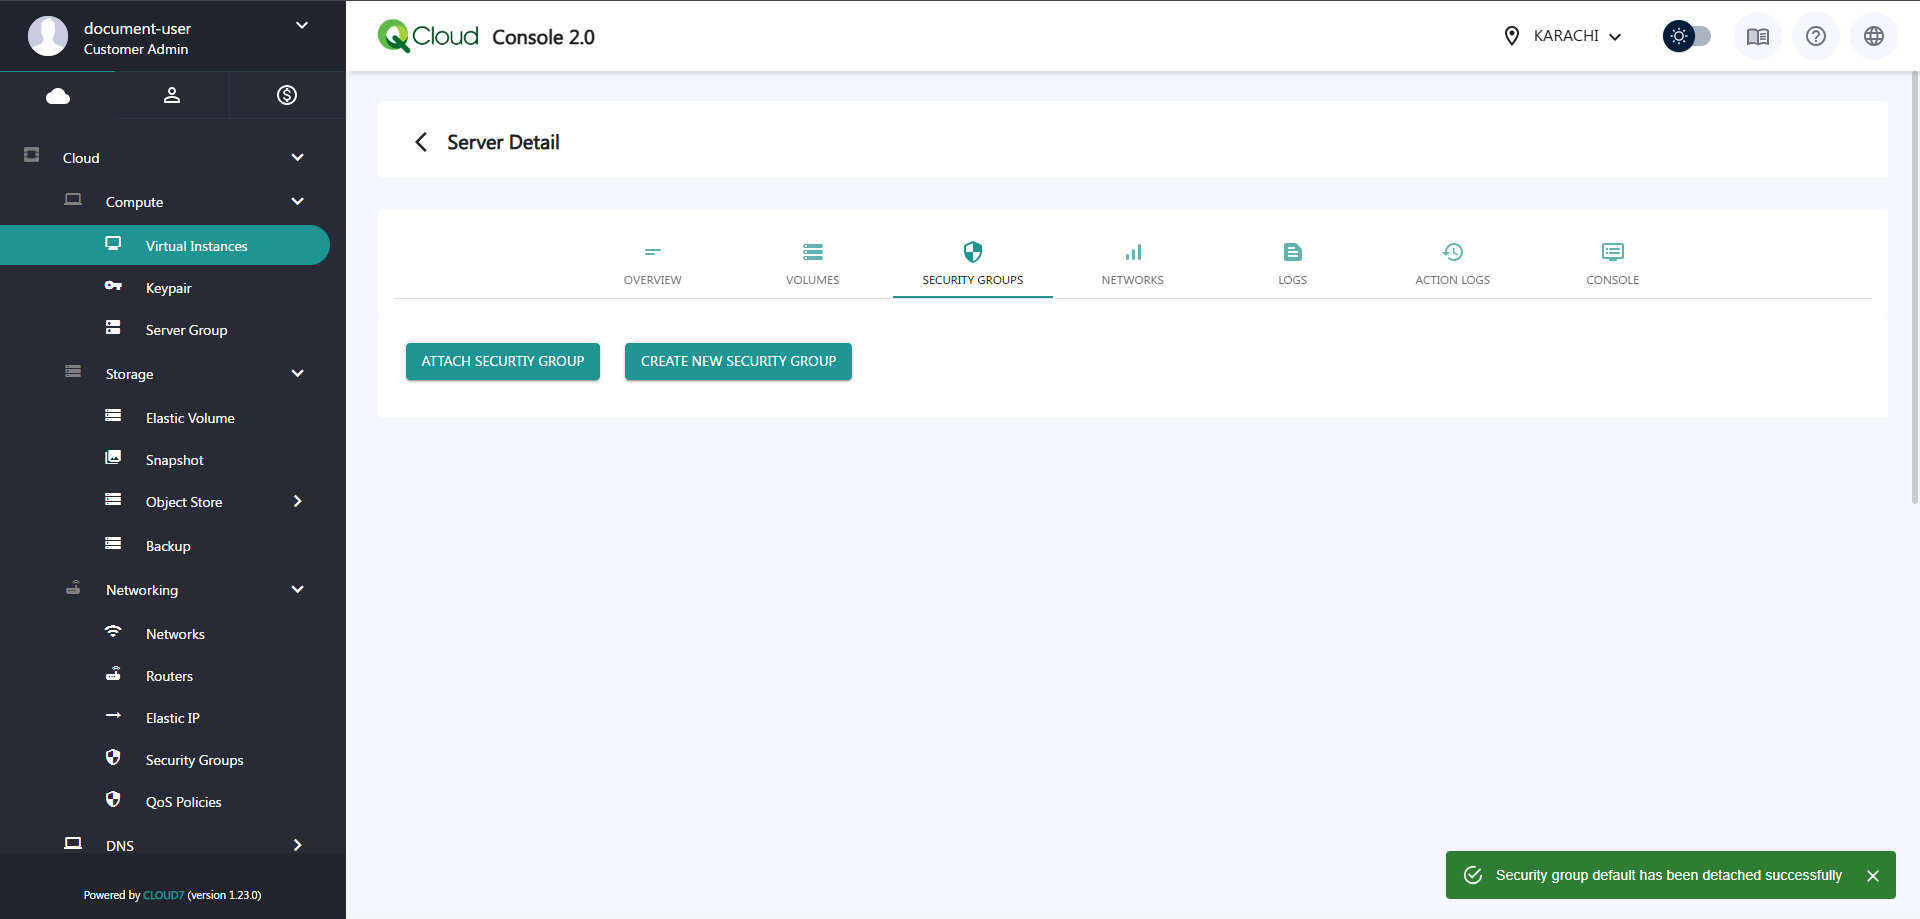
Step 4: Remove Default Security Group
Since pfSense manages the firewall, remove the default security group:
- Go to the Security Group section.
- Click Detach on the attached security group.

Step 5: Disable Port Security
- Navigate to Networking and select the network you created.
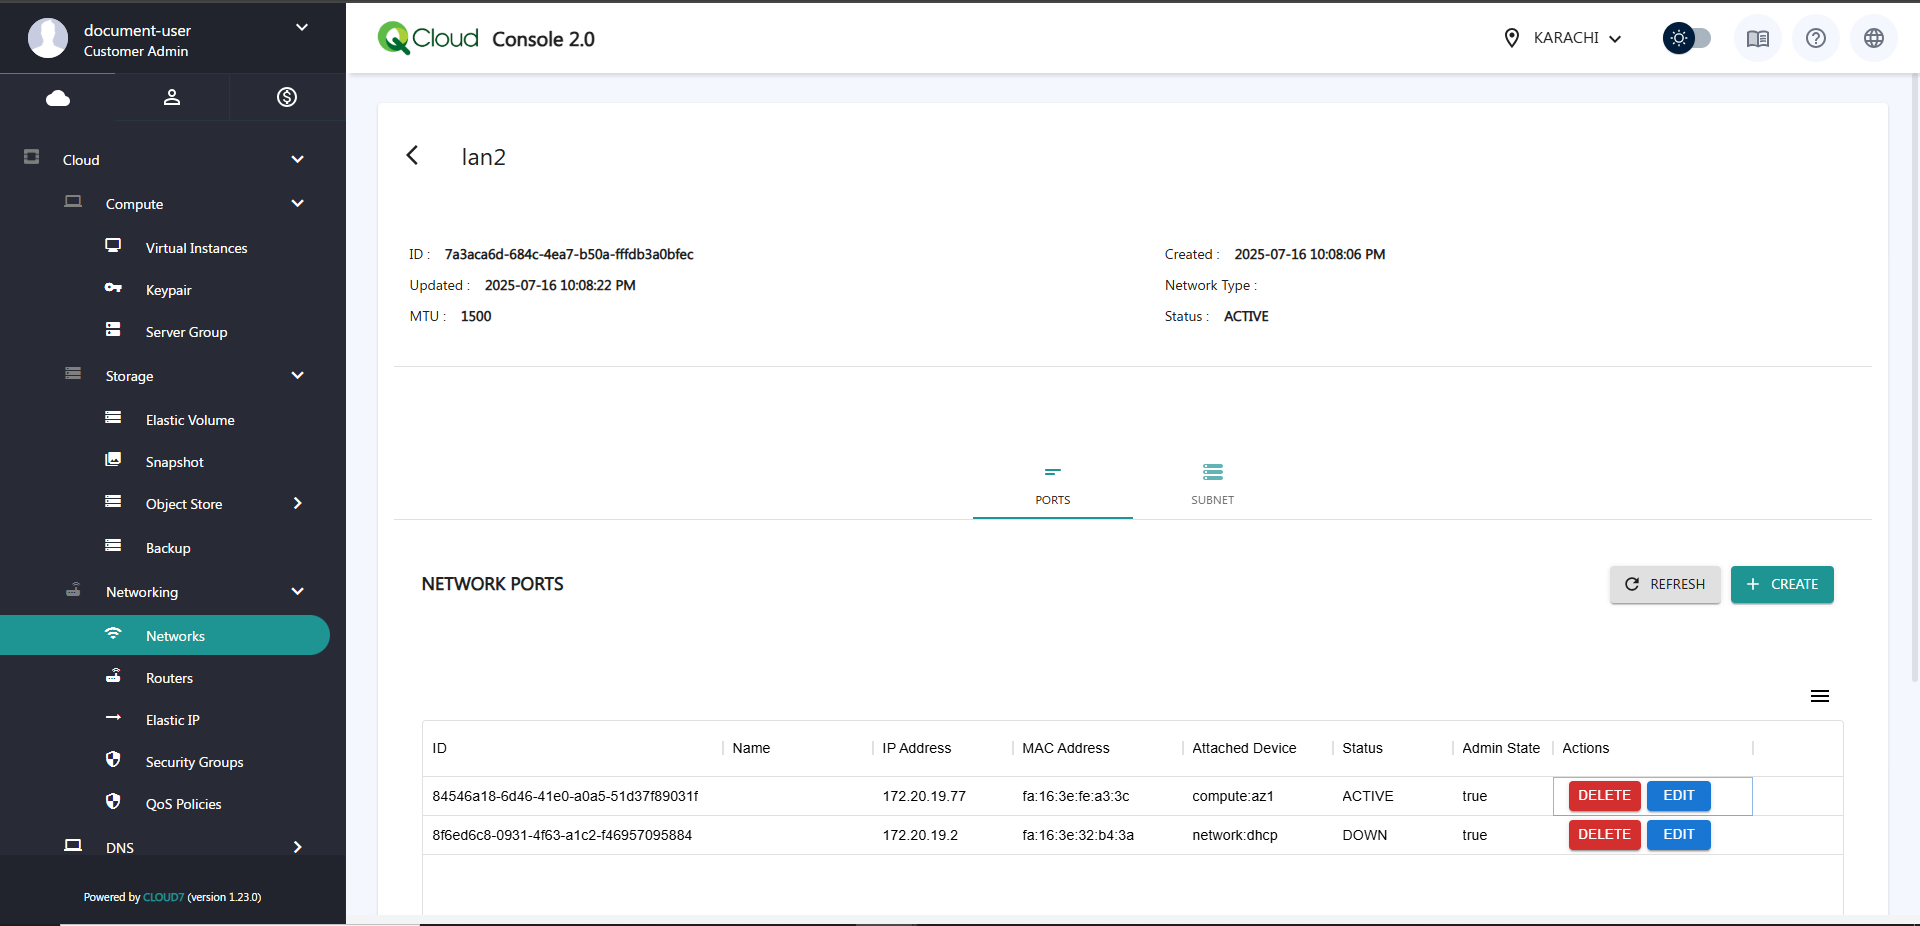
- Go to the Ports tab.
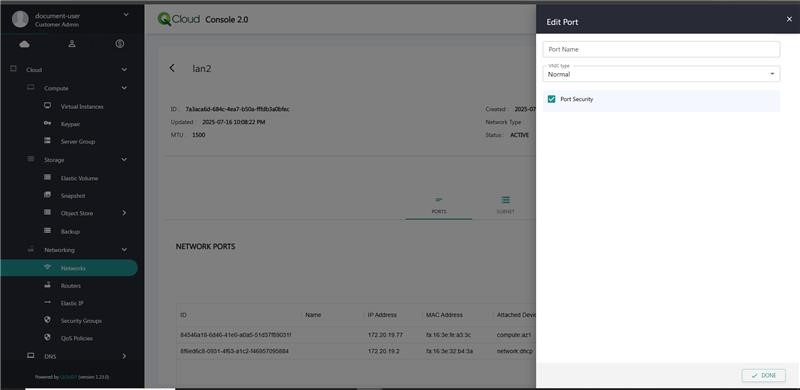
- Locate the Active port, click Edit, and uncheck the Port Security option
Step 6: Assign Interface in pfSense
- In the pfSense UI, go to Interfaces > Interface Assignments.
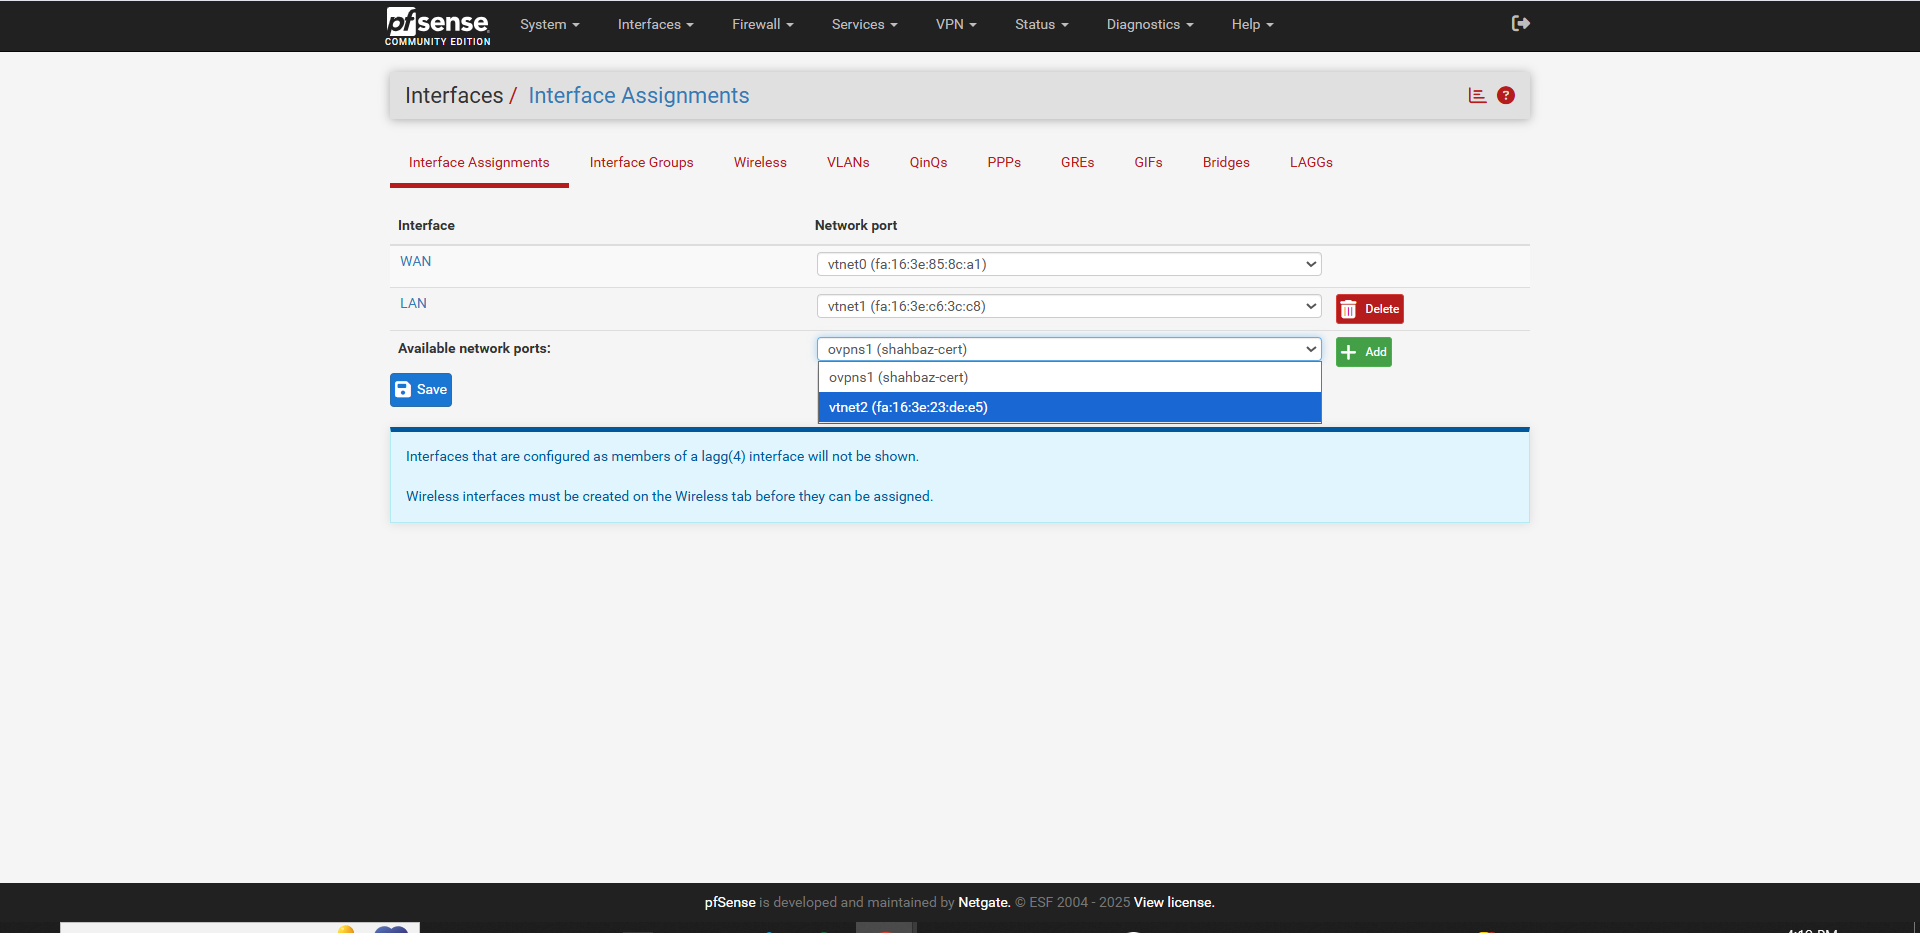
- Under Available network ports, select the newly added interface and click Add.
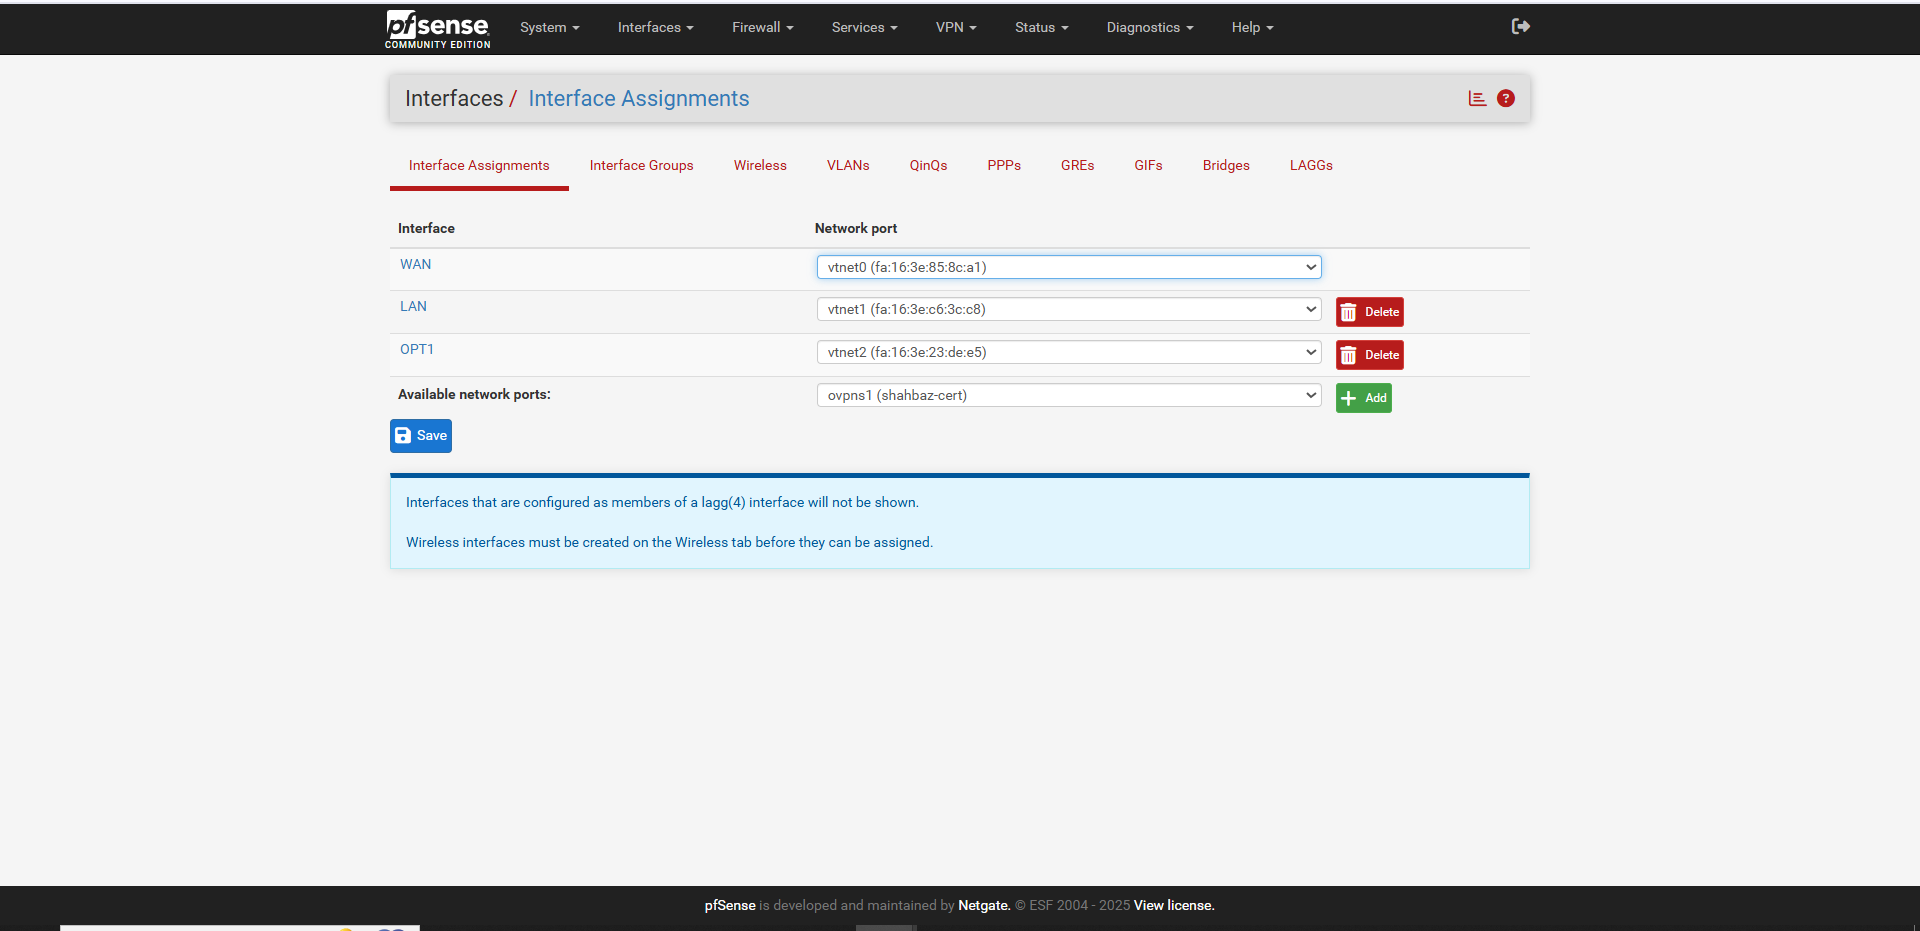
- Click Save. The interface will appear under the name OPT1 or similar.
Step 7: Configure the New Interface
- Click on the newly created interface (e.g., OPT1).
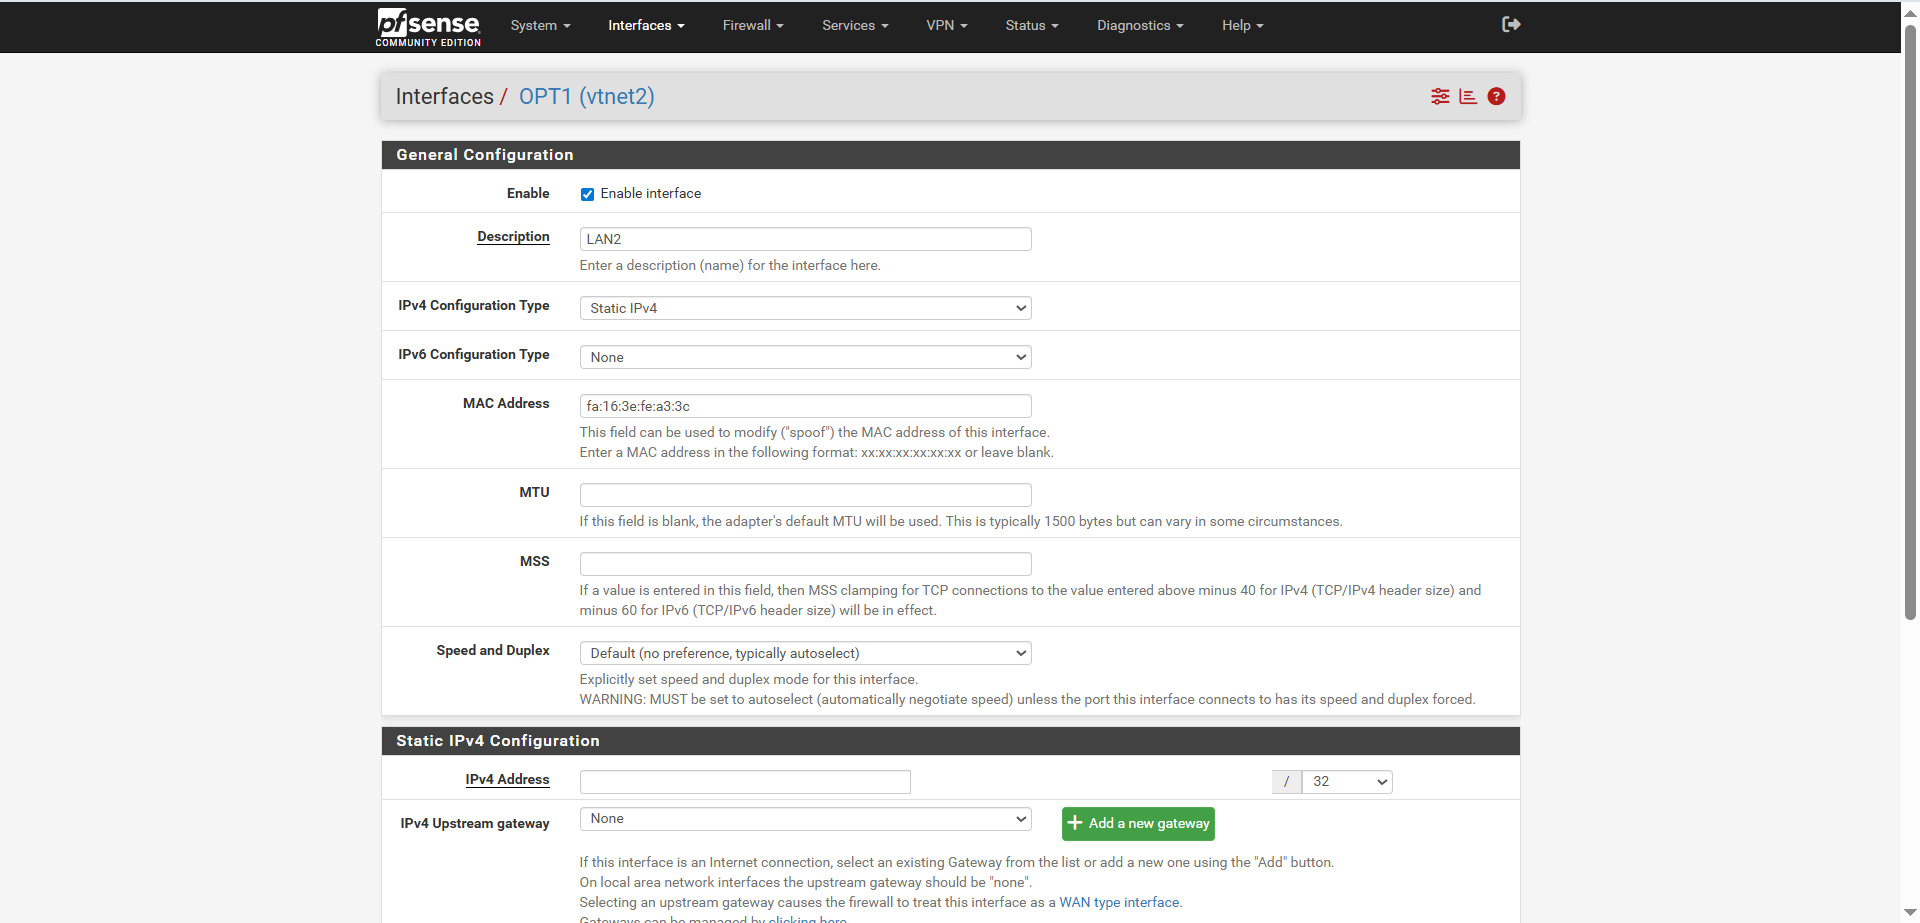
- Rename it as desired.
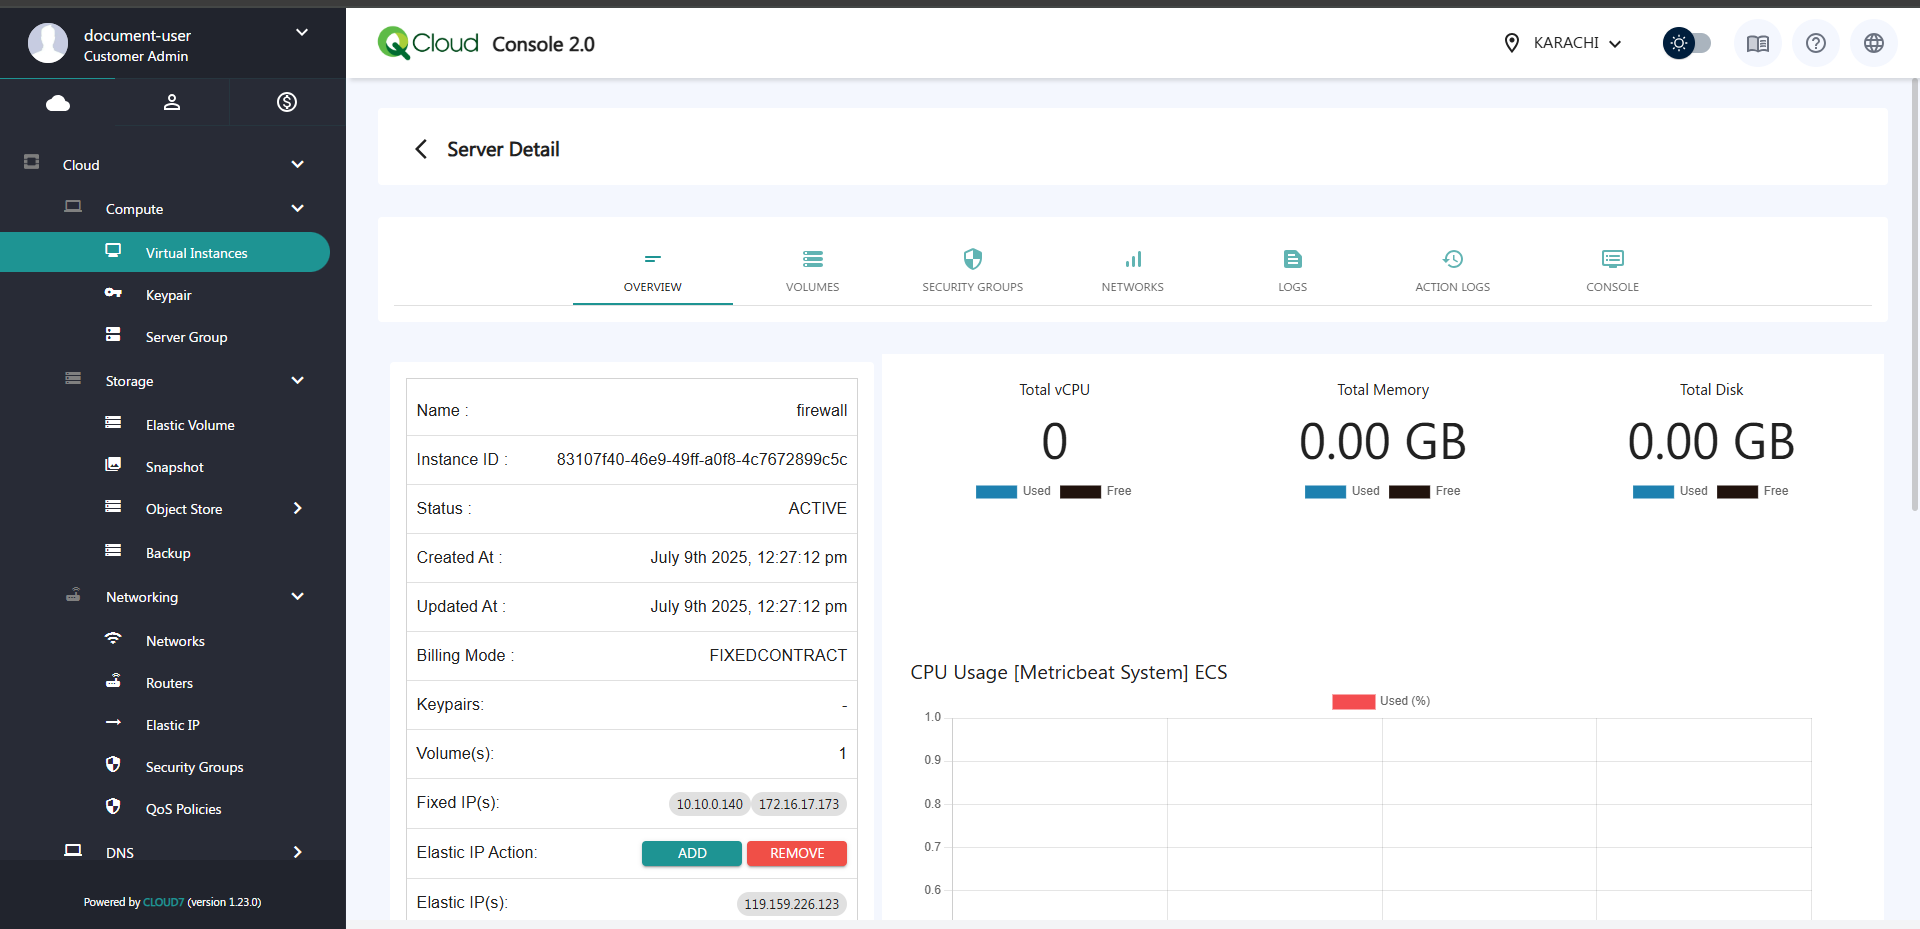
- Obtain the MAC address from the console:
- Navigate to the instance details > Networks > and copy the highlighted MAC address.
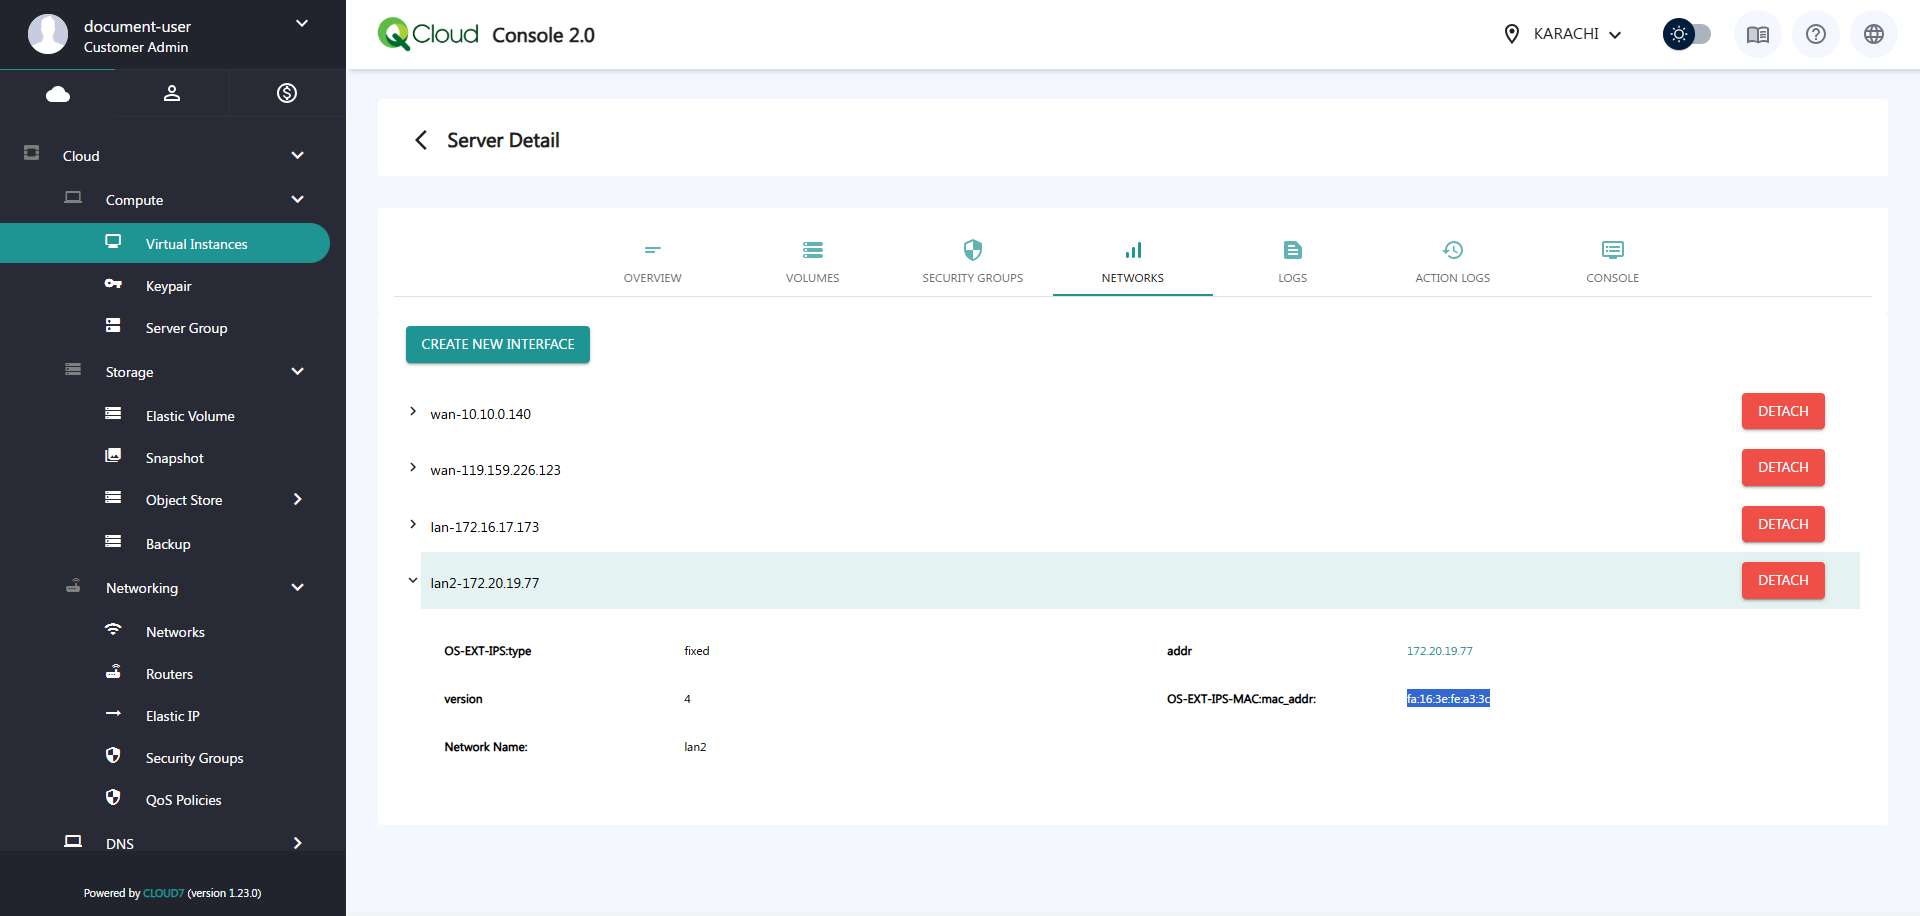
- Assign the IPv4 address based on your IP pool range (also visible from the console).
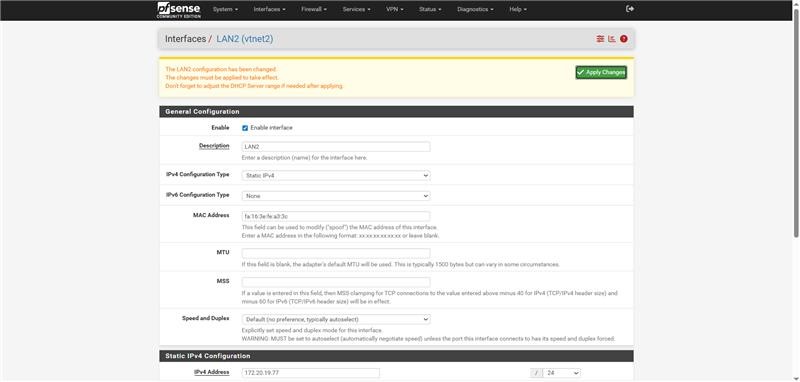
- Click Save and then Apply Changes.
Step 8: Verify Interface on Main Page
- Return to the pfSense main page.
- Hover over Interfaces in the top menu.
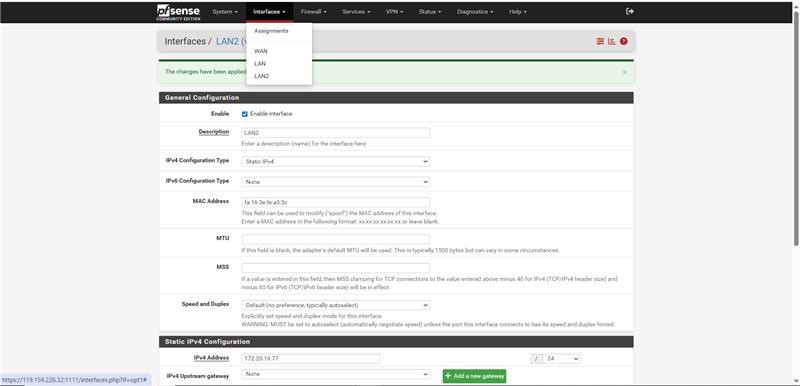
- You should now see the newly added interface listed.