Step 1: Access to the Console
Access https://console.qcloud.pk through your web browser.
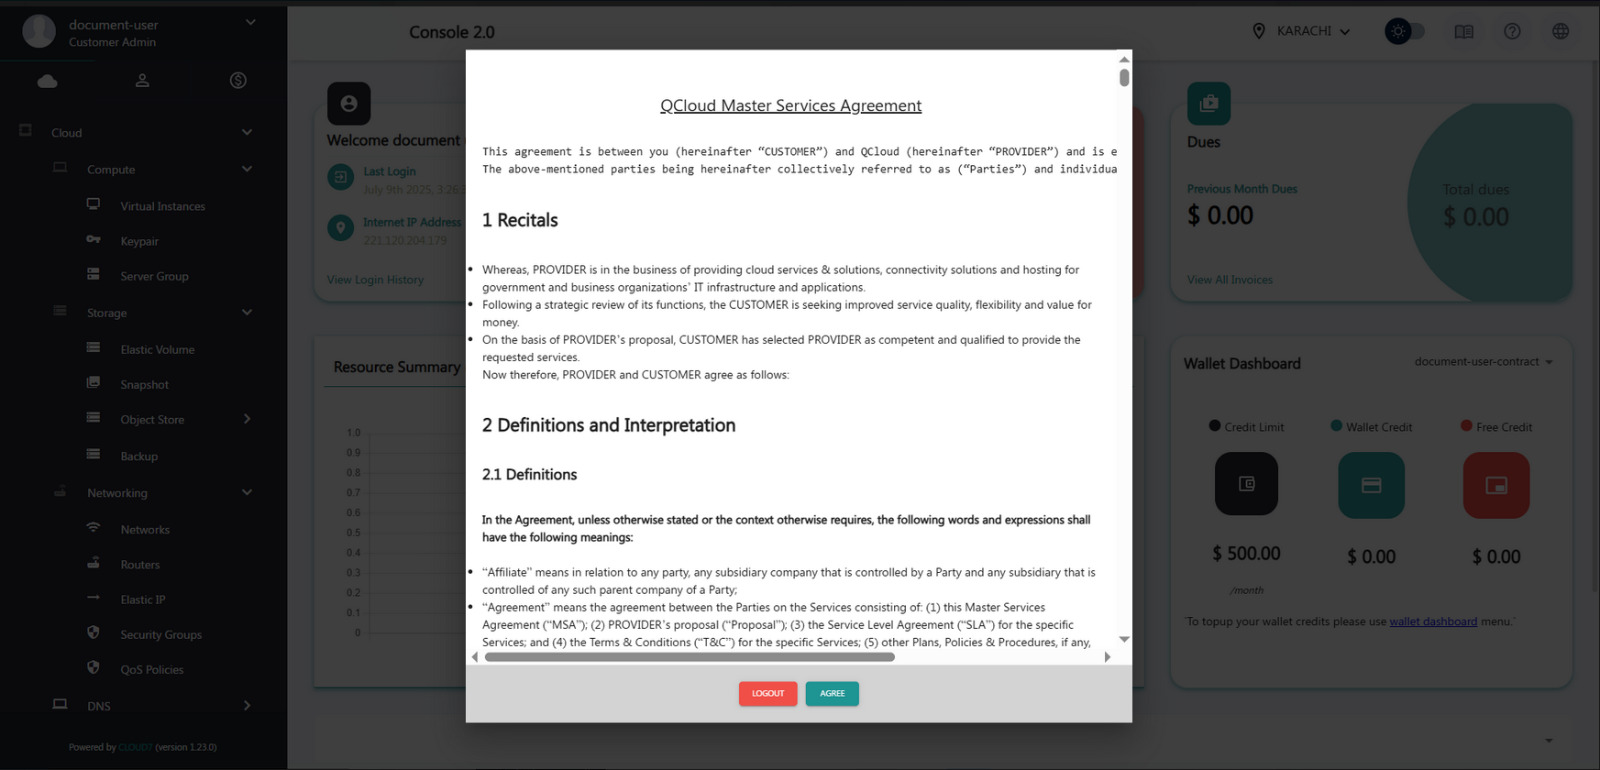
Step 2: Agree to proceed
Click Agree to proceed.
Step 3: Expand the Networking tab from the left-hand menu
-
- Navigate to the Routers section.
- Click the Create icon located in the upper-right corner of the screen.

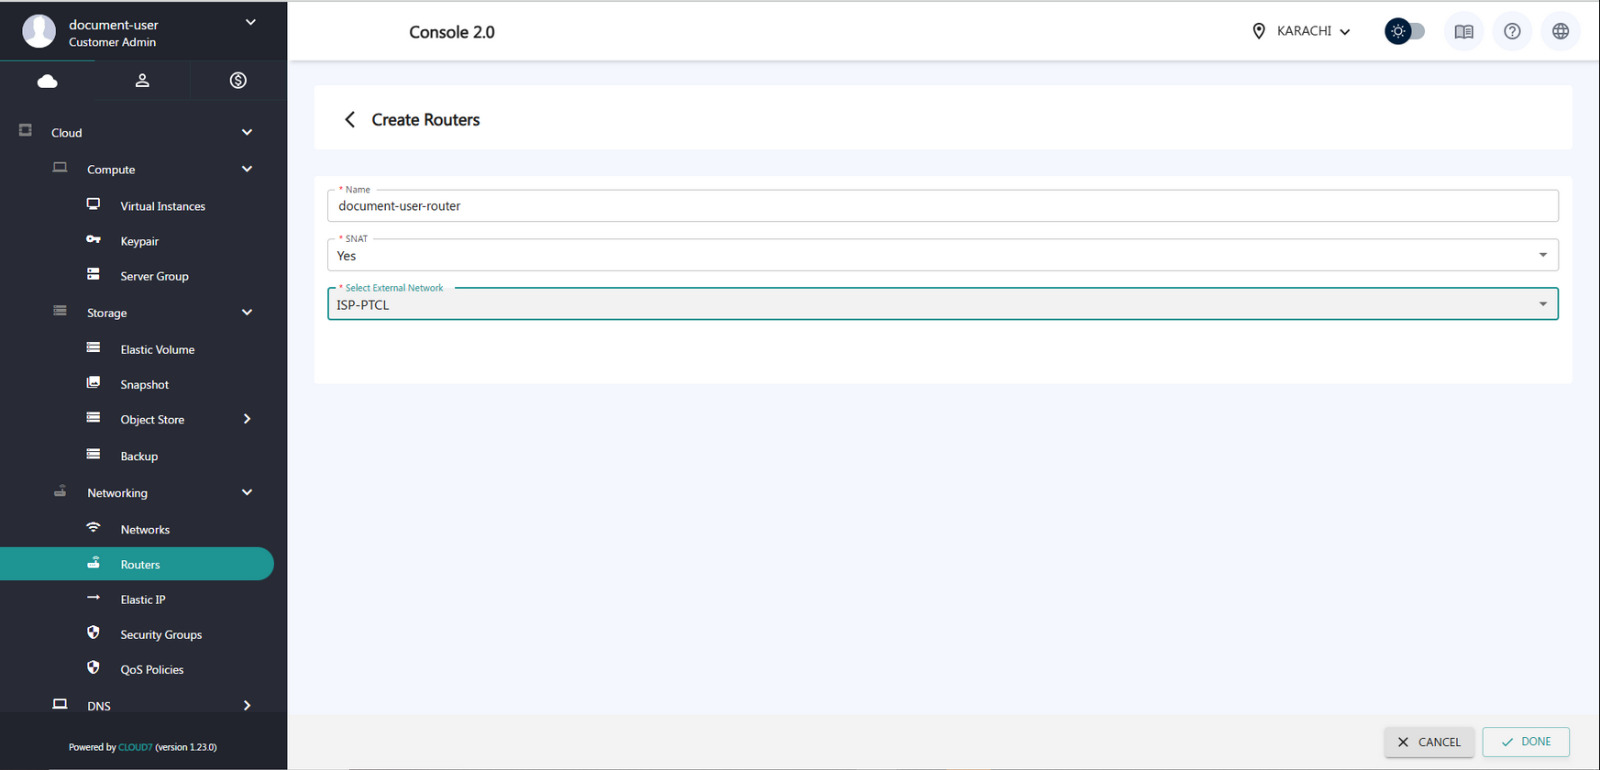
Step 4: Click on the Routers tab
-
- Select ISP-PTCL as the External Network.
- Click Done to complete the process.
Step 5: Creation of Router
The router will be listed here once it is created.
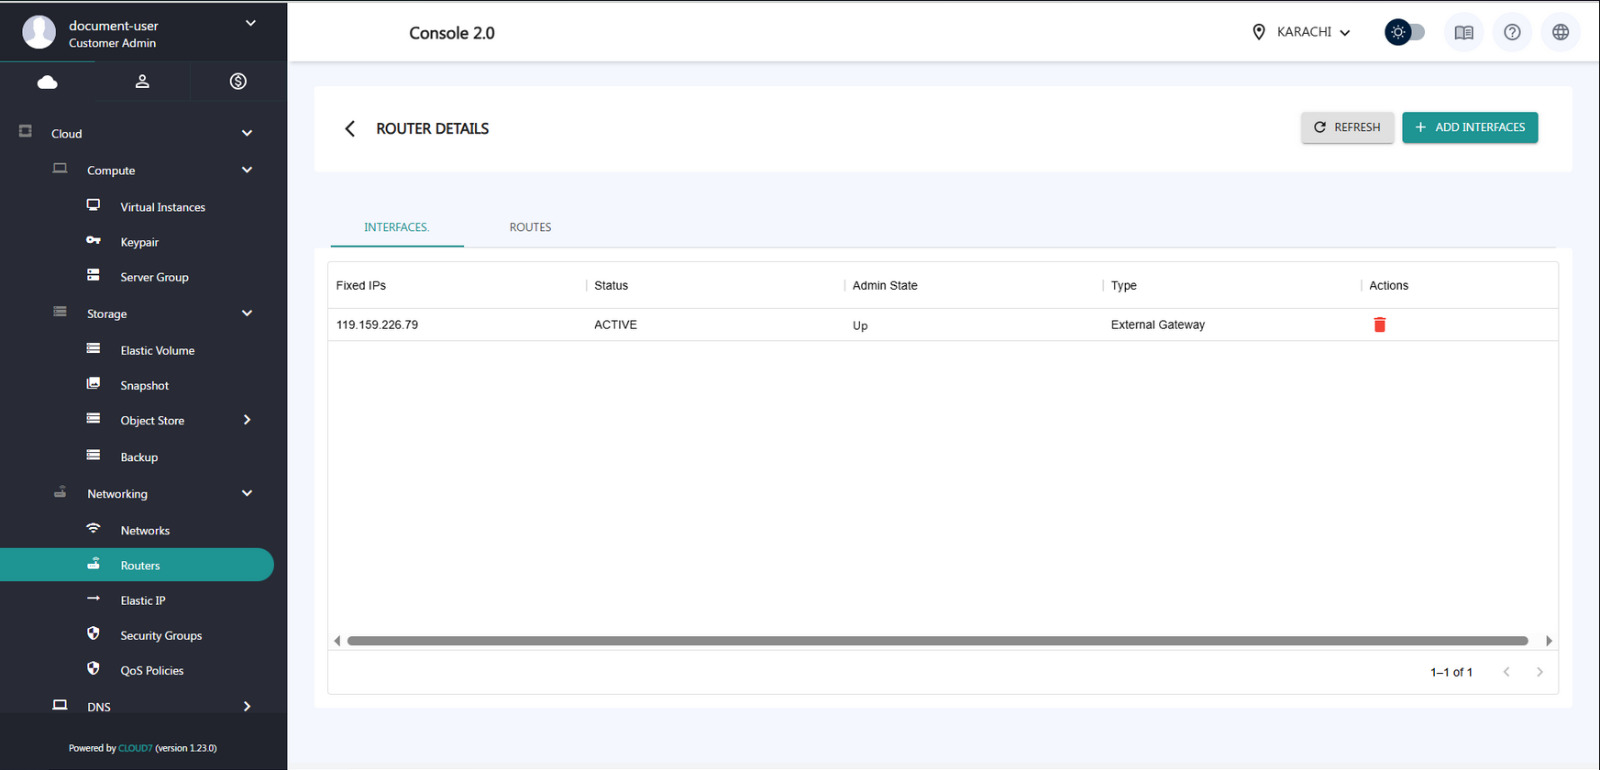
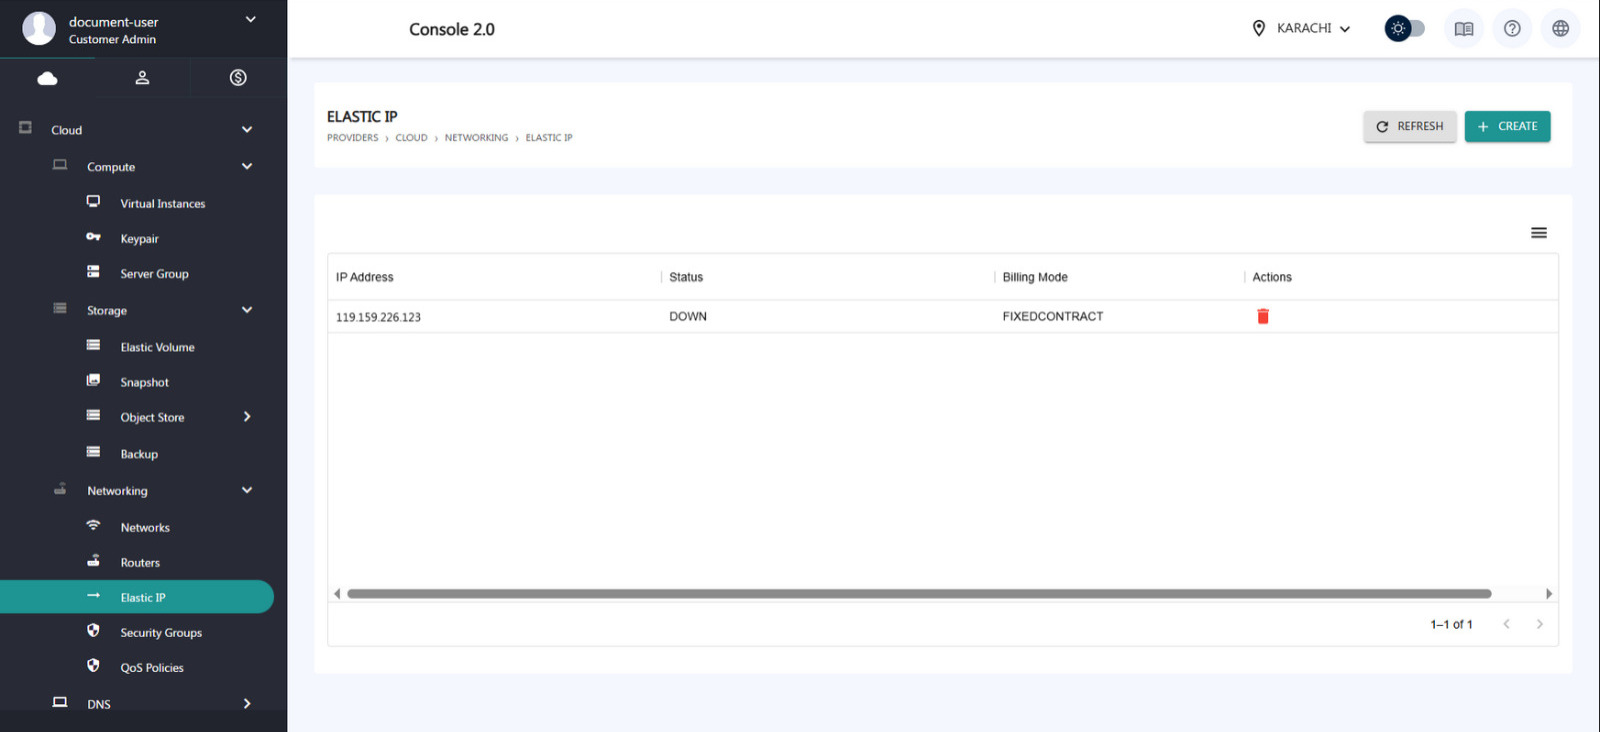
Step 6: Creation of Elastic IP
Elastic IP is autogenerated once the router is created. Verify it
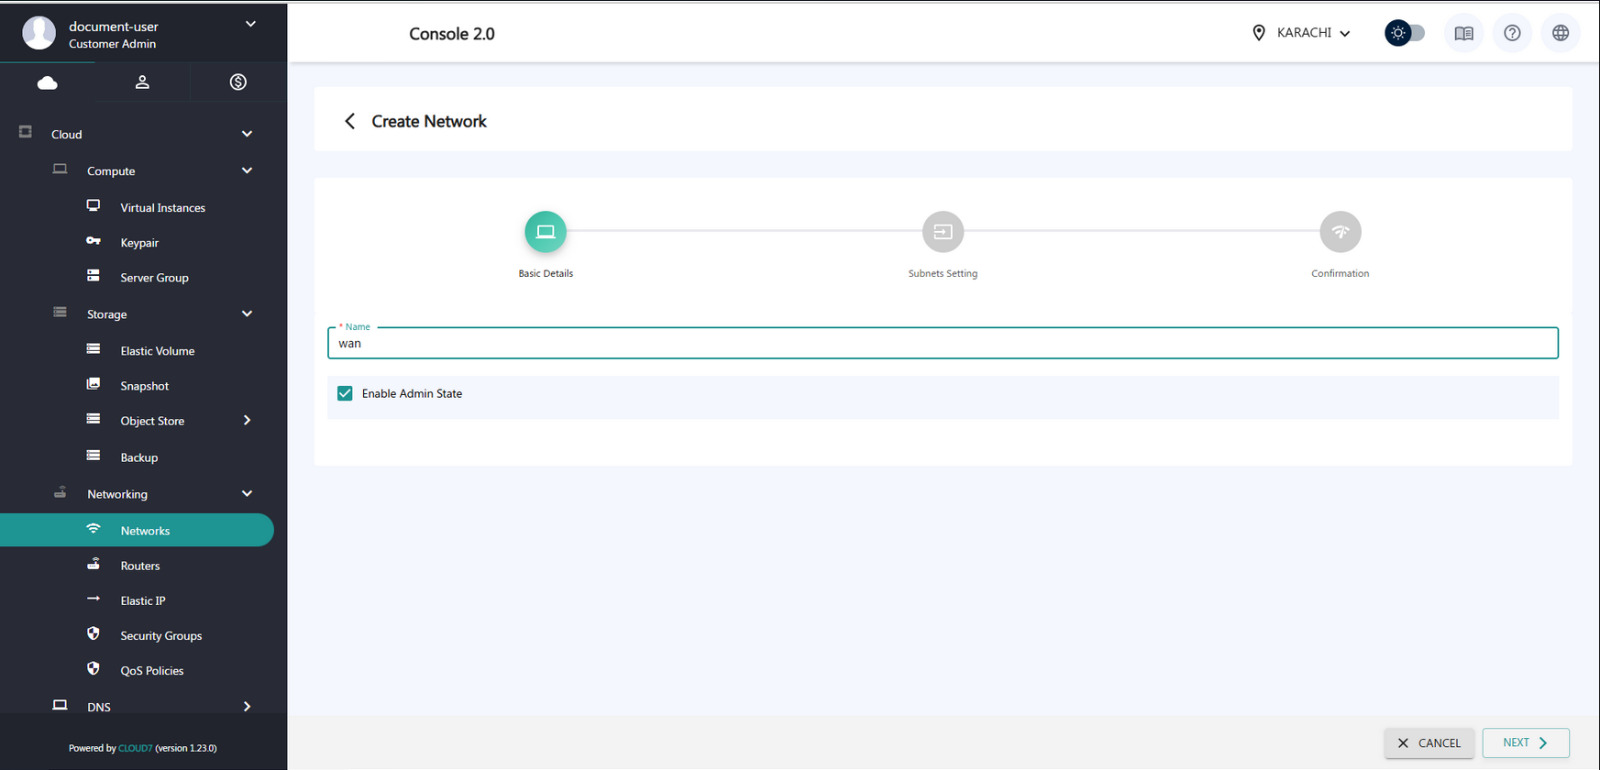
Step 7: Creation of Network
Open the Networking tab dropdown, then click on ‘Create Network‘.
Step 8: Establishing WAN Network
Establish a WAN network.
Step 9: Assign an IP address to the CIDR block (e.g., 10.10.0.0/24)
- Enable the Gateway option by checking the corresponding box.
- Enable DHCP to allow automatic IP assignment.
- Click ‘Next’ located at the bottom right corner of the page.

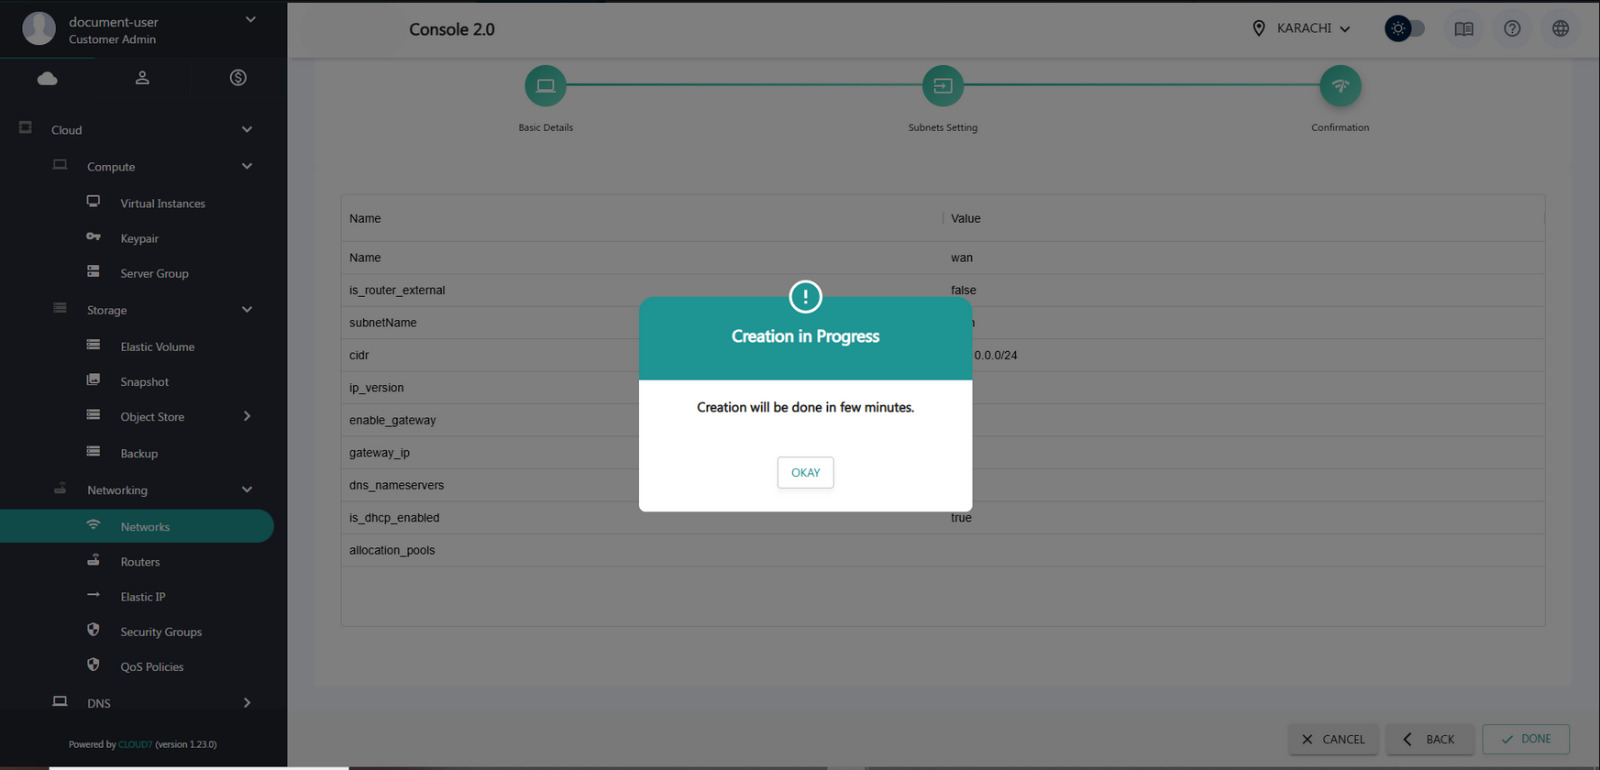
Step 10: Review the summary of the WAN settings displayed on the screen
- Click ‘Done’ at the bottom right corner to complete the configuration.

Step 11: Appearance of Confirmation Message
After this, a confirmation message will appear. It may take a few minutes for the changes to propagate.
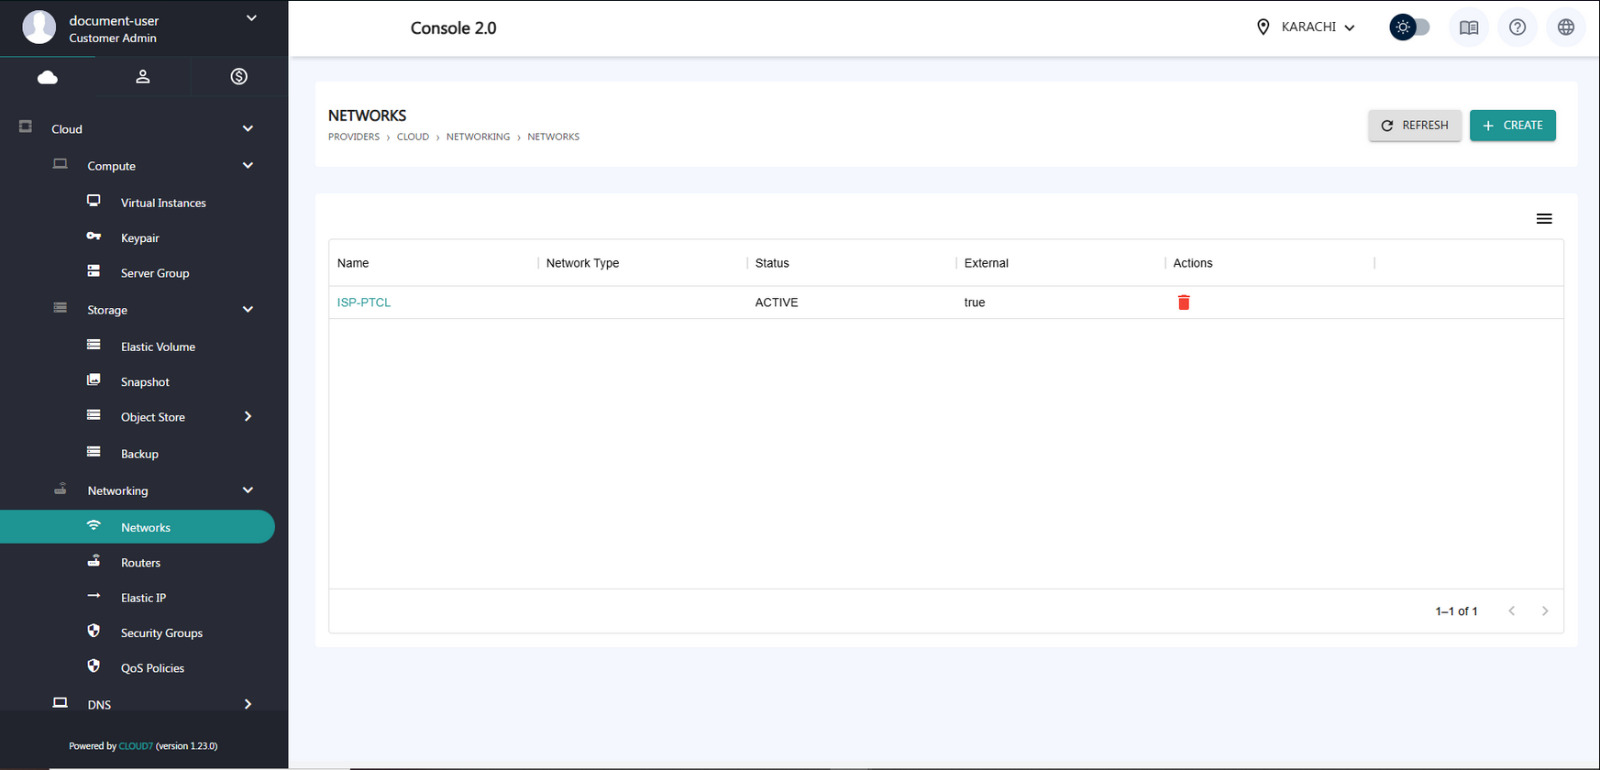
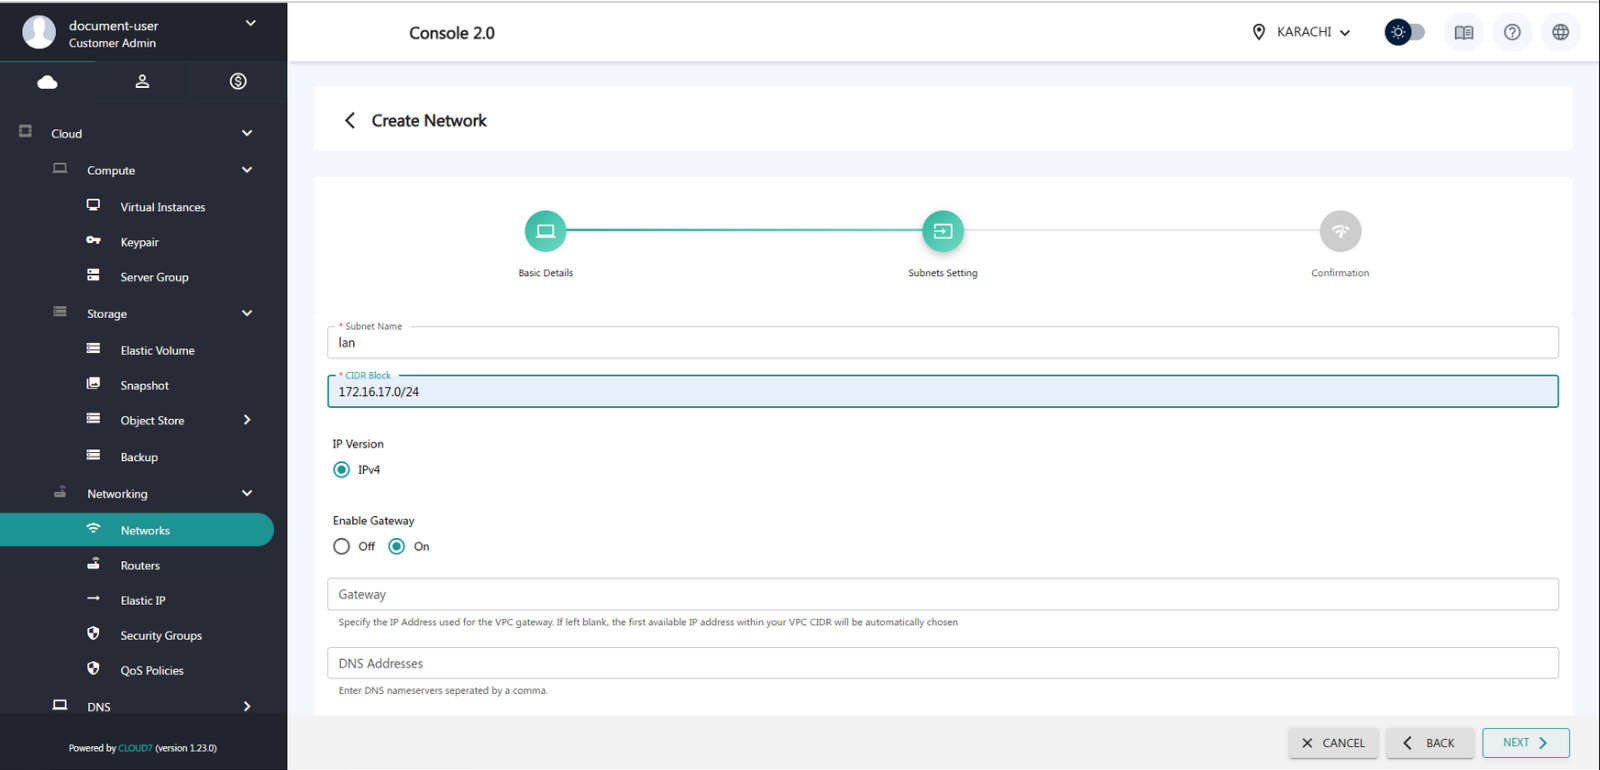
Step 12: Go to the Networking tab and click on ‘Networks’
- Click on ‘Create Network’ if required.
- Enter the Subnet Name (e.g., LAN-Subnet).
- Enter the CIDR block (e.g., 192.168.10.0/24).
- Enable the Gateway option by checking the box.
- Click ‘Next’ at the bottom right corner to proceed.
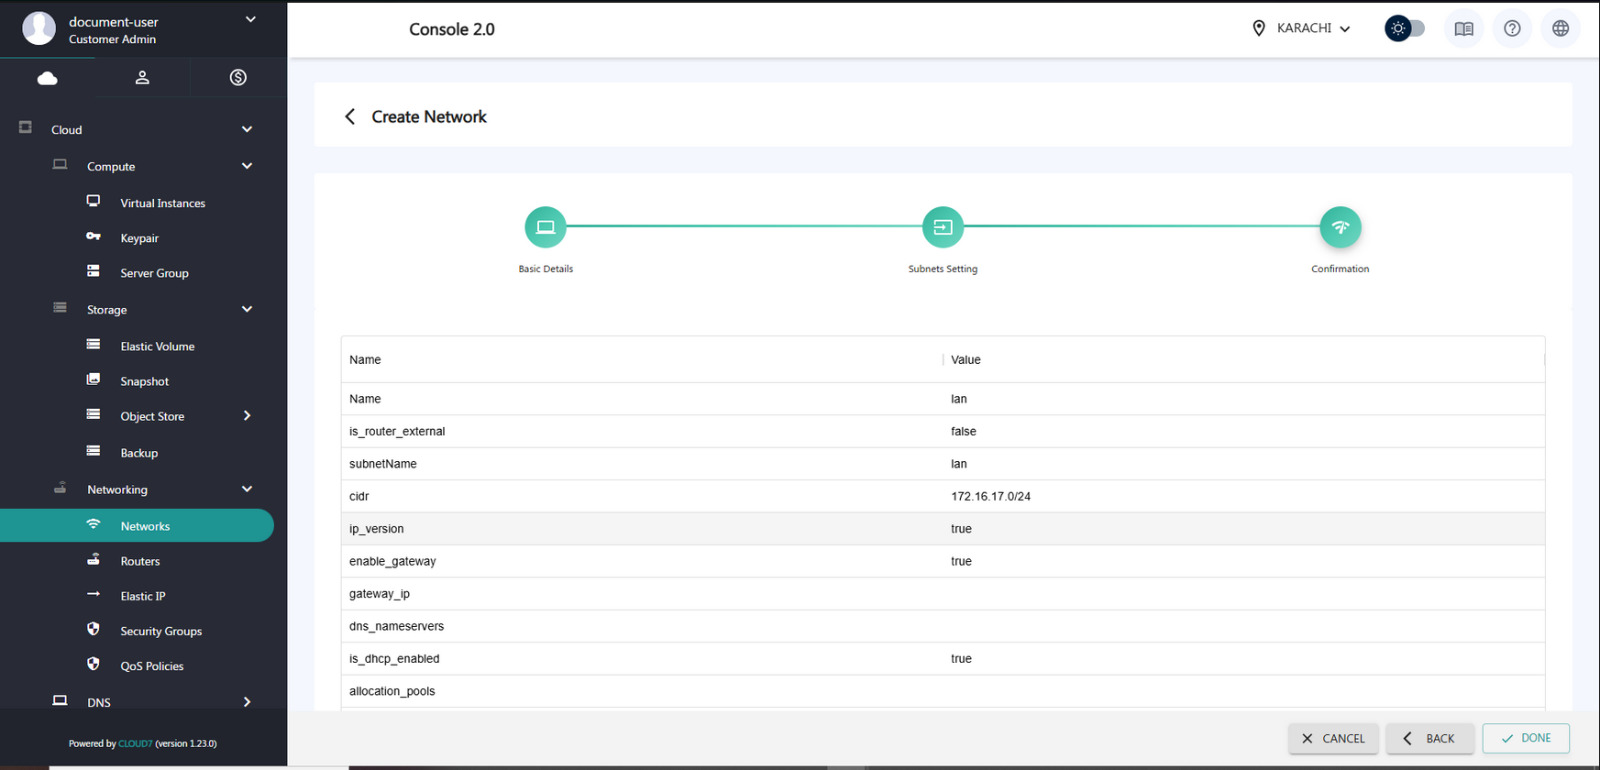
Step 13: Review the LAN summary displayed on the screen
- Click ‘Done’ at the bottom right corner to continue.
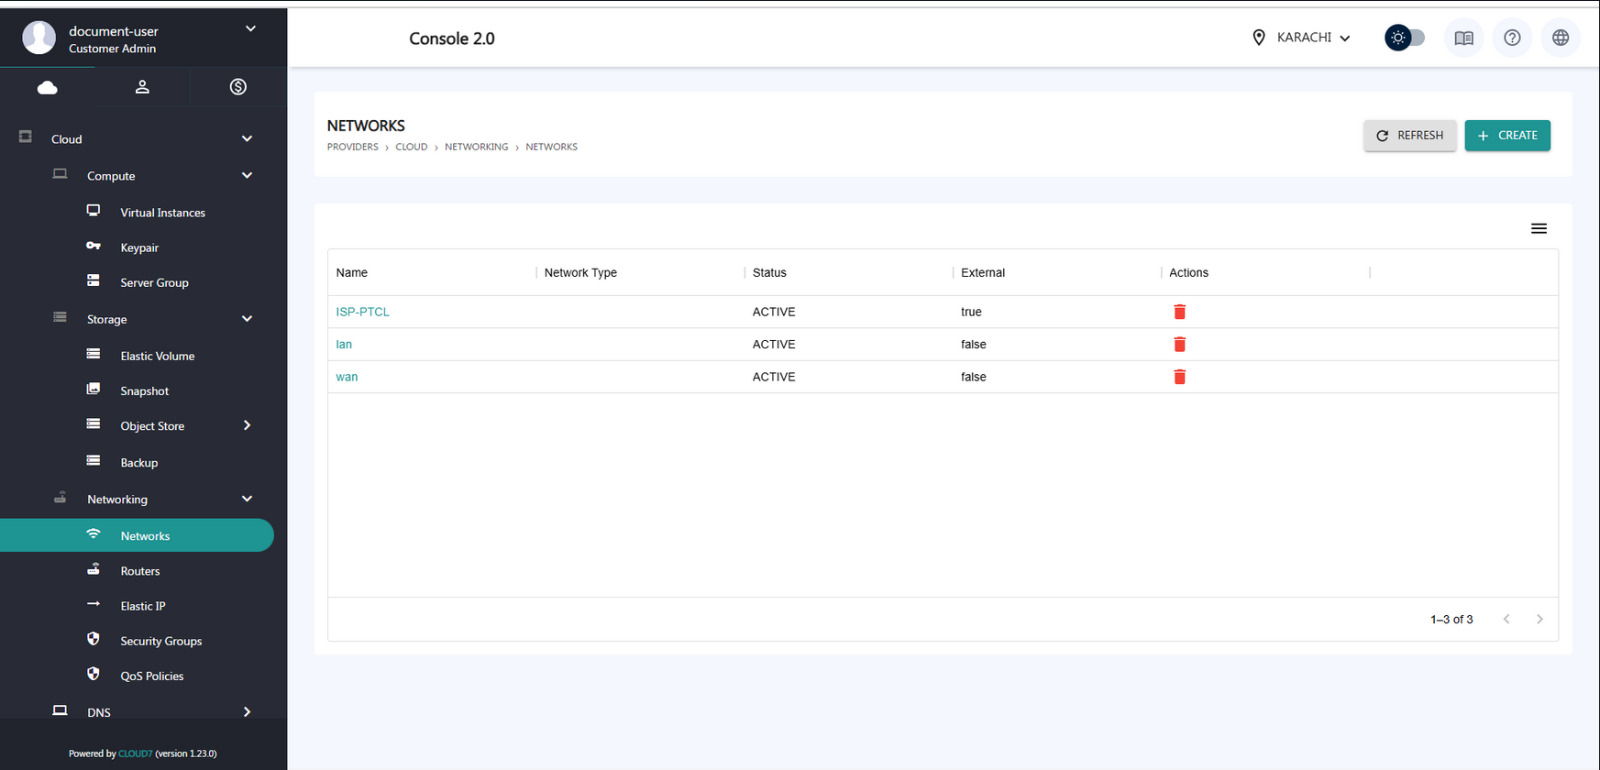
Step 14: Go to the Networking tab and click on ‘Networks’
View the list of network interfaces that were created earlier.
Step 15: Navigate to the Compute tab
- Click on ‘Virtual Instances’.
- Click on the ‘+Create’ button located at the top right corner.
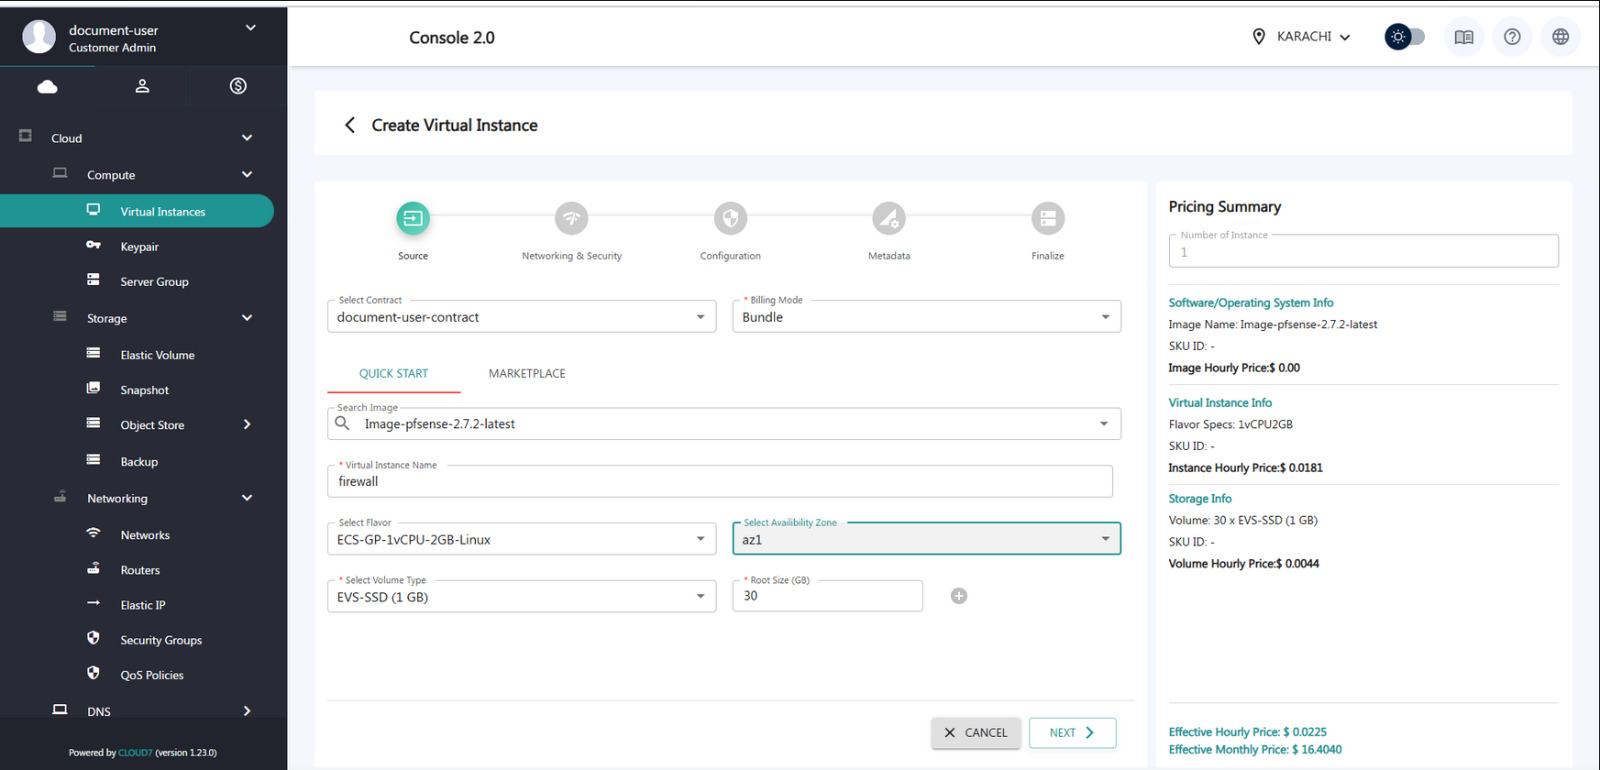
Step 16: Select the Contract from the dropdown list
- Set the Billing Mode to ‘Bundle’.
- Choose the Firewall image from the available options.
- Enter the Instance Name (e.g., Firewall-Instance).
- Select the Flavor based on resource requirements (CPU/RAM).
- Choose the Volume Type (e.g., SSD or HDD).
- Enter the Root Volume Size (e.g., 20 GB).
- Click ‘Next’ at the bottom right corner to proceed.
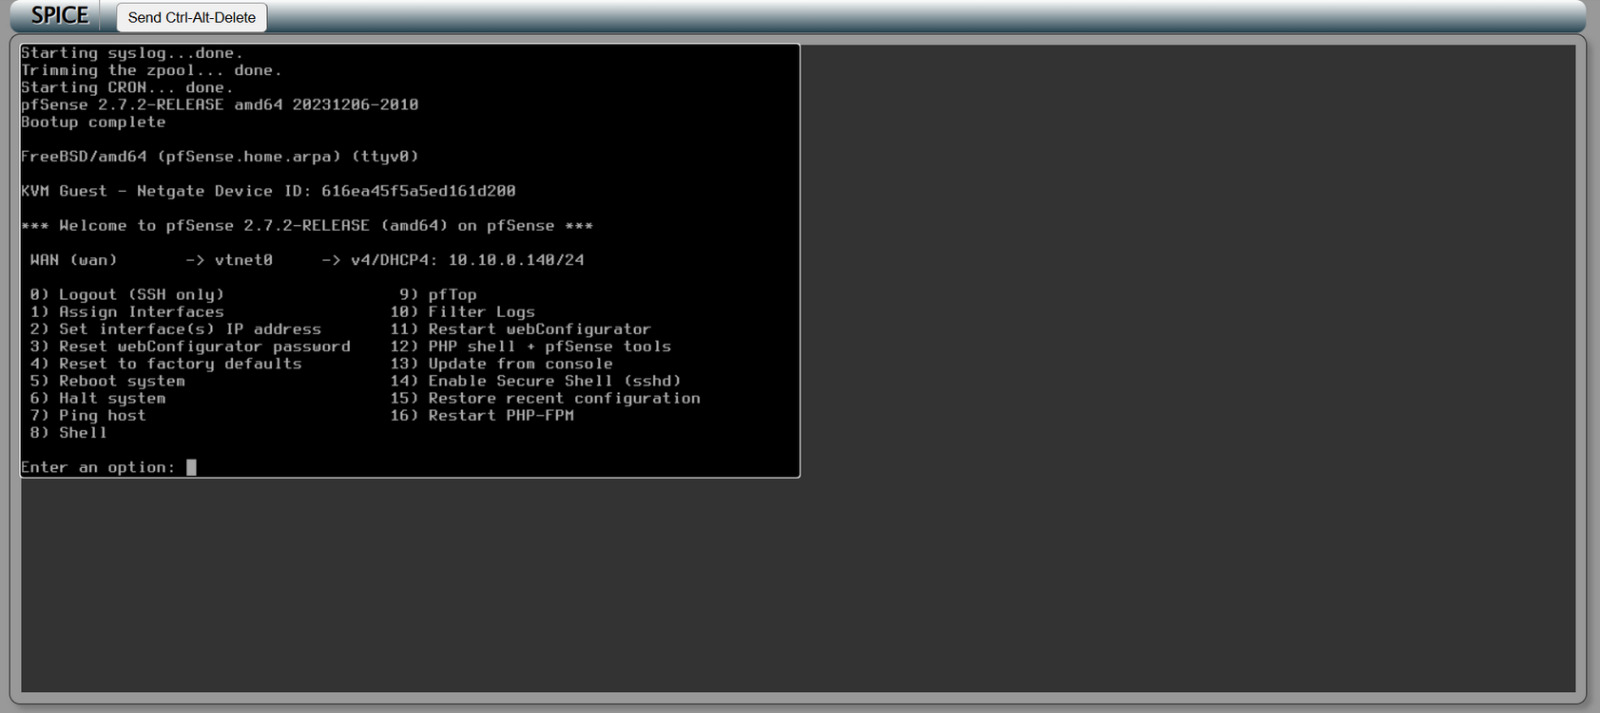
Step 17: Access Console
The console output looks like this.
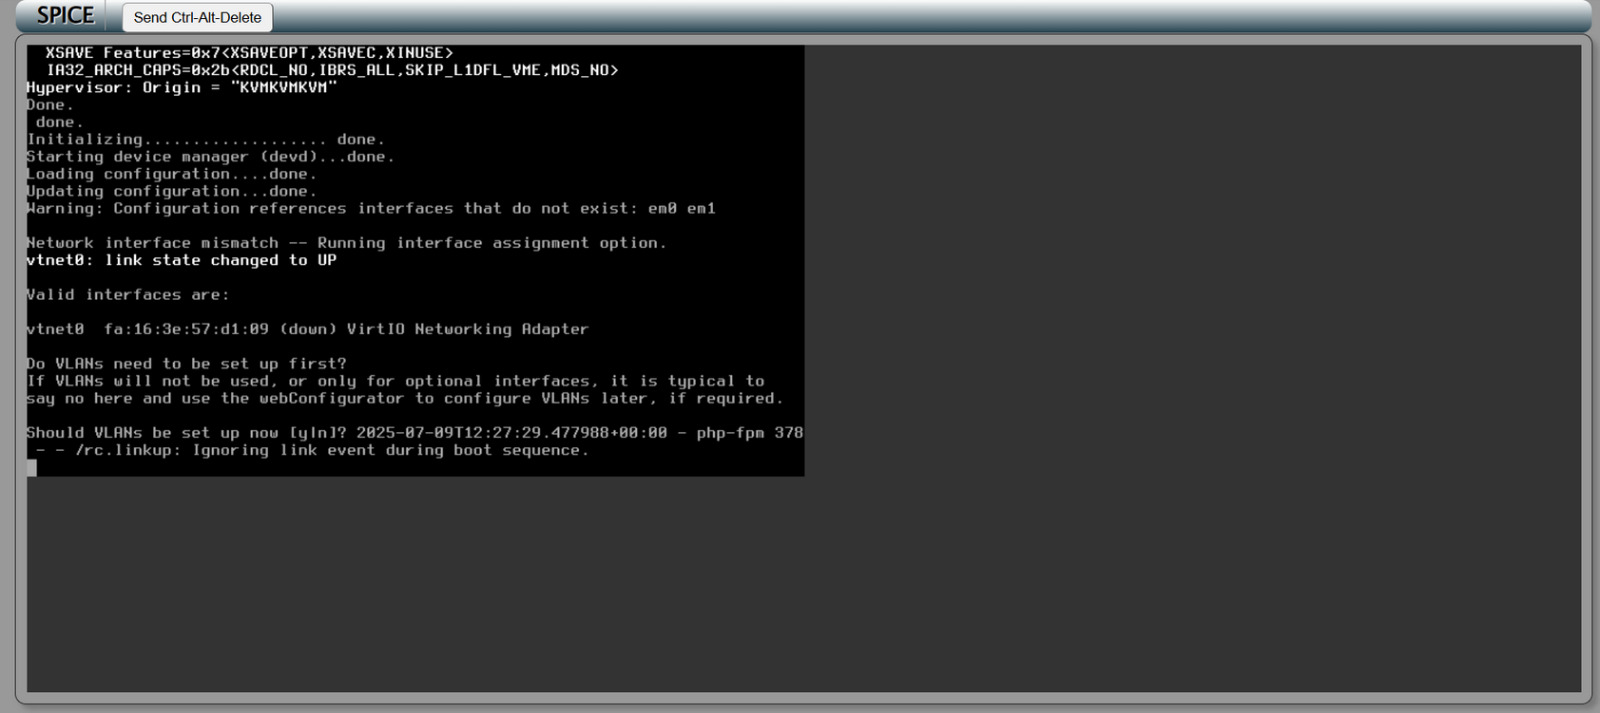
Step 18: Press ‘n’
Press n key when prompted.
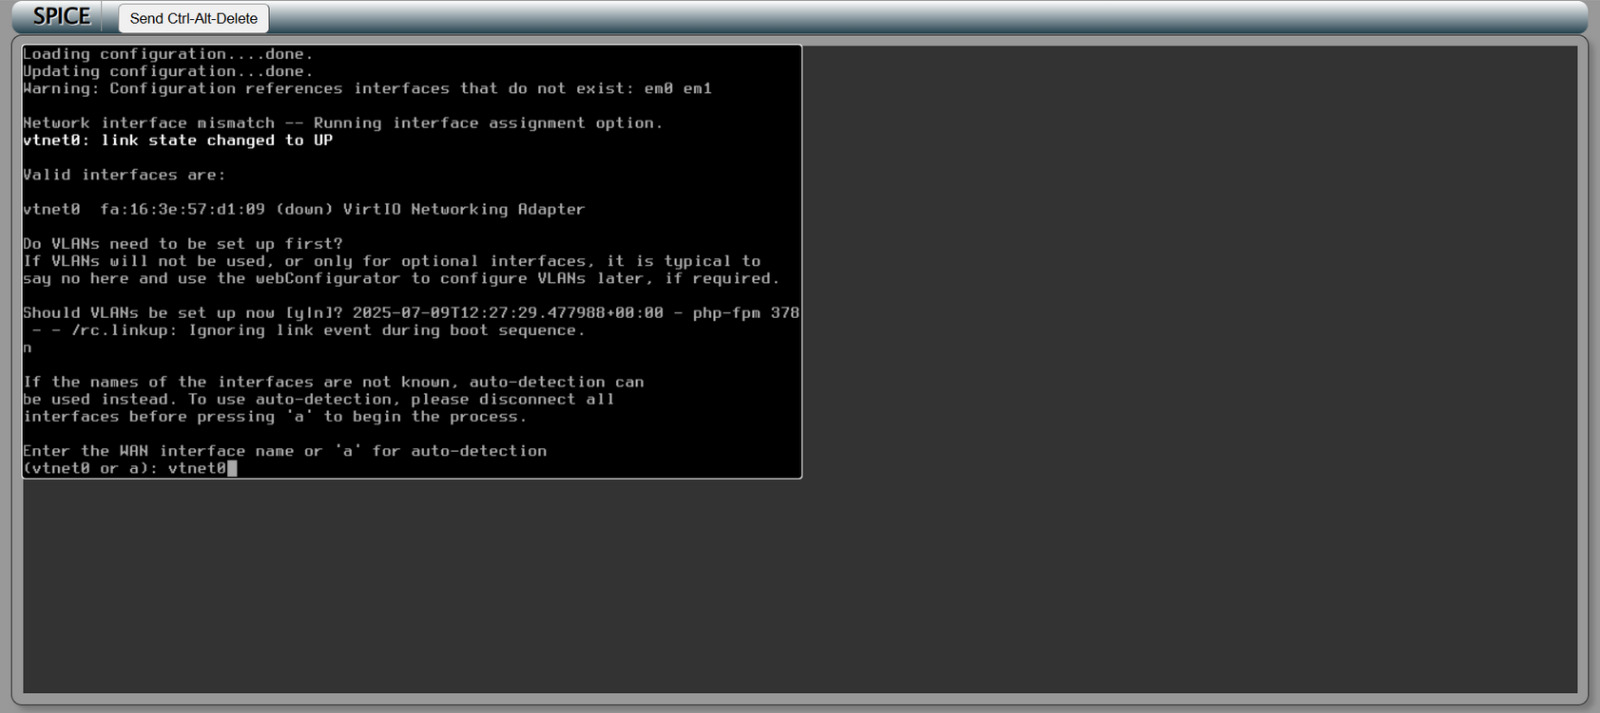
Step 19: Enter Interface Name
Enter vtnet0 as the network interface name
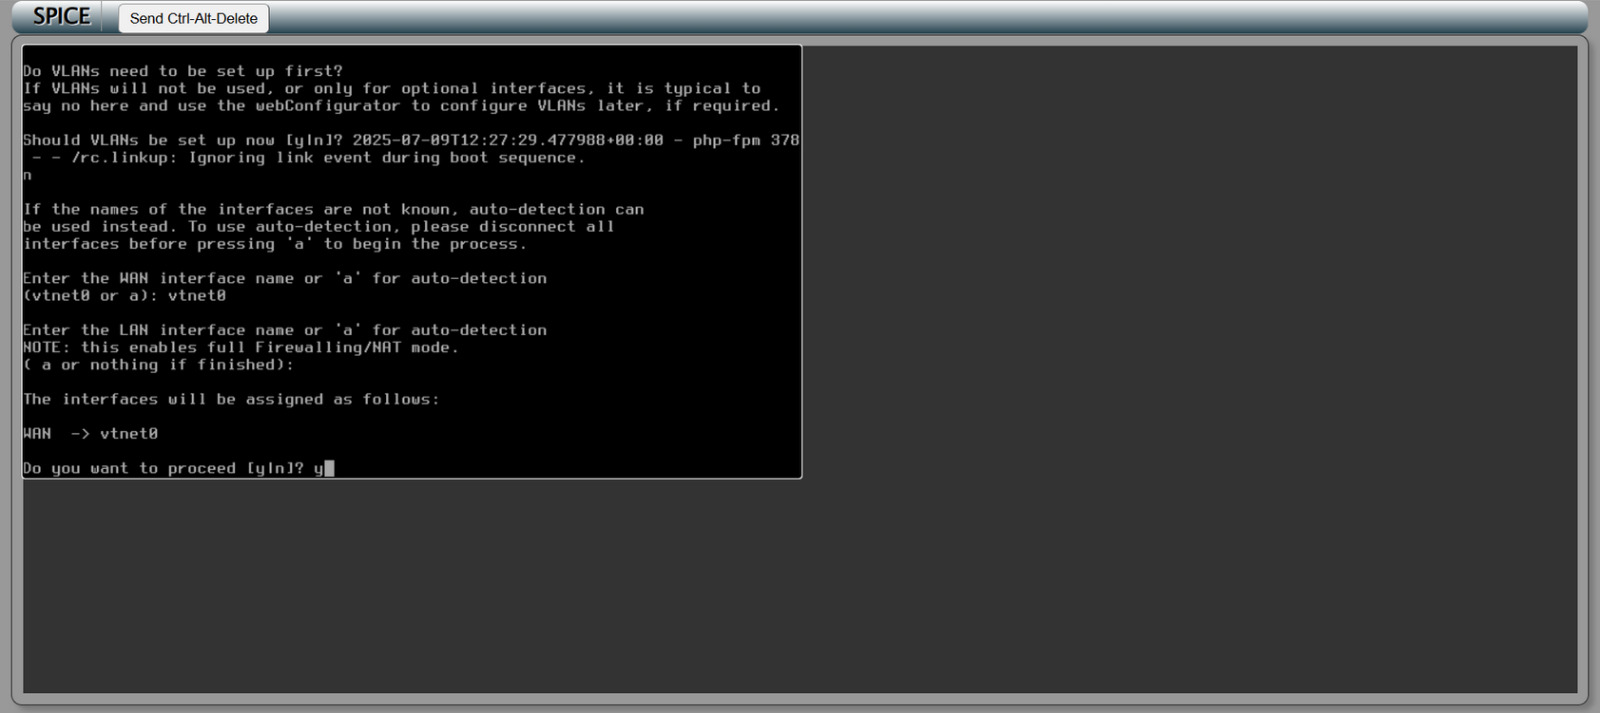
Step 20: Press ‘y’
Confirm the action by pressing y.
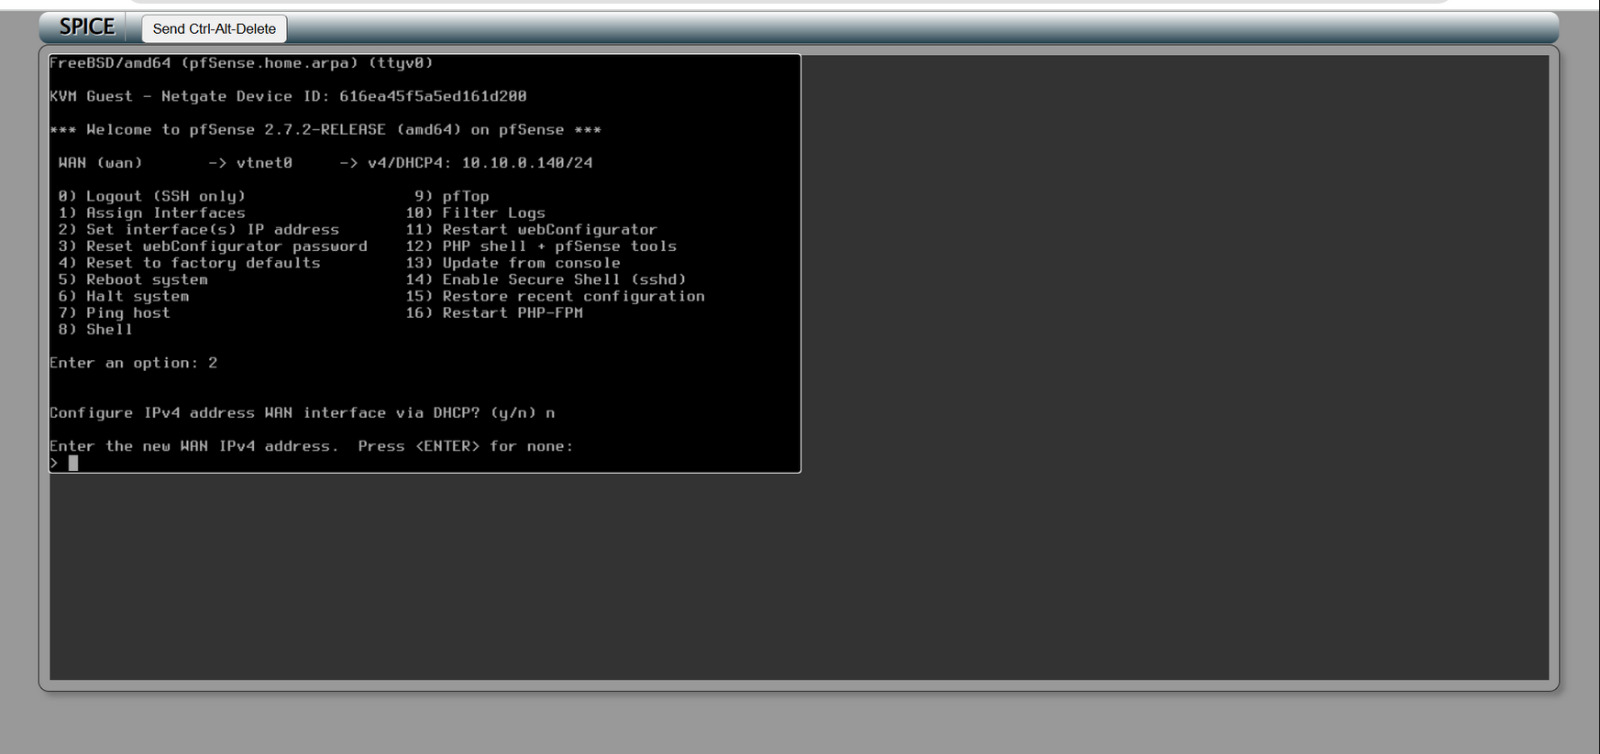
Step 21: Configuration Option
After pressing ‘y’, the system will display all configuration options.
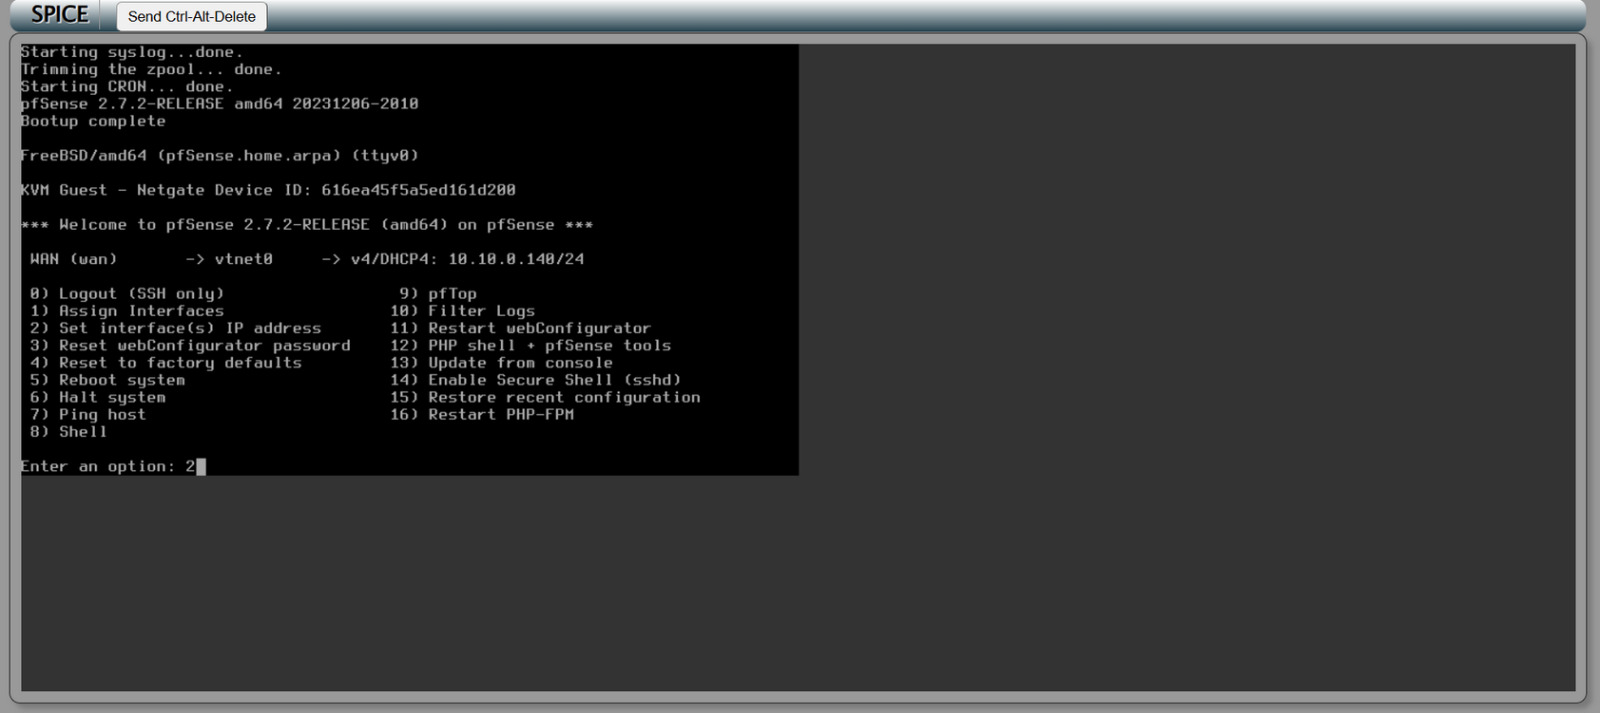
Step 22: Configuration Option
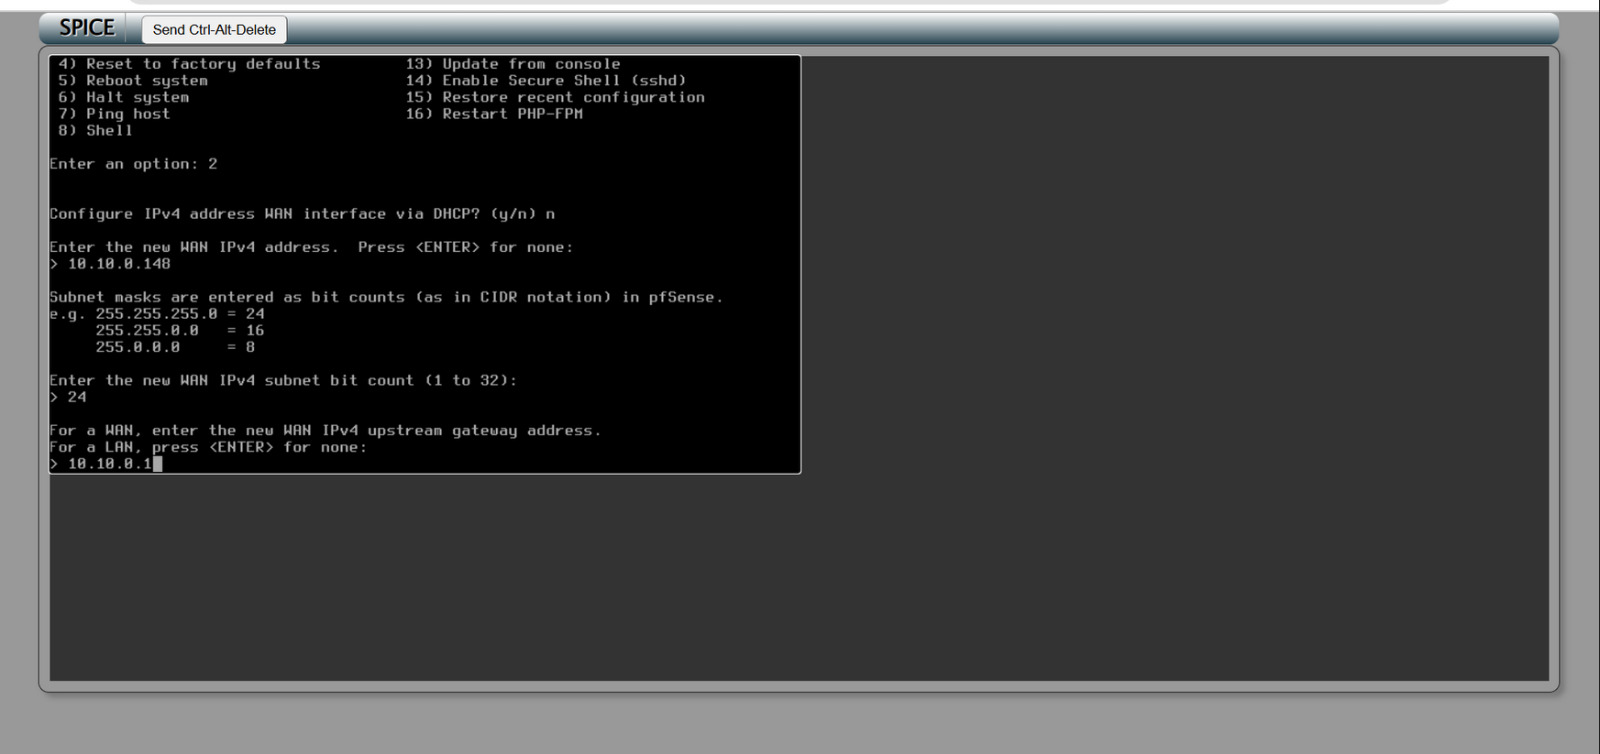
Press 2 to begin configuring the interface IP address.
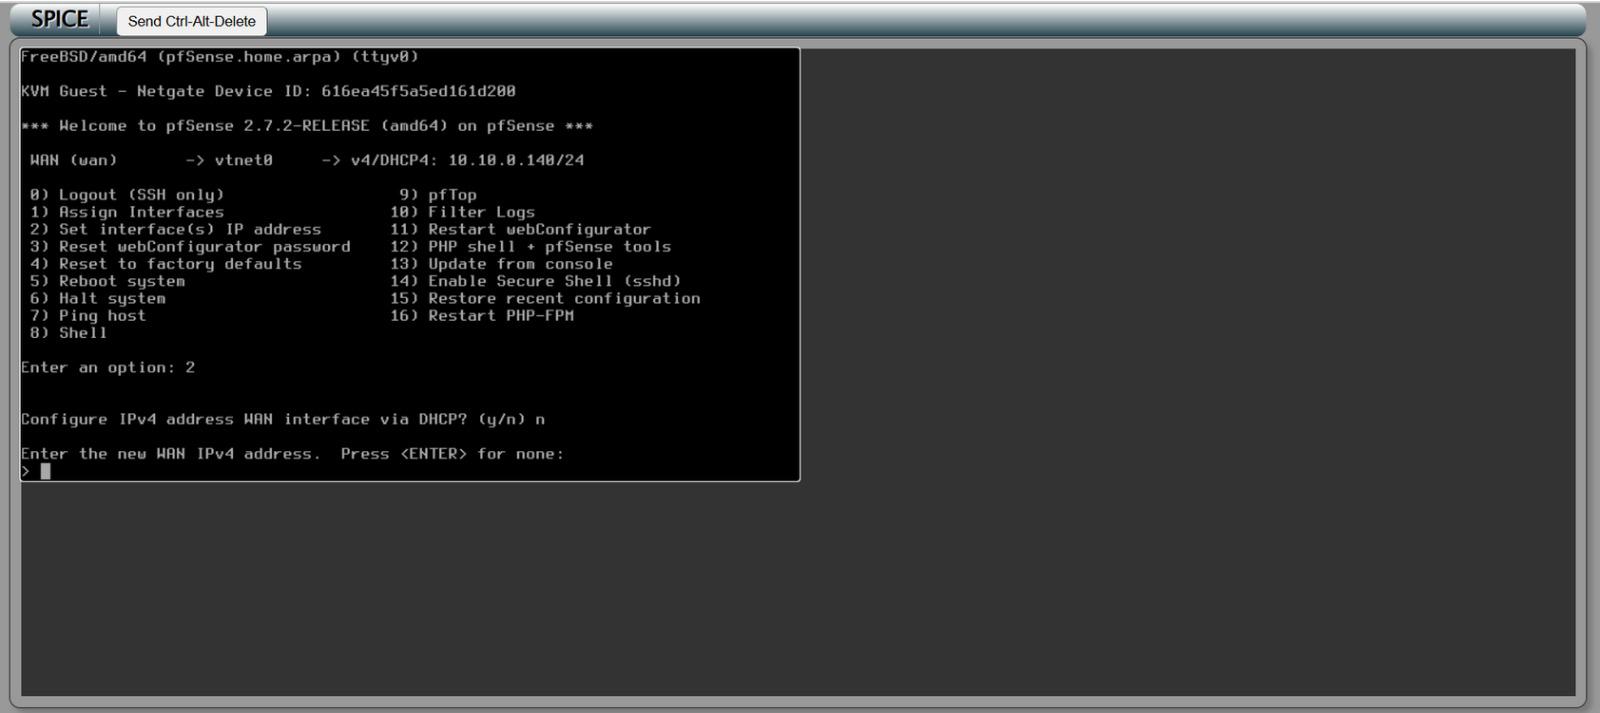
Step 23: The system will prompt: “Do you want to use DHCP?”
- Type ‘n’ key to choose Static IP configuration.
- Press Enter to proceed.
Step 24: Press Enter
When prompted, enter the Subnet Mask (e.g., 255.255.255.0).
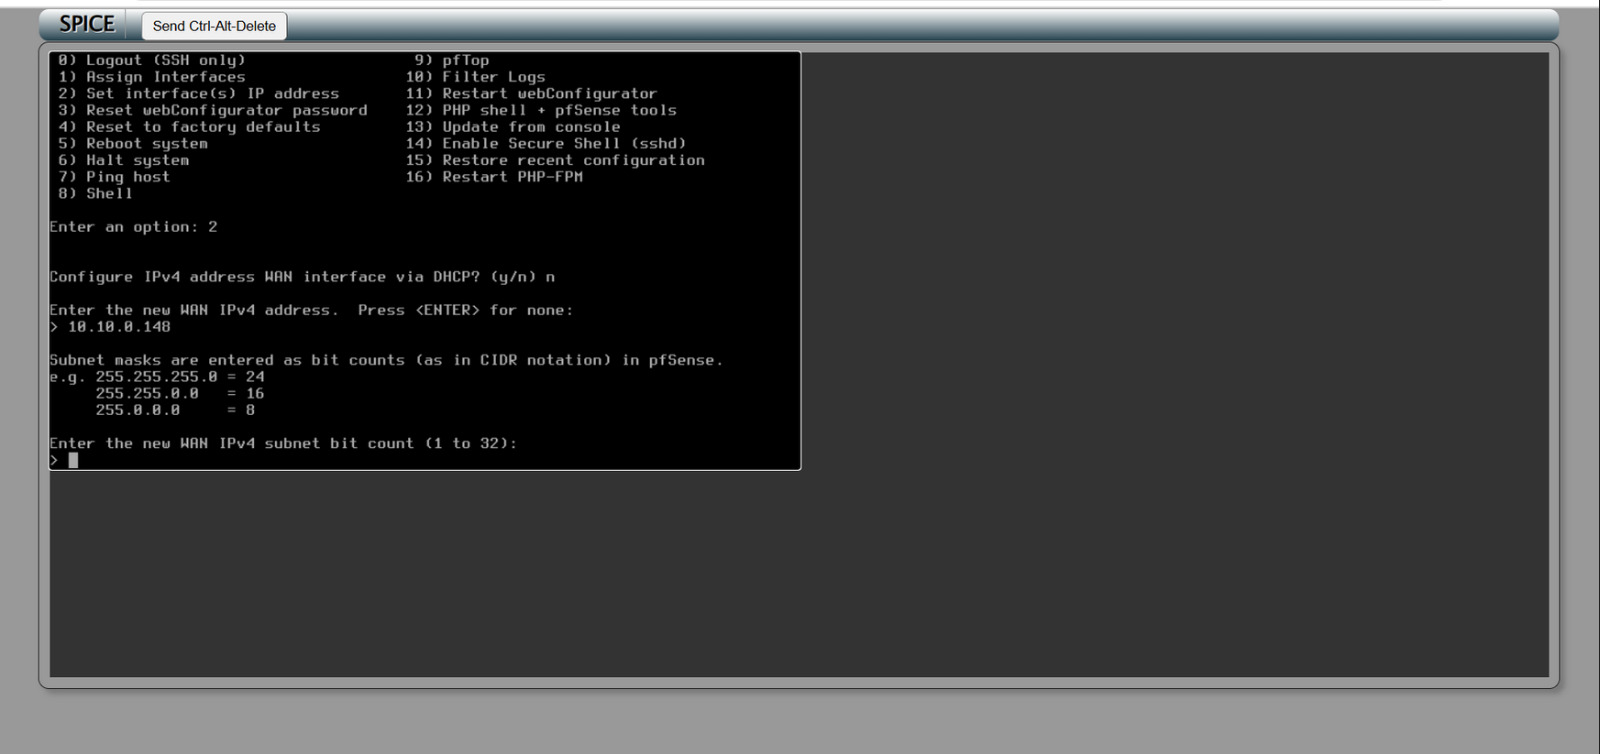
Step 25: Subnet Promt
At the subnet prompt, enter 24 and press Enter to continue.

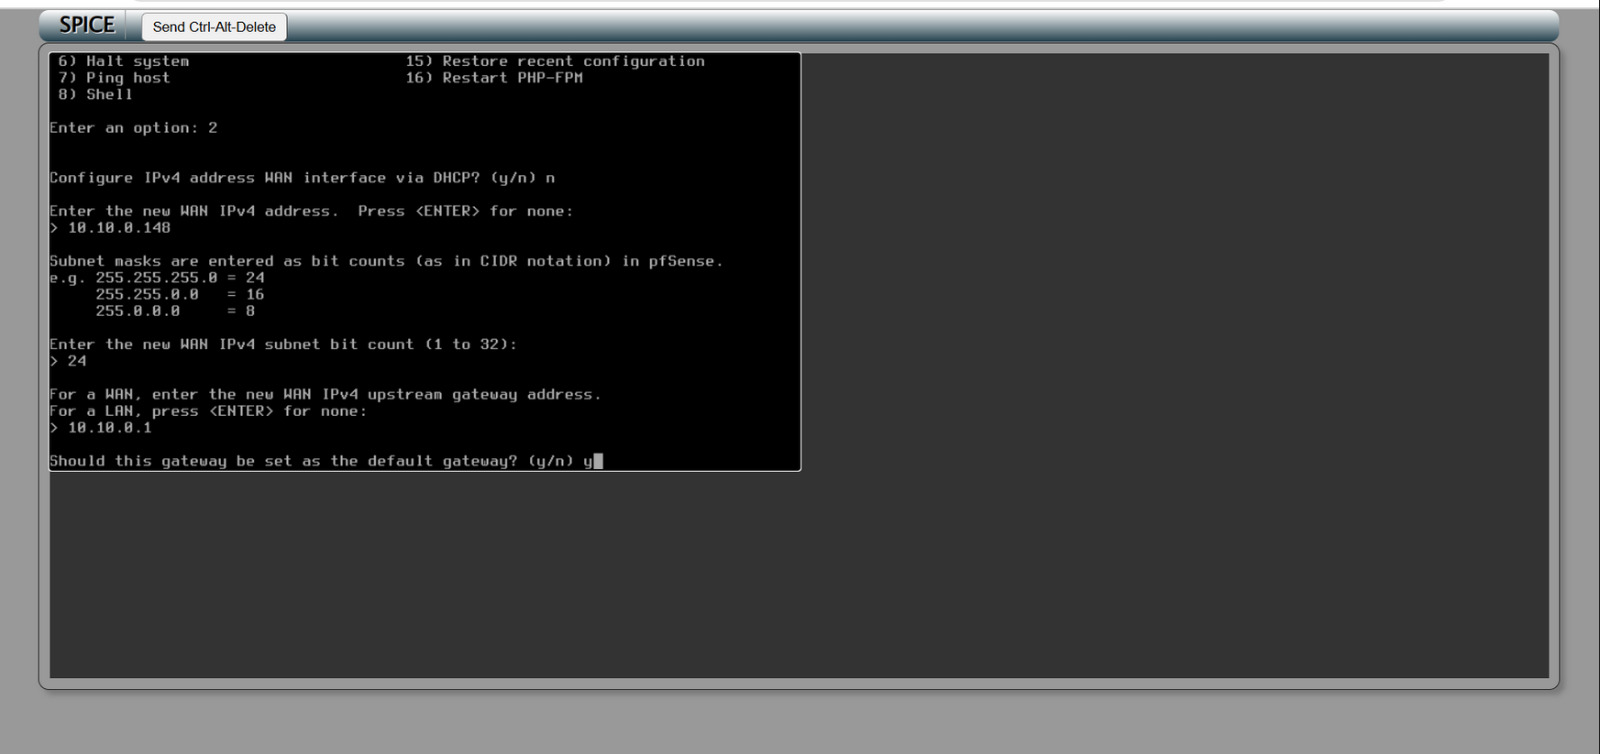
Step 26: LAN and Gateway Address
When prompted, enter the LAN gateway address (e.g., 192.168.1.1 or as per your network setup).
- Press Enter to proceed with the configuration.
Step 27: Use Default Gateway
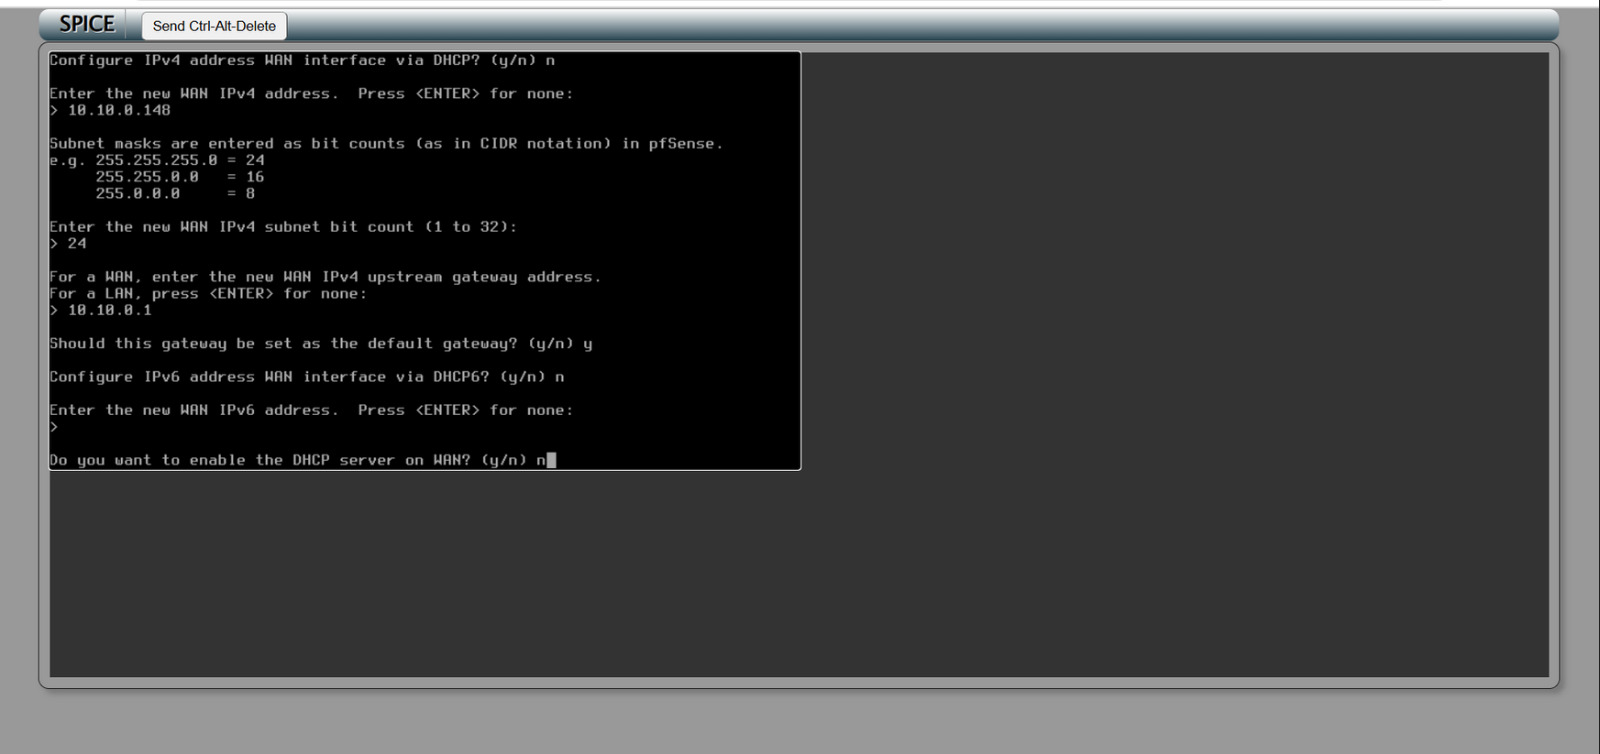
When asked “Use the default gateway?”, type y.
- Press Enter to confirm and continue.
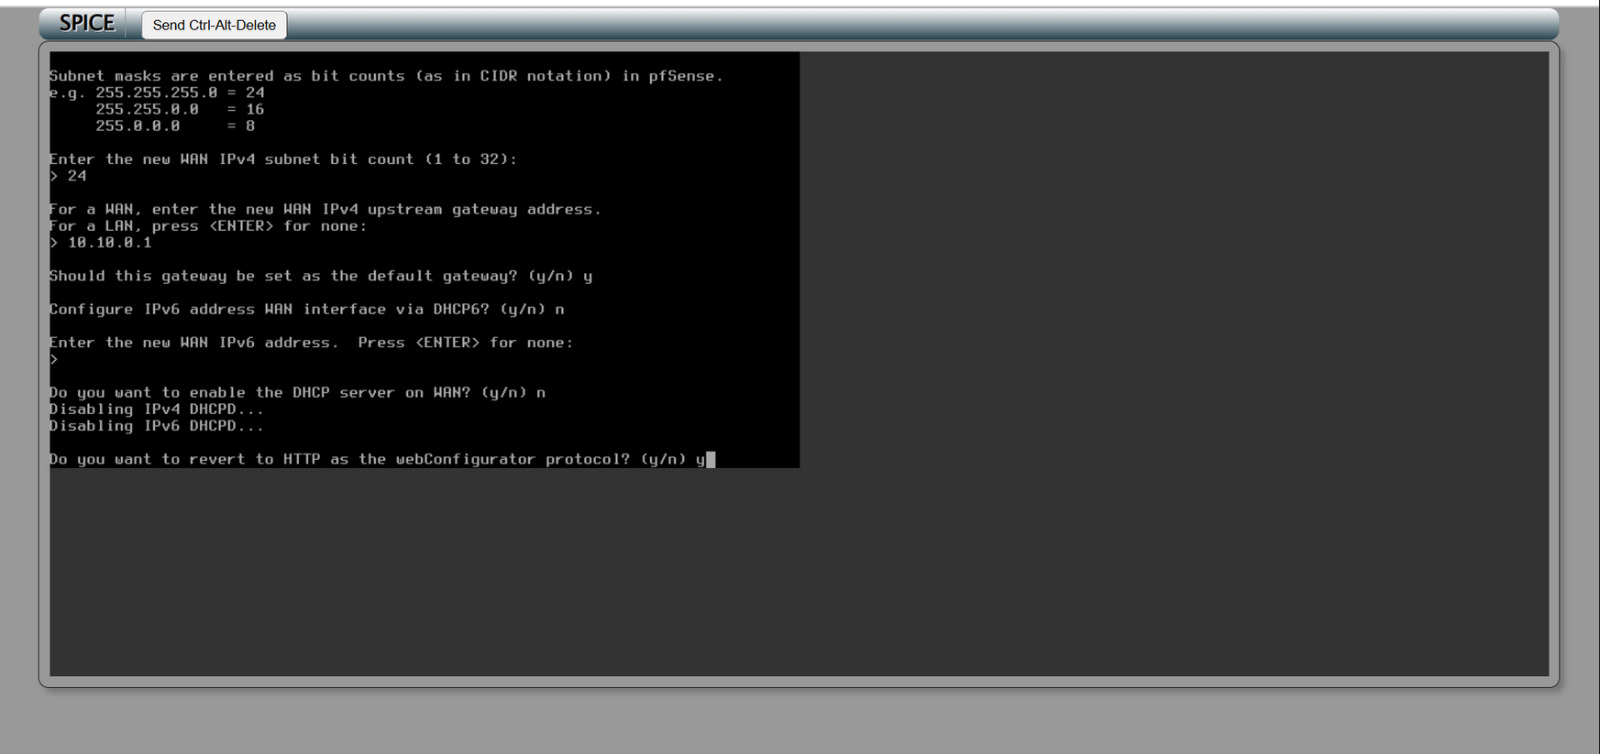
Step 28: Enable DHCP
Press n to turn off the DHCP server.
Step 29: Configurator Protocol
Press y to revert to HTTP for the Web Configurator protocol.
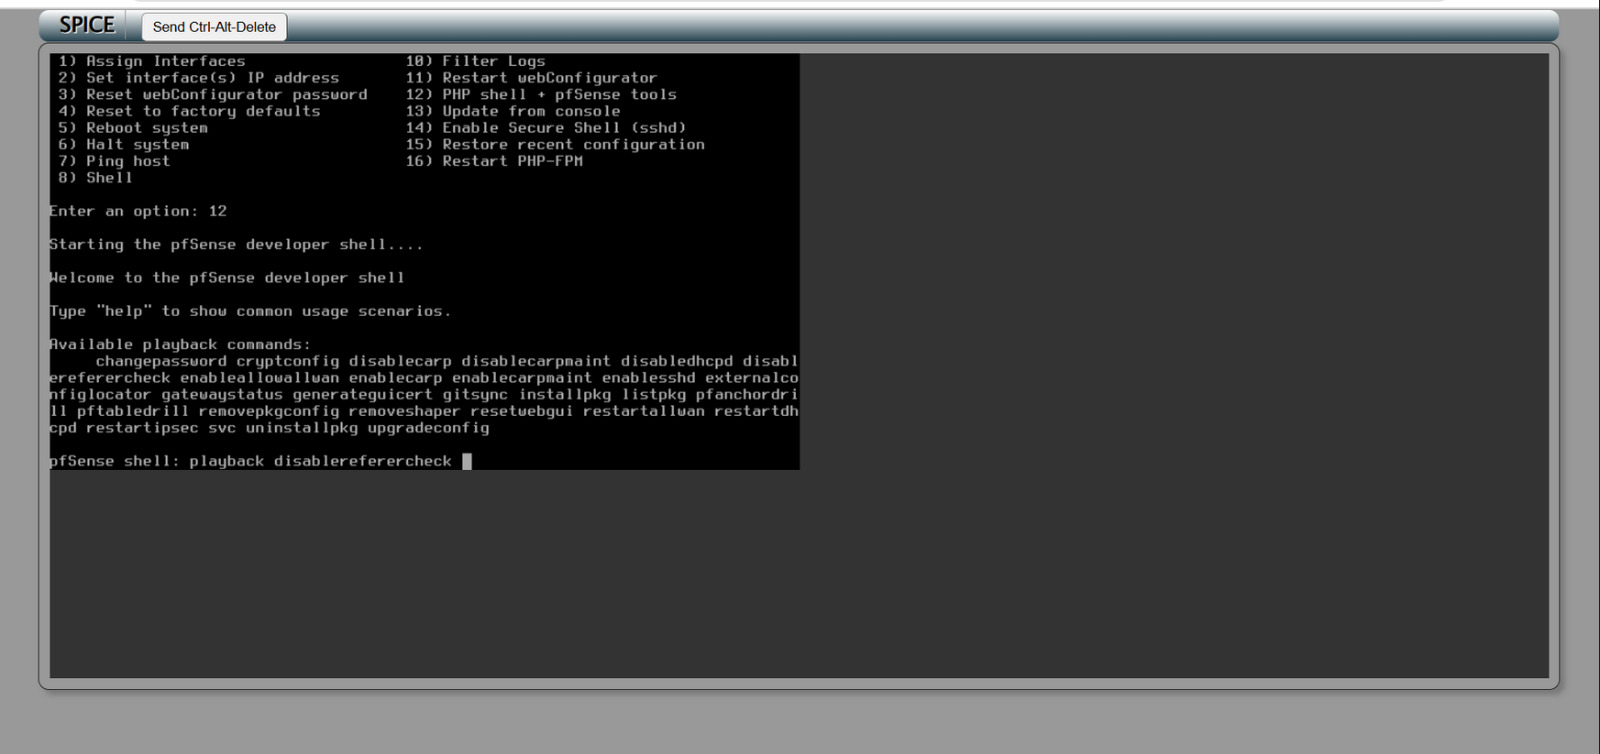
Step 30: Access the pfscense
Access the pfSense shell prompt.
- Type the command: playback disablereferercheck
- Press Enter to execute the command.
- This action will disable the referrer check verification.
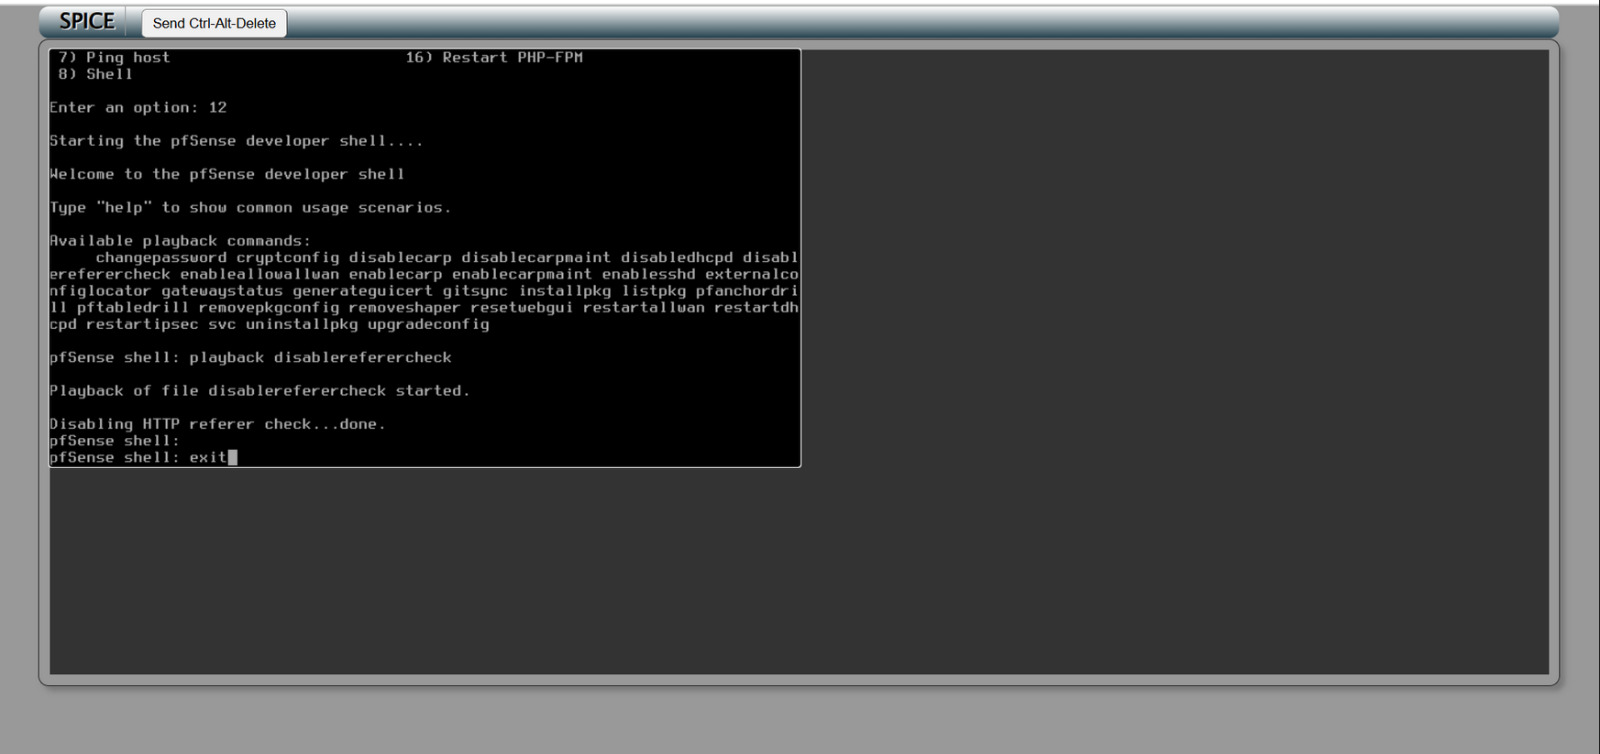
Step 31: Press Enter
Type exit and press Enter to leave the shell.
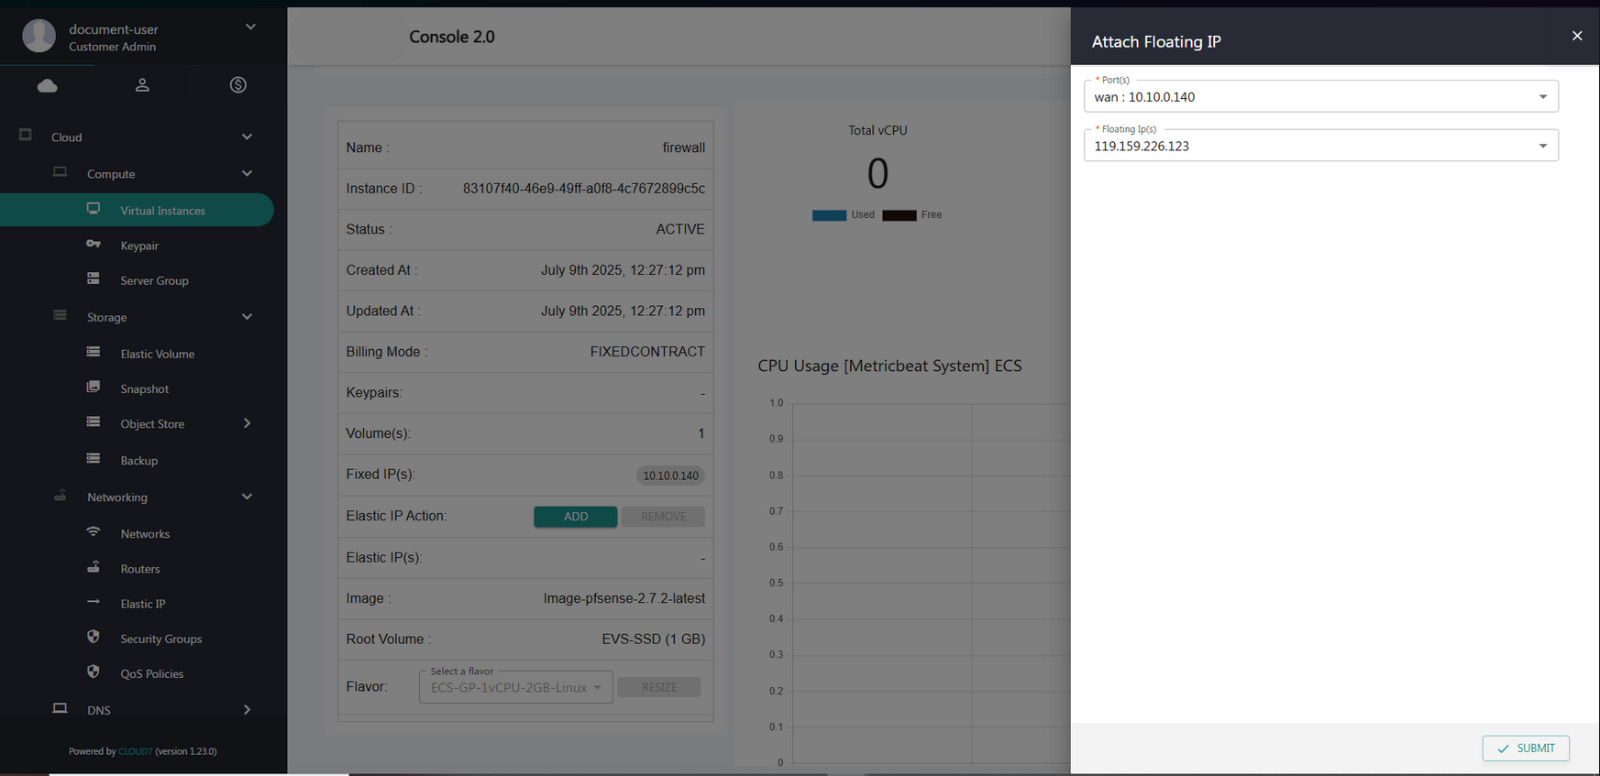
Step 32: Selection of Virtual instance
From the Compute dropdown menu, select Virtual Instance.
- Choose the desired instance from the list.
- Navigate to the Elastic IP section and click Add.
- When prompted, select the appropriate network interface.
- Click Submit to finalize the configuration
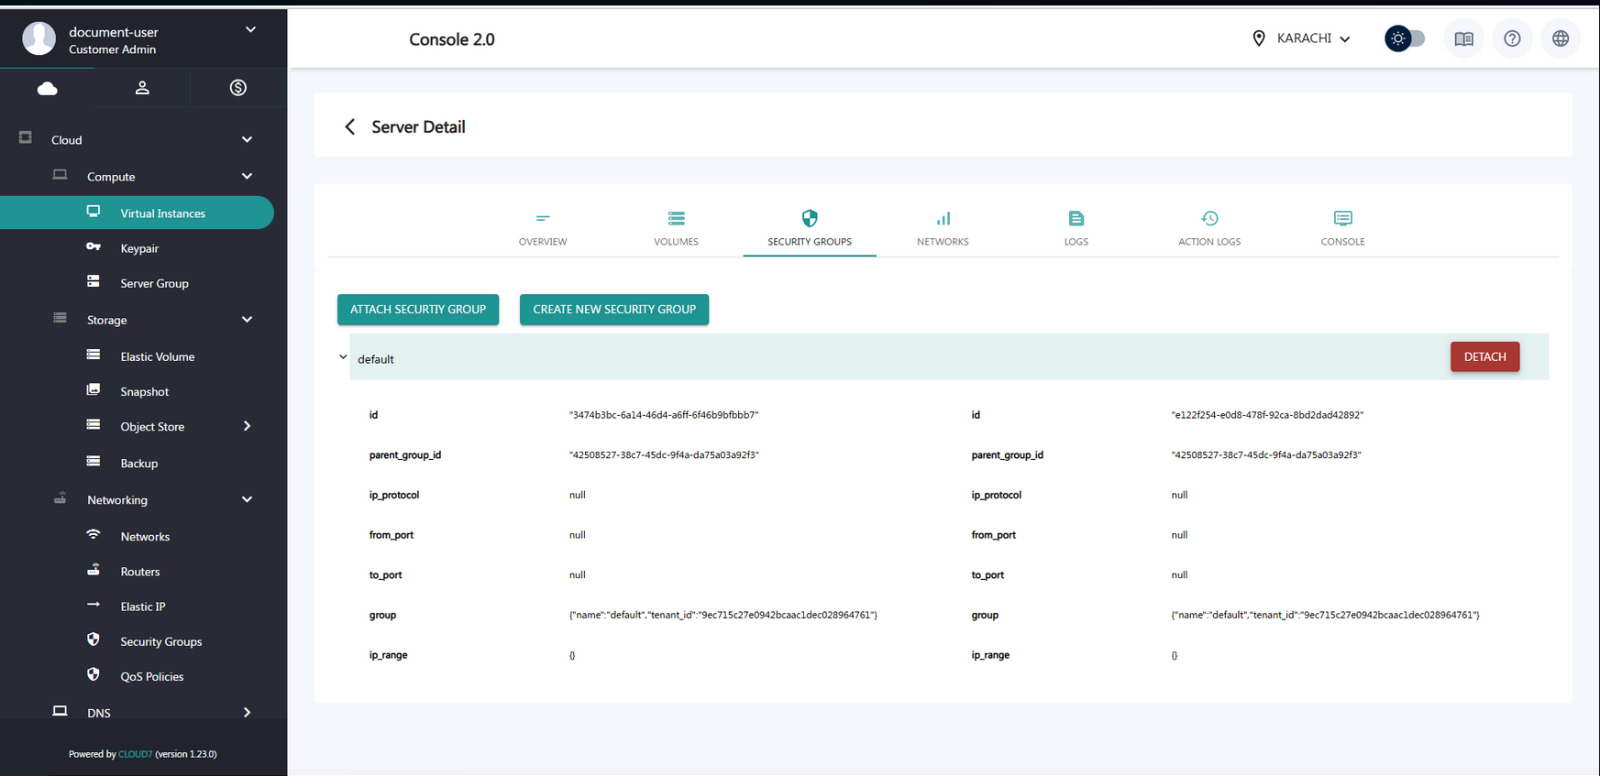
Step 33: Security Group Association
Remove the security group association from the instance.
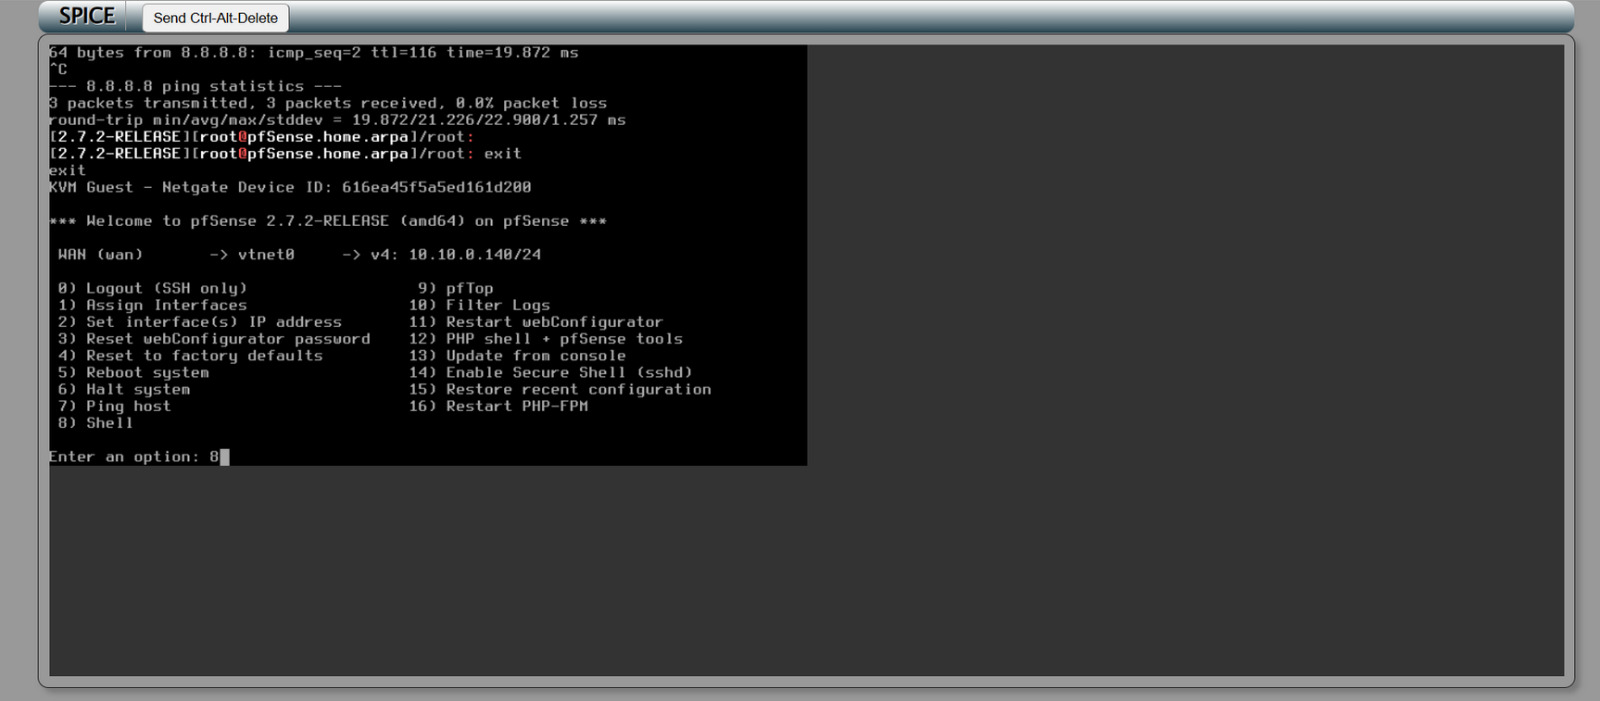
Step 34: Access the Shell
Press 8 to access the shell.
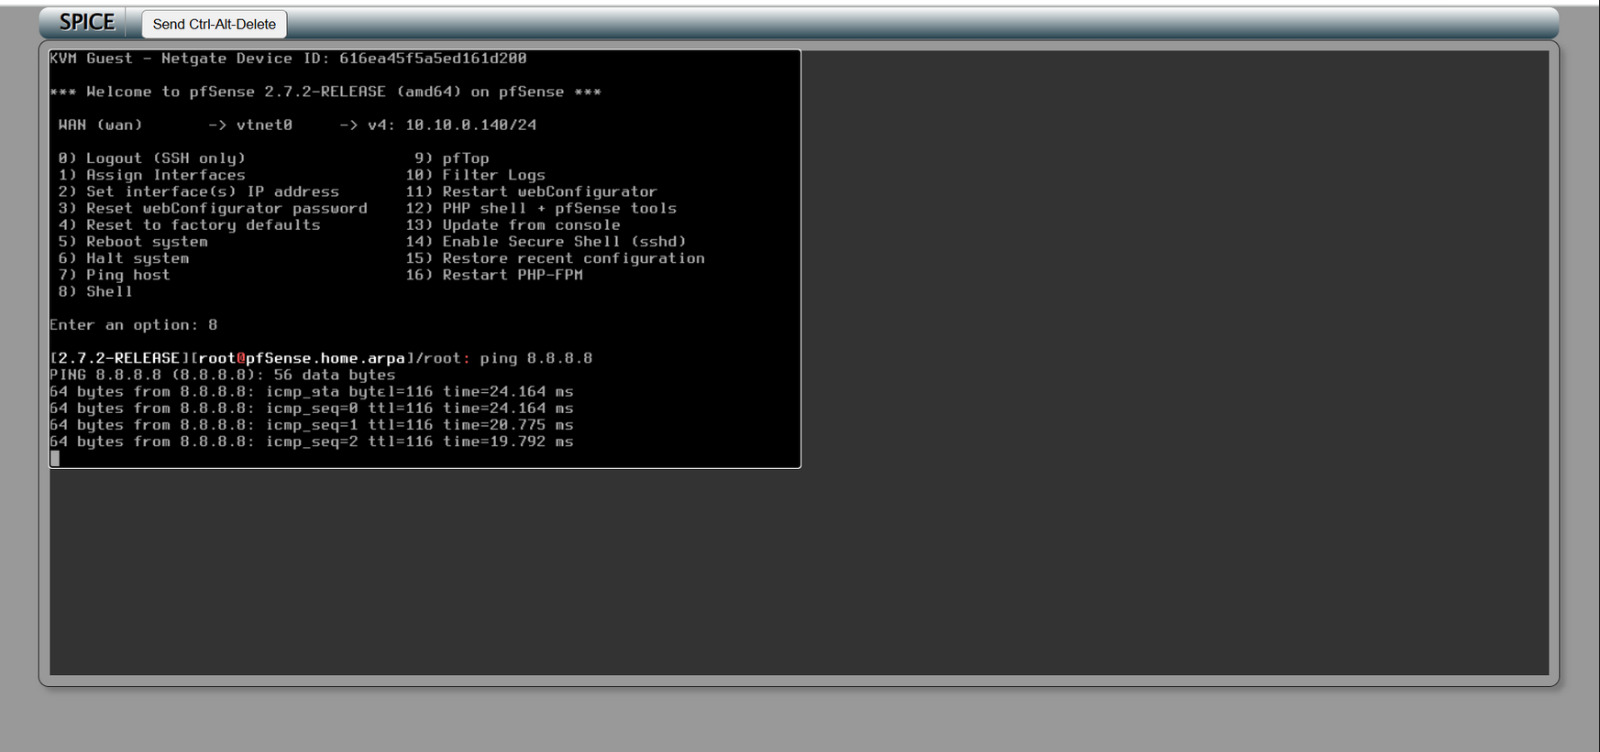
Step 35: Ping a public DNS server
Ping a public DNS server such as 8.8.8.8 (Google) or 4.4.4.4 to test connectivity.
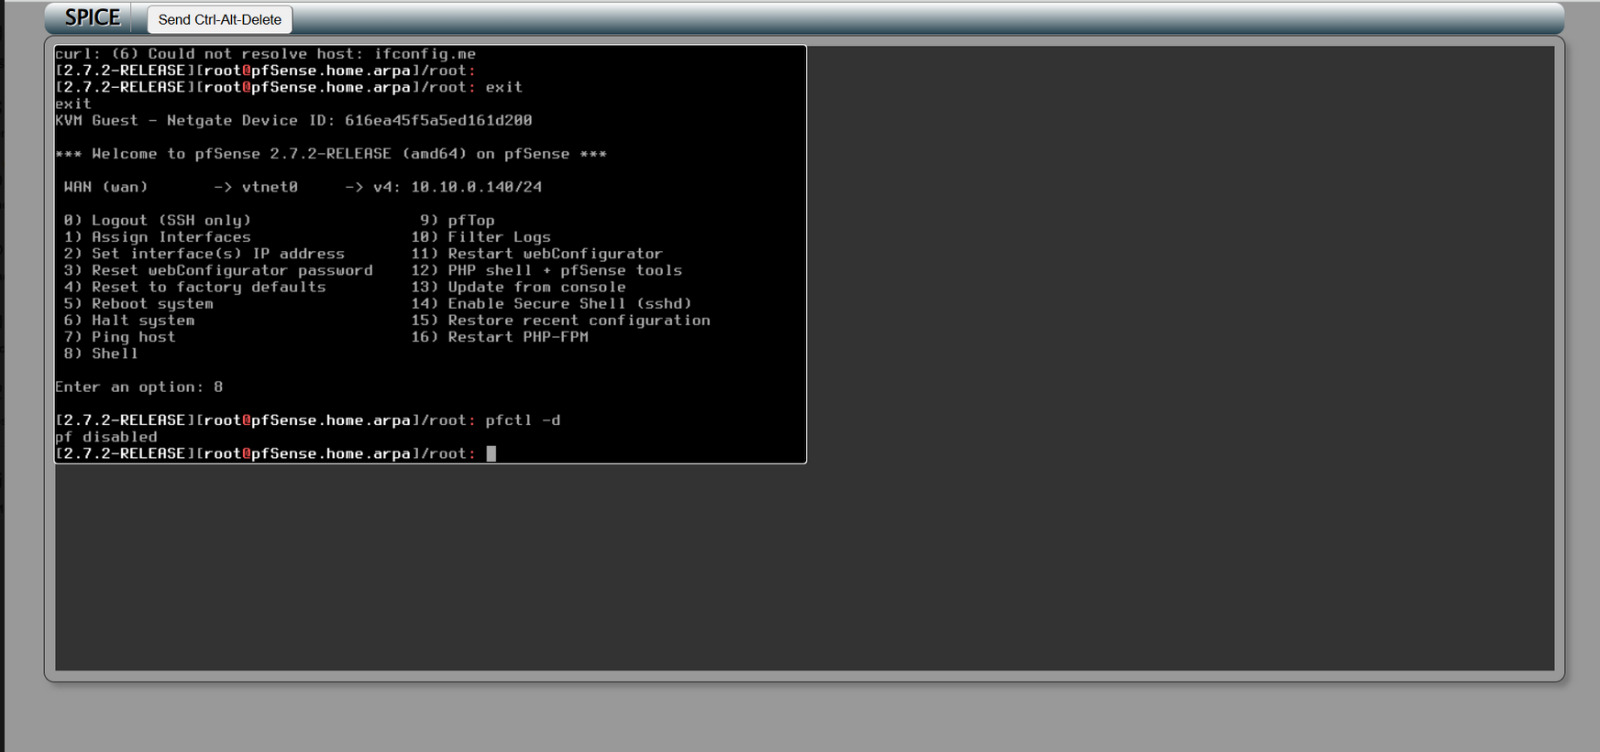
Step 36: Disable the firewall
To disable the firewall, execute the command (pfctl -d).
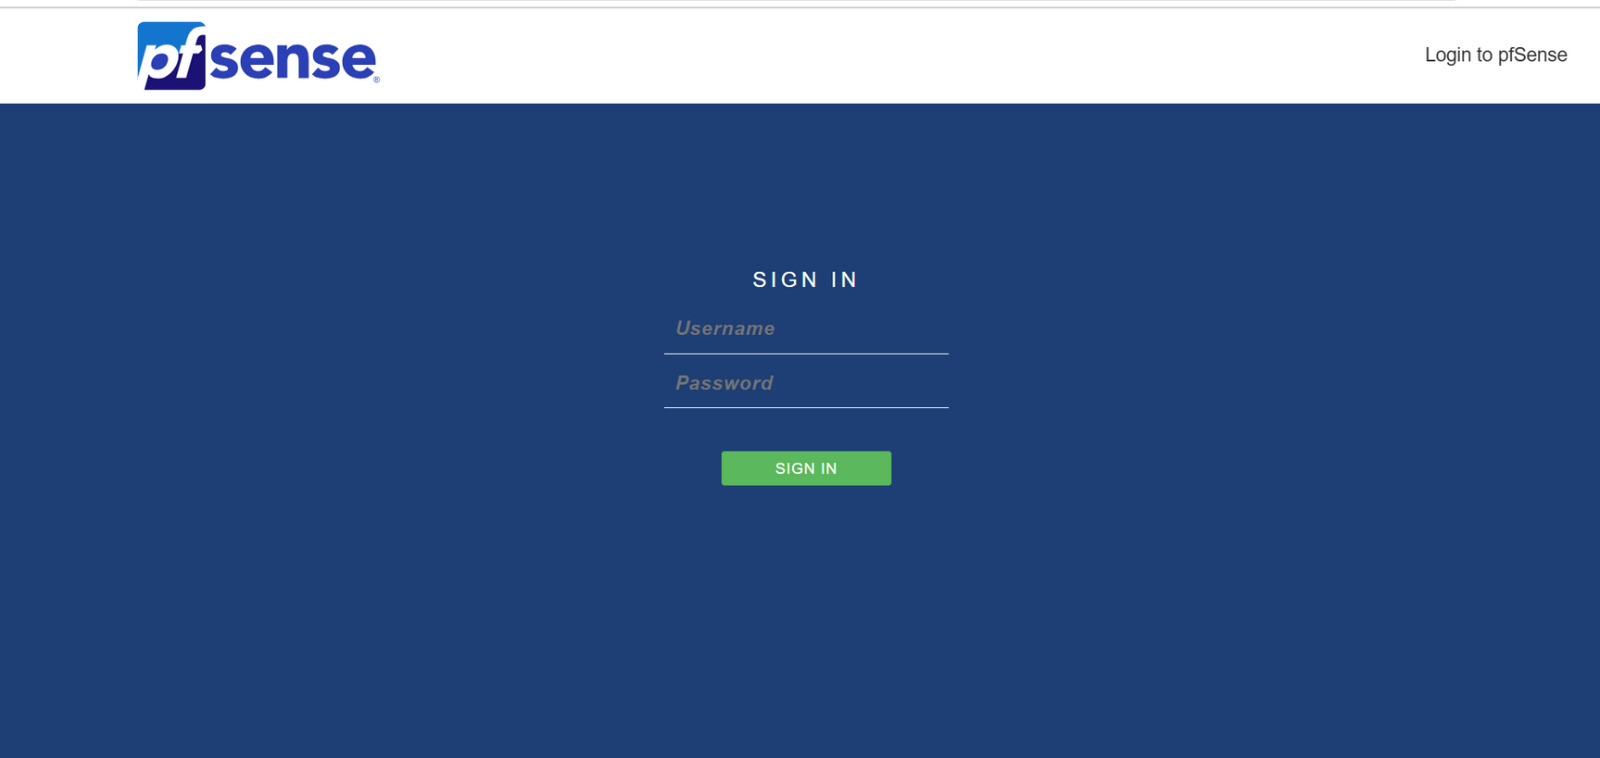
Step 37: Sign-in in to pfsense
Upon completion, the pfSense dashboard will open. Username is admin and Password is pfsense by default.
For detailed steps on pfSense deployment and configuration, please refer to the following documentation: